Did you know the hydrangeas (ajisai) is one of the most adored flowers for the Japanese? Like cherry blossoms, they bring joy to our lives, especially during the rainy season.
But the best part of these beautiful flowers is that we can enjoy them all year round. How? By drying them!
In this article, I’ll show you how to dry hydrangeas beautifully.
When to harvest & dry hydrangeas

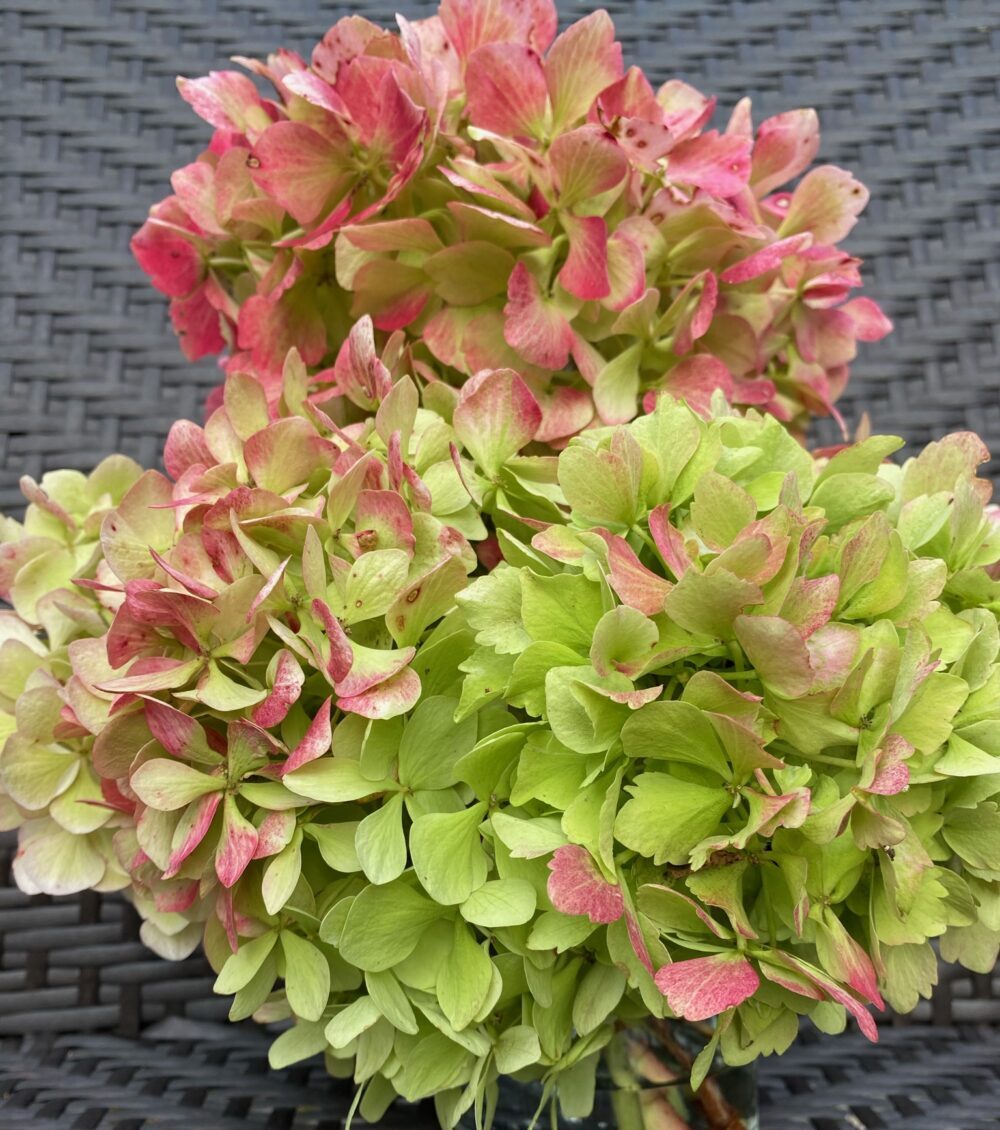
From left to right, you can see the colour changes: early summer, during summer, and finally autumn. As you can see the foliage becomes brown, and it looks drier.
Some spots appear on the petals as well. Once you see one of these changes, it is the right time to harvest them. That usually happens around the end of August through September.
What you need
- hydrangeas
- garden shears / Ikebana shears
- glass jar
- water to fill roughly 2.5cm (1 inch) in the container
How to dry hydrangeas beautifully
Step 1: Harvesting hydrangeas
First of all, choose a non-rainy day and go outside to pick flowers. What you want to do is leave each stem 20cm (8 inches) long.
When you get a bunch of flowers, remove all of the leaves off the stems. Then hold them upside down to give them a gentle shake. Otherwise, you may bring a few insects into the house!
Step 2: Put the flowers in the jar
Next, fill the glass jar up with water to 2.5cm (1 inch) high from the bottom. A glass jar makes it easier to see the level of water.
Once it’s done, put flowers in it and let them rest. Just make sure that the flowers have space, so they don’t dry while being squished.
Final Step: Leave hydrangeas until dry
Be patient and wait until the flowers are completely dry. The most important thing is, to keep the same level of water in the container. Surely, this is how we can preserve some of its beautiful colours.
During the drying process, let’s practice your sight, touch, and hearing senses! The duration of the drying process depends on each flower. So be patient and enjoy using your five senses!
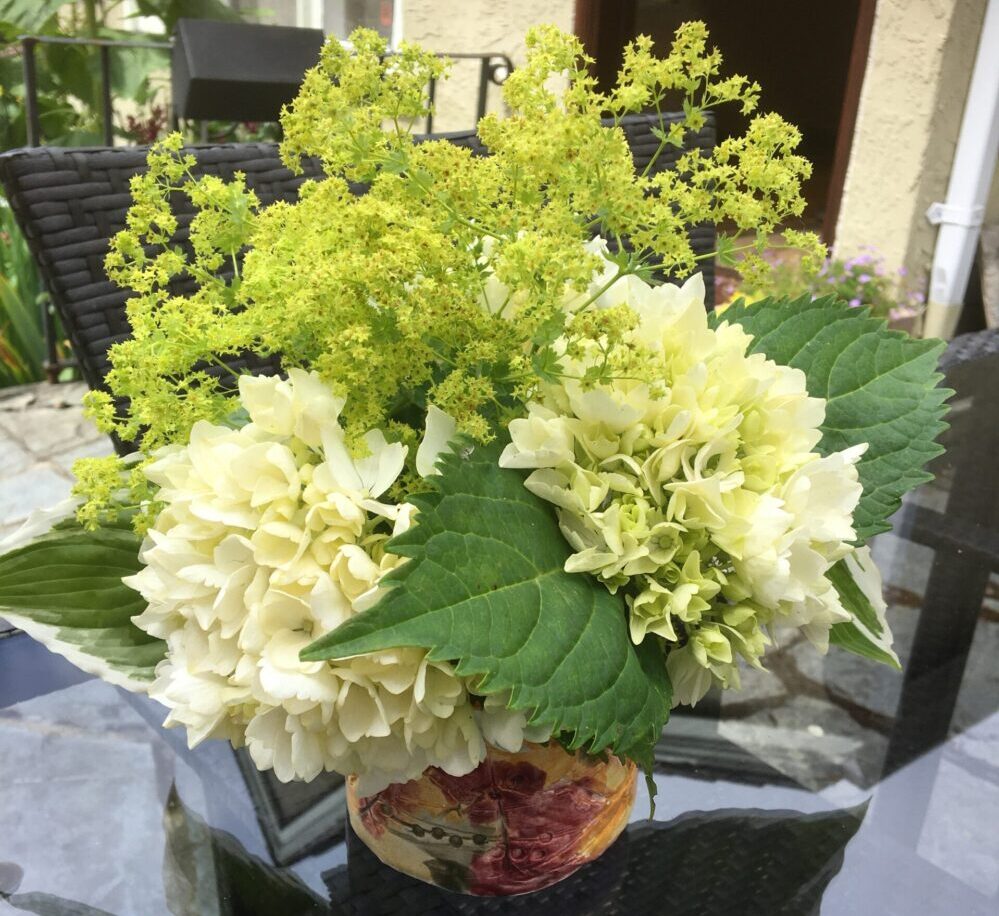
Just to let you know that my flowers took only a week for the first one to dry. And the rest took up to 3 weeks. They eventually get there as in the image below.

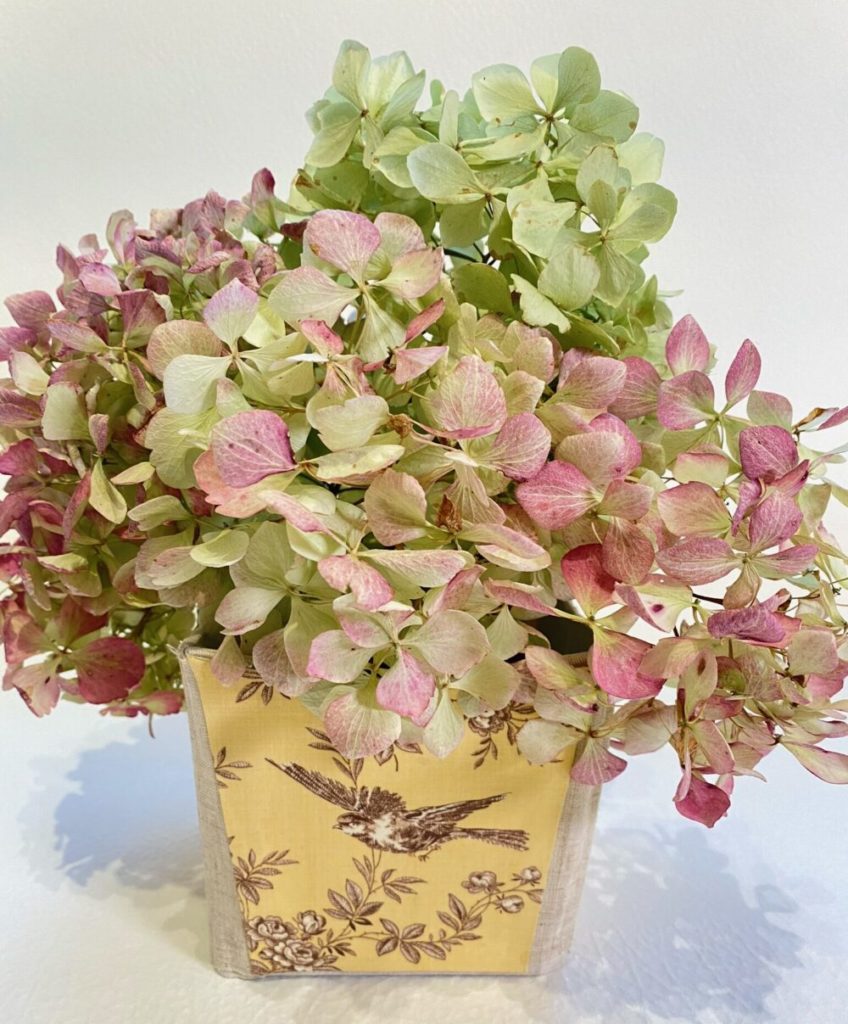
Mission Accomplished!
It is a simple craft that anybody can do, and I have been doing it almost every year. As a country living dreamer, I enjoy the gift from nature. Most definitely, those flowers are versatile. And they can be used as French decor, wrapping accessories, a wreath, and other craft projects!
When you make some, please share some pictures with us!