Are you tired of thinking about a menu? If you said, “Yes!!” yet, you want to feed your family something good… I have a simple recipe for you to try. After all, we are what we eat!
In this tutorial, you’ll learn the simple recipe for canned salmon.
The story behind the simple recipe
One day, my son came back from our neighbour’s house and delightedly told me what he had for lunch. It was simply canned salmon on top of rice with soy sauce.
As a result, it instantly became his favourite! So I modified it with the Japanese flare – which means adding vegetables. Bad news for my boys! Their wish for vegetable-less dishes still seems far from reality…
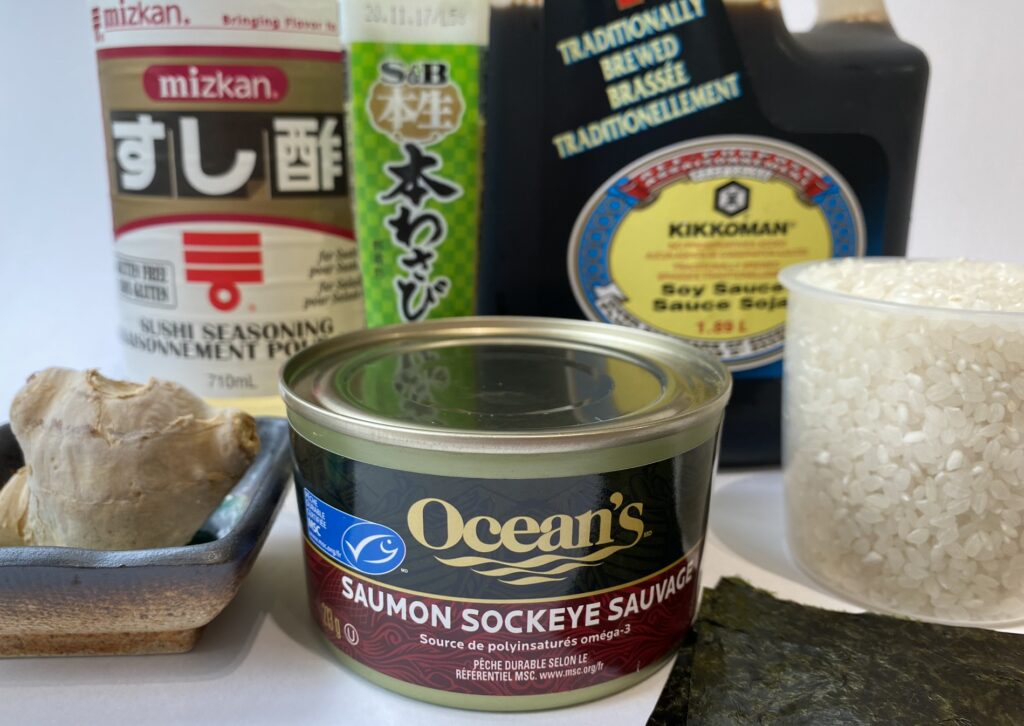
Ingredients (4 servings) for the simple recipe of canned salmon
Salmon – don
- 2 cups of sushi rice wash, soak & cook: this part takes time
- 2 canned salmon
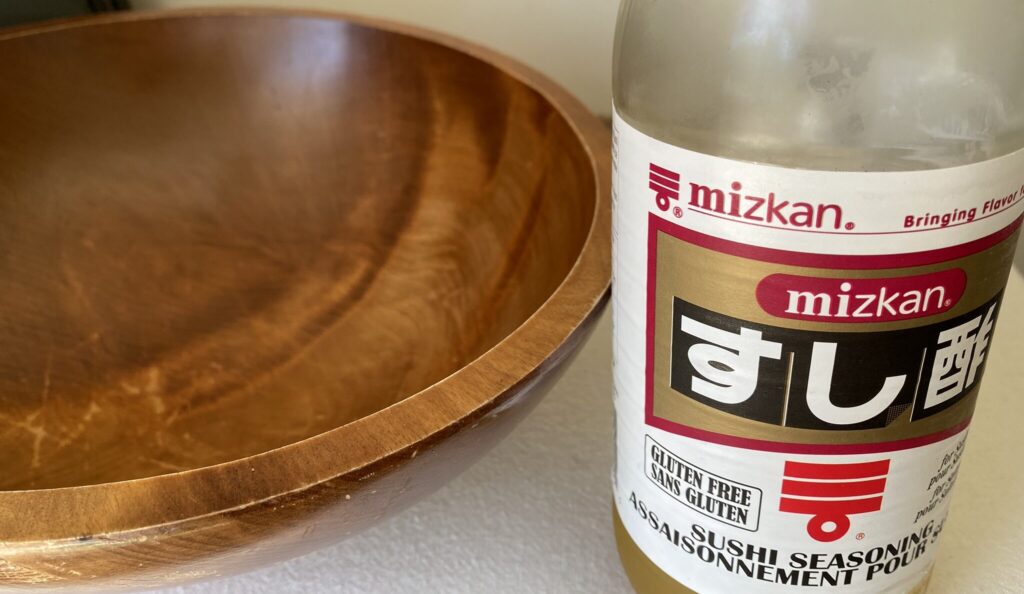
- 2-3 tablespoons of sushi vinegar
- 1 teaspoon of soy sauce for mixing wasabi
- 1/2 sheet of Nori (seaweed)
- Fresh Ginger: desired amount (to taste)
- Wasabi: desired amount
- Chives/Green onions
- 3-5 Shiso leaves
Simple recipe salmon cooking instruction
Step 1: wash, soak & cook rice
It is important to wash the rice thoroughly. Then add water and soak it for 20 min.
Tip: When I plan this meal, I wash the rice in advance and set a timer.
While the rice is being cooked, move on to step 2 or skip to step 3 for the salmon mixture.
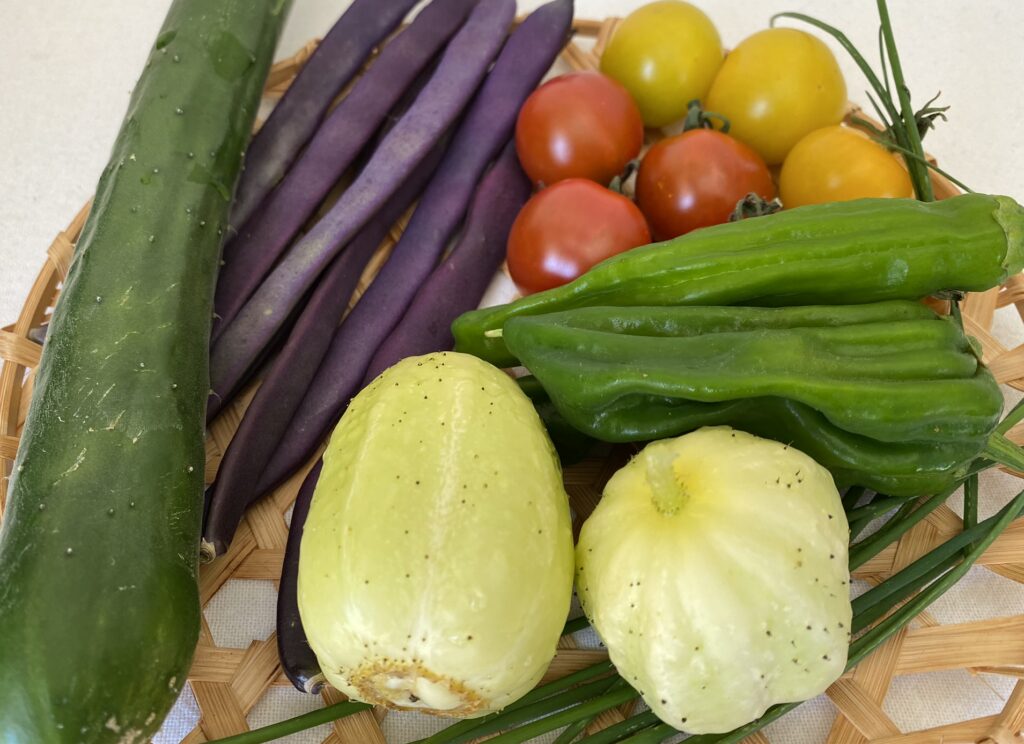
Step 2: prepare the side dish
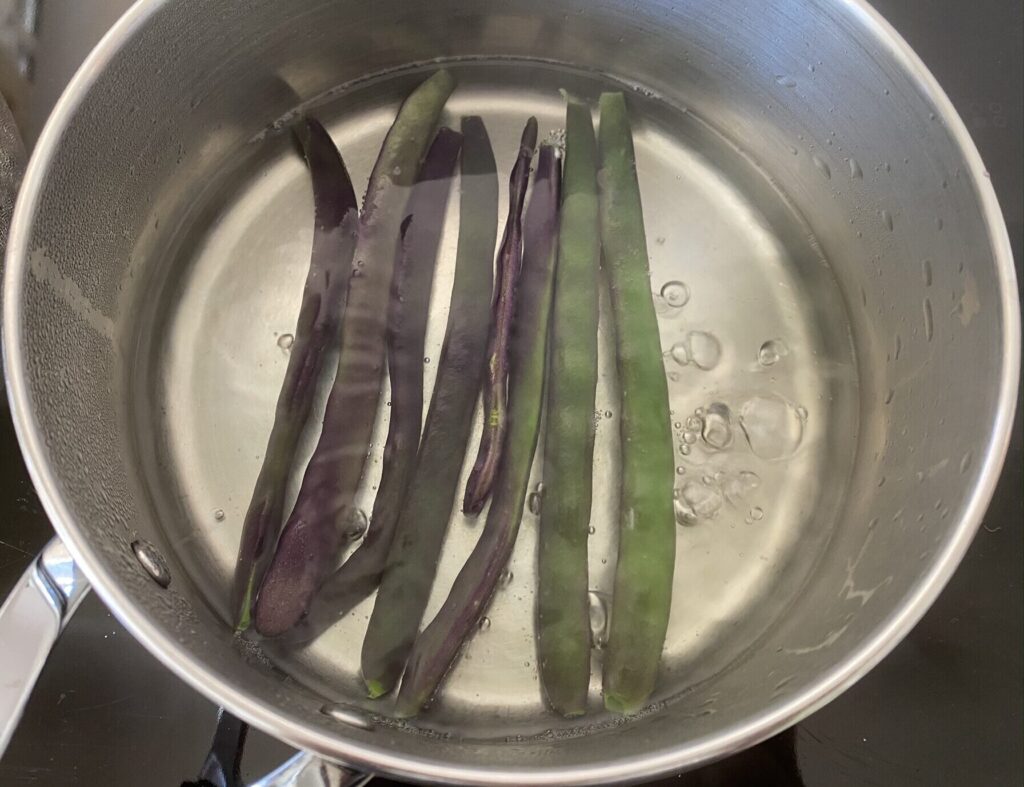
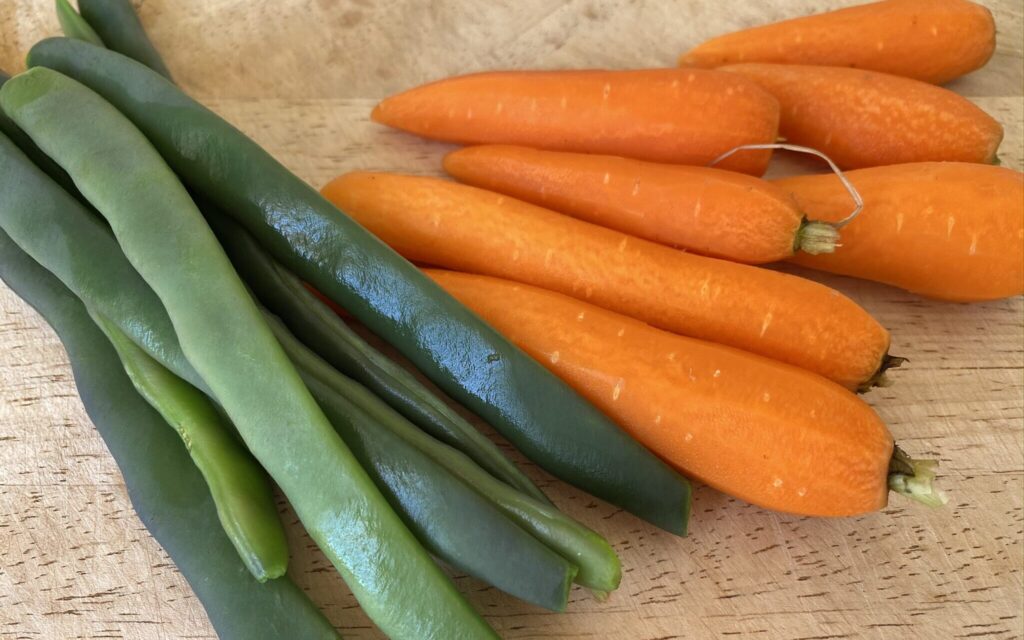
First of all, boil water with a bit of salt. Add beans and cook them for a minute or two. Take the beans out, and cool them down with cold water.
Tip: cooling down the beans prevents overcooking and keeps the colour.
Secondly, peel the carrots. Homegrown carrots are as sweet as candies – in my mind!
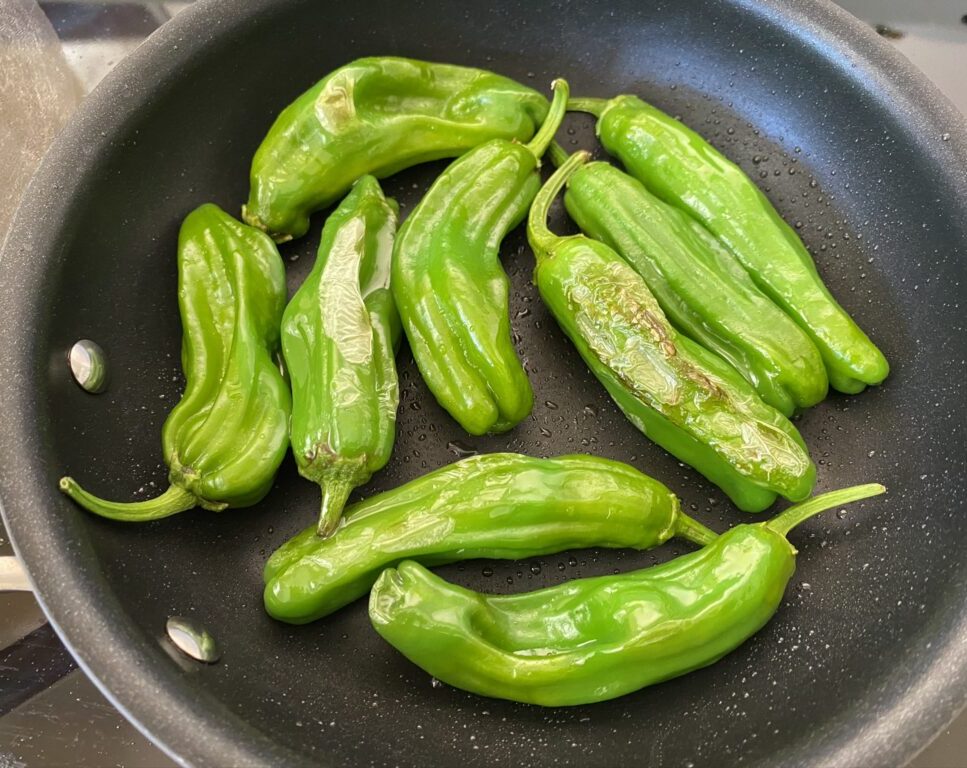
Lastly, pan-fry shishito (slightly sweet) peppers with a bit of vegetable oil.
Tip: Shishito peppers are a taste of summer for us! It’s easy to cook and serve with a bit of soy sauce on top! This is one of the vegetables my family LOVES!!
Step 3: making the canned salmon mixture
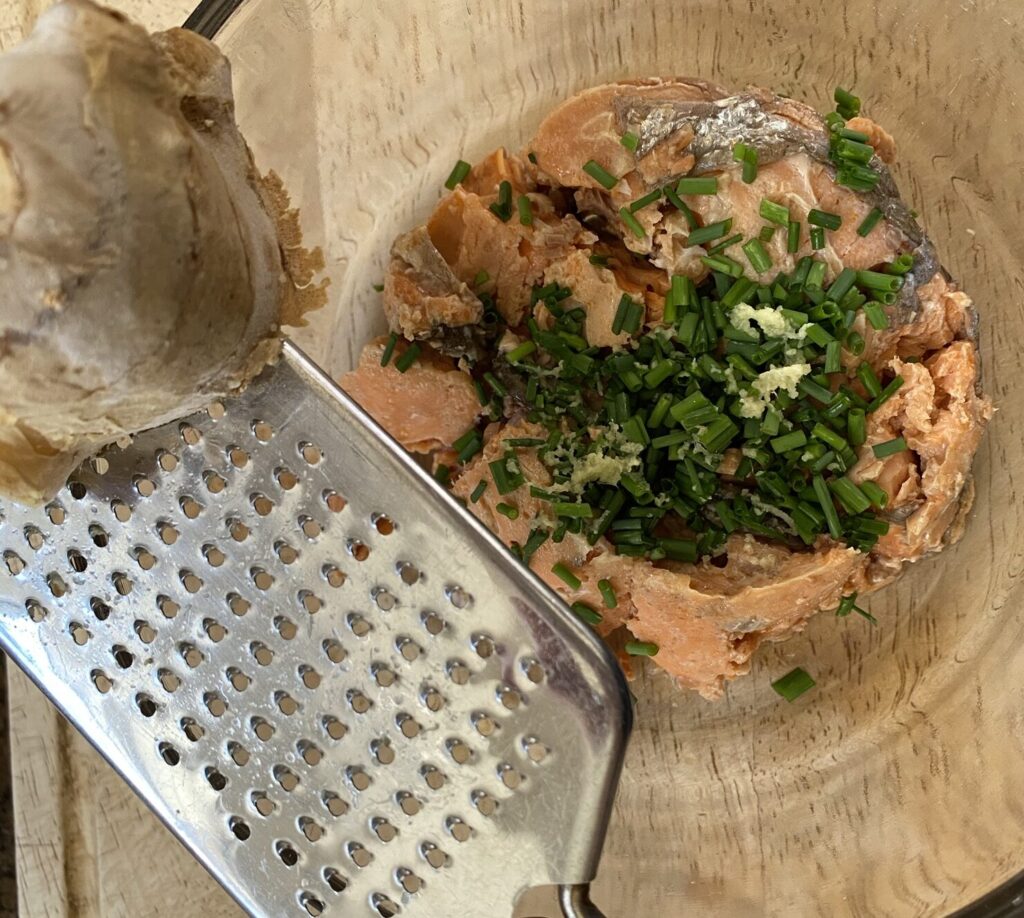
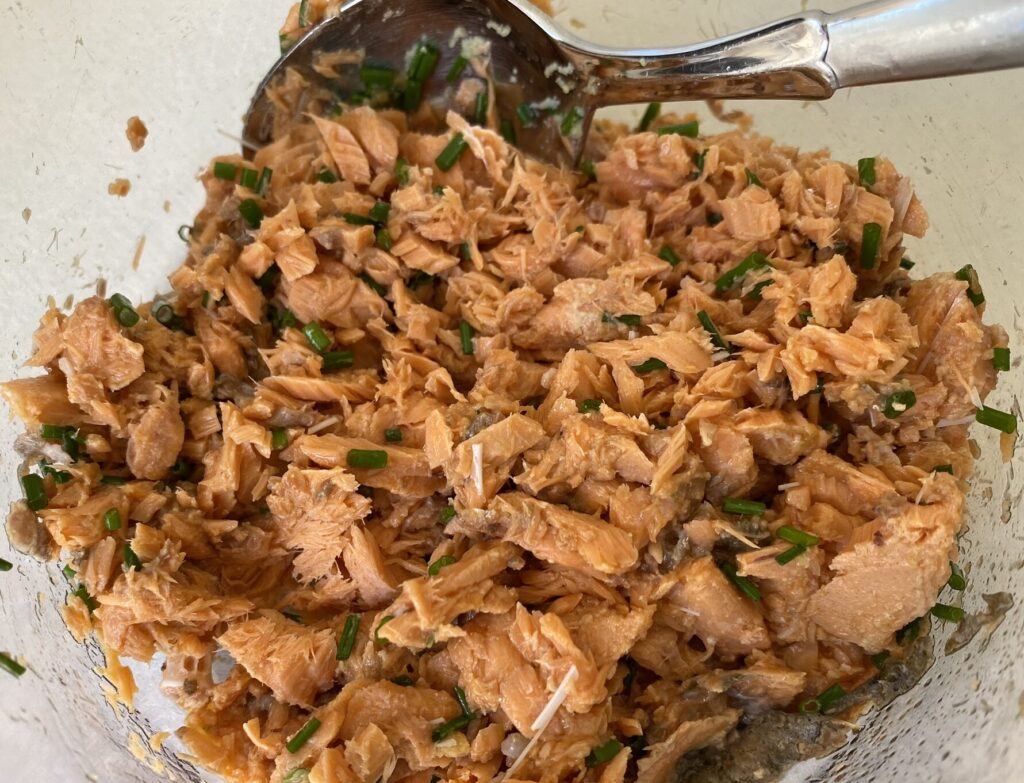
First, get a bowl and put the salmon in it. Chop the chives and add them to the bowl as well. Grate ginger over it to your taste.
Tip: be careful opening the can. I talk from my recent experience…
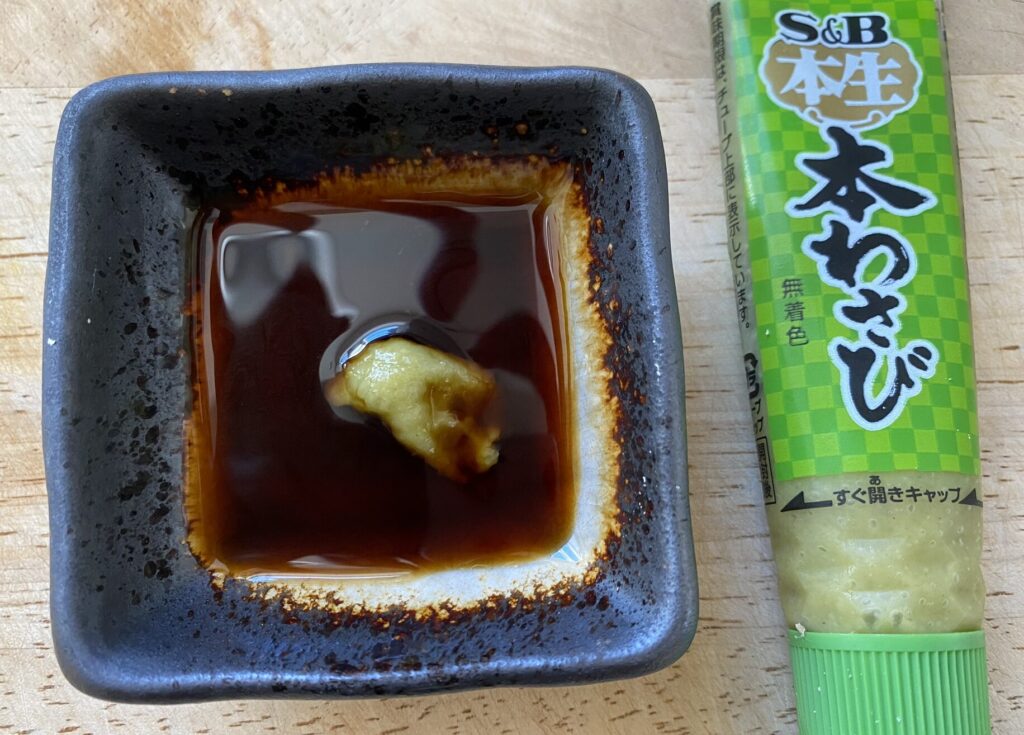
Second, pour 1 teaspoon of soy sauce into a small container, and add some wasabi. Mix them well then add to the mixture.
Tip: adding wasabi to the soy sauce ensures it gets mixed evenly.
Step 4: get sushi rice ready
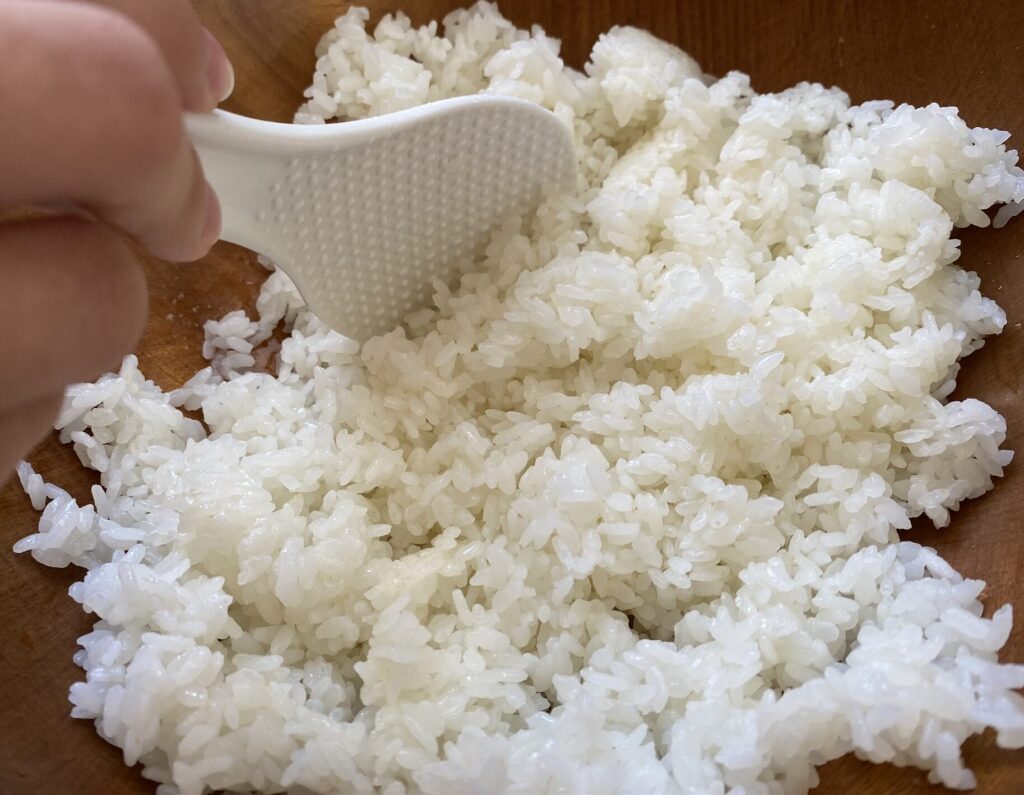
First, let the rice sit in the cooker for 10min.
Then, add a tablespoon of sushi vinegar and wet the surface of the bowl – so the rice won’t stick! Spoon rice into the mixing bowl using your spatula. Pour the rest of the sushi vinegar on top and mix.
Tip: When you mix the rice and vinegar, make sure to use a cutting/slicing motion with a rice spatula. It will make the rice fluffy!
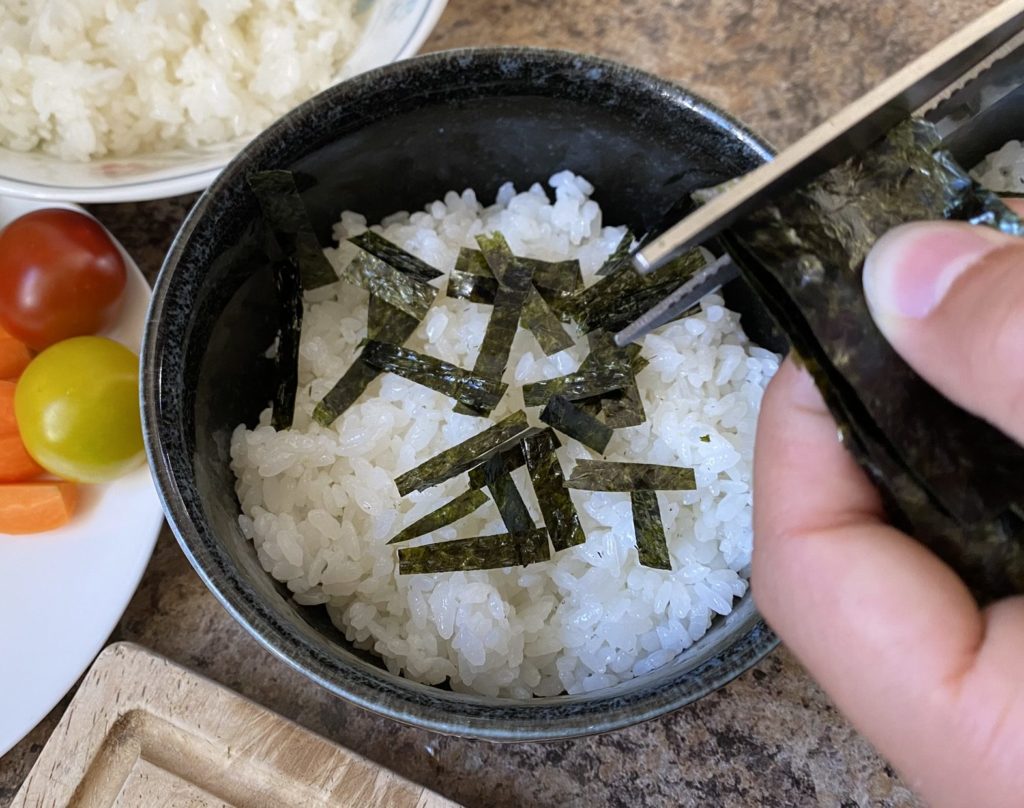
Next, put rice in 4 serving bowls and cut the nori sheet over top.
Tip: This part is also a child-friendly process, and little ones enjoy it! Tearing it is another option. Either way, it increases fine motor skills!
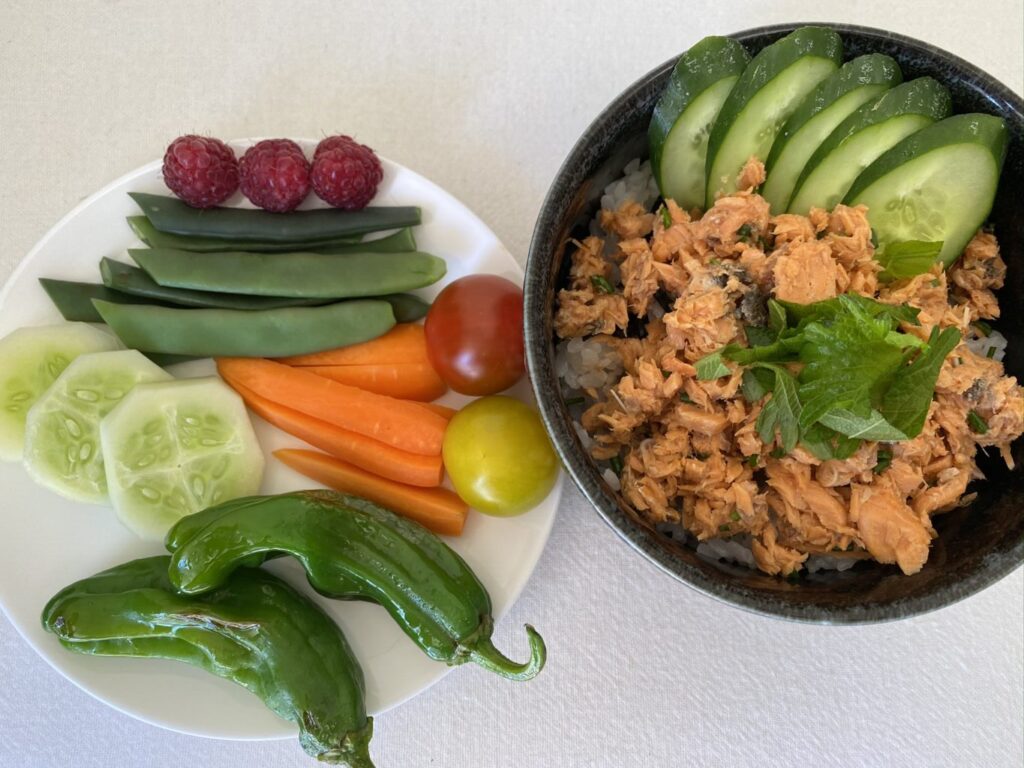
Final Step: add salmon mix on top
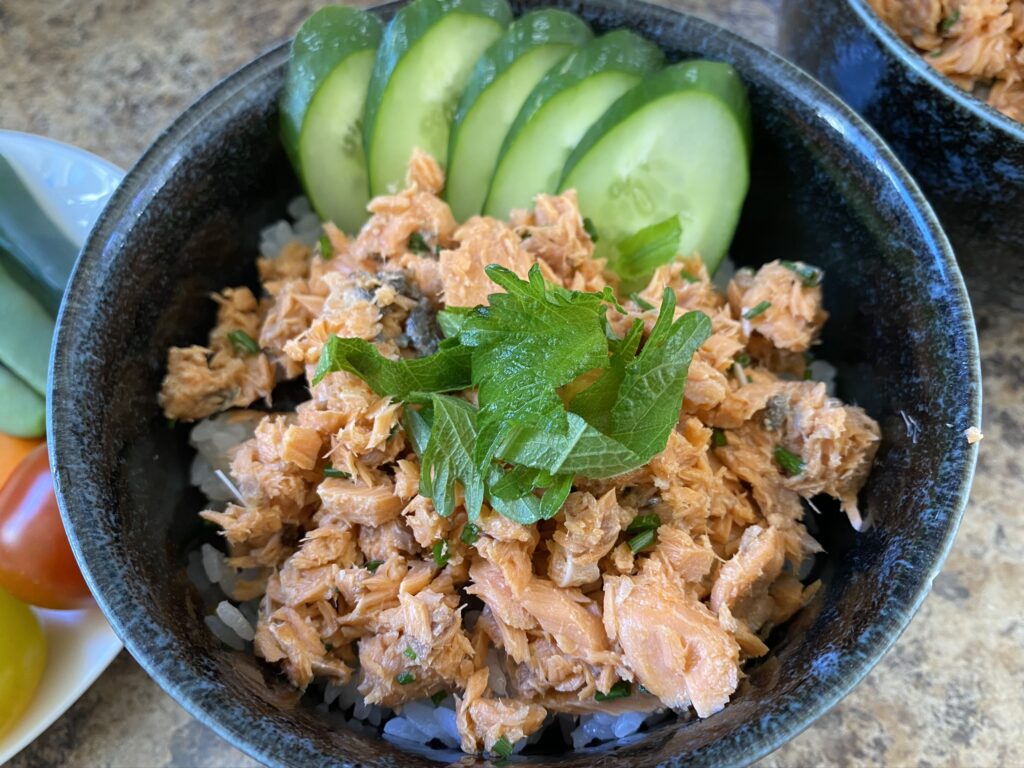
In the final step simply places the salmon mixture on top of the rice to make salmon-don. Garnish with sliced cucumbers and chopped shiso leaves or green onion, parsley etc. for the colour.
Tip: shiso leaves are a taste of summer for Japanese people! Yes, I grow them in my garden, and so do a lot of my friends. Check out the health benefits of shiso.
Bon appetite!
Believe it or not, the preparation takes less than 30min. So you can start once the rice is cooked or start 30 minutes before the rice is ready.
You can always add extra soy sauce once you taste the first couple of bites. Just like the soy sauce, feel free to adjust the amount of the other ingredients, at which point you will become the head chef to create something new!