You might have heard that Kimchi has many health benefits. So I tried a few different Kimchi to find one I like. But I found that store-bought Kimchi was either over fermented or too salty.
As a result, I ended up throwing it away. If that sounds familiar to you or you just want to try it, I have a solution.
Instead of buying it, let’s DIY it in your own kitchen!
Just to let you know, I modified a Japanese recipe based on the availability of ingredients in Canada & our family preferences.
In this article, I’ll show how to make Kimchi in Canada.
Equipment:
- big bowl/pot
- measuring cup
- measuring spoon
- strainer
- spoon
- hand blender
- plate & weights
Ingredients for making Kimchi
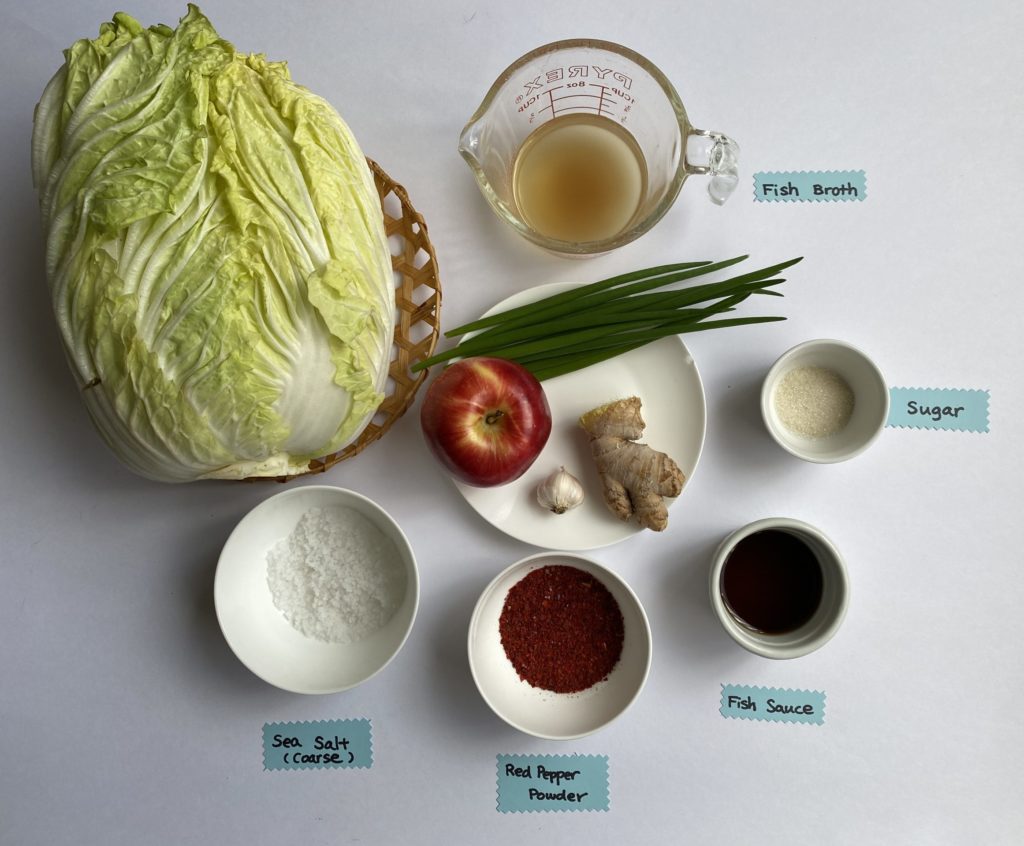
Group A
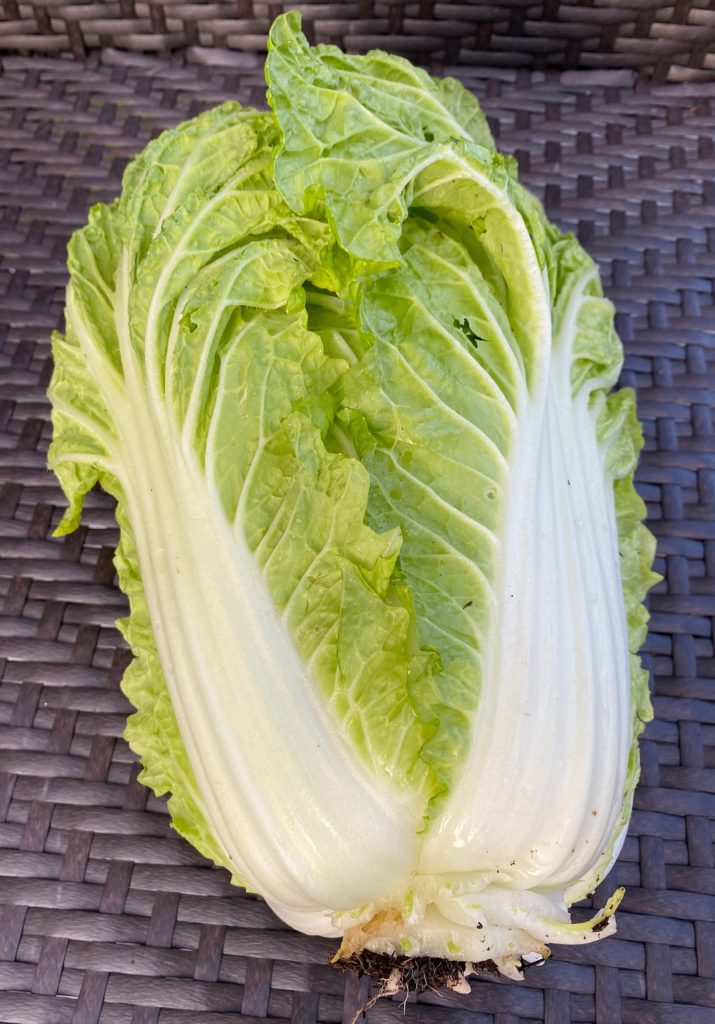
- Sui Choi (Chinese cabbage) – 750g
- coarse salt – 28g
Group B
- apple or pear – 1/2 (a half) * For apples, Ambrosia or Fuji are the best!
- garlic – 3 cloves * Please put more if you like garlic!
- ginger – roughly a thumb size
- sugar – 1/2 tsp
- fish broth – 100ml * I used the powdered bonito soup stock dissolved in hot water, and cooled it down.
Group C
- green onion (green part) – 1 bunch cut into 4~5cm
- Korean red pepper powder for Kimchi – 12g
- fish sauce – 1 1/2 tbsp

How to make Kimchi
Step 1: Wash, Cut & Add salt for group A
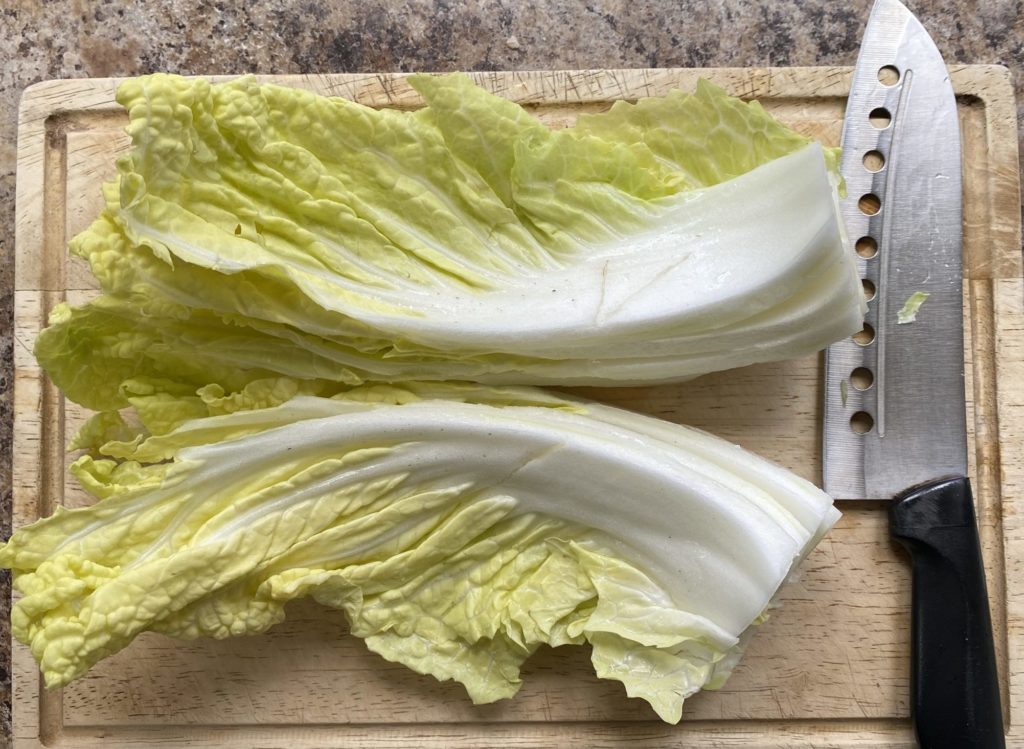
To begin, wash the Sui Choi leaves first. When you’re done, cut them in half (top left). Next, cut them all into bite-size (top center).
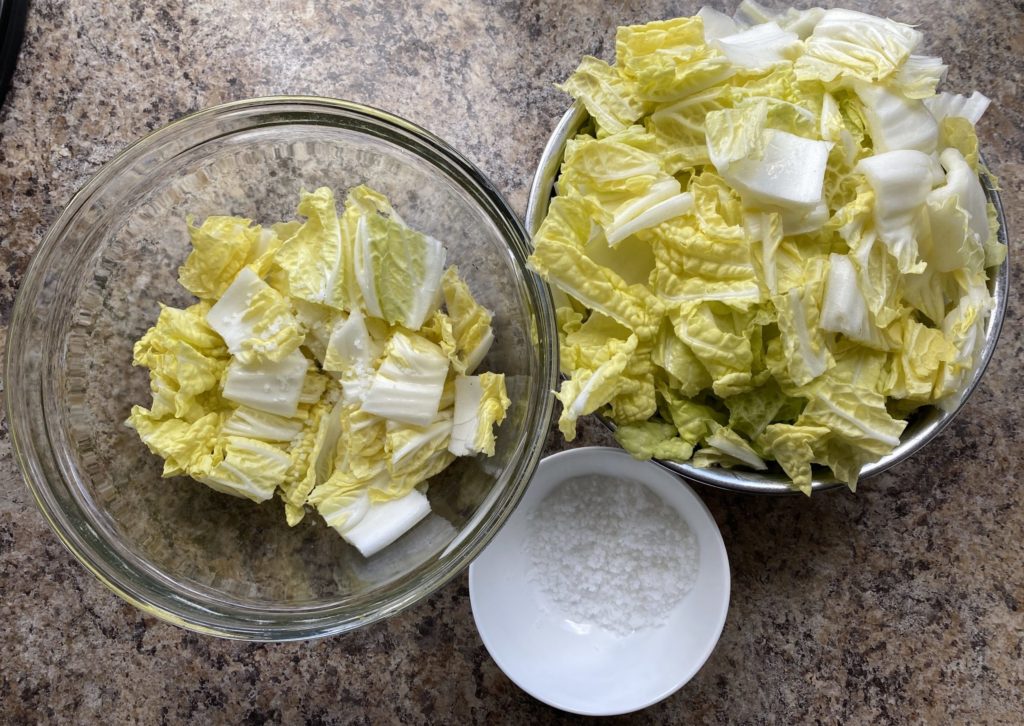
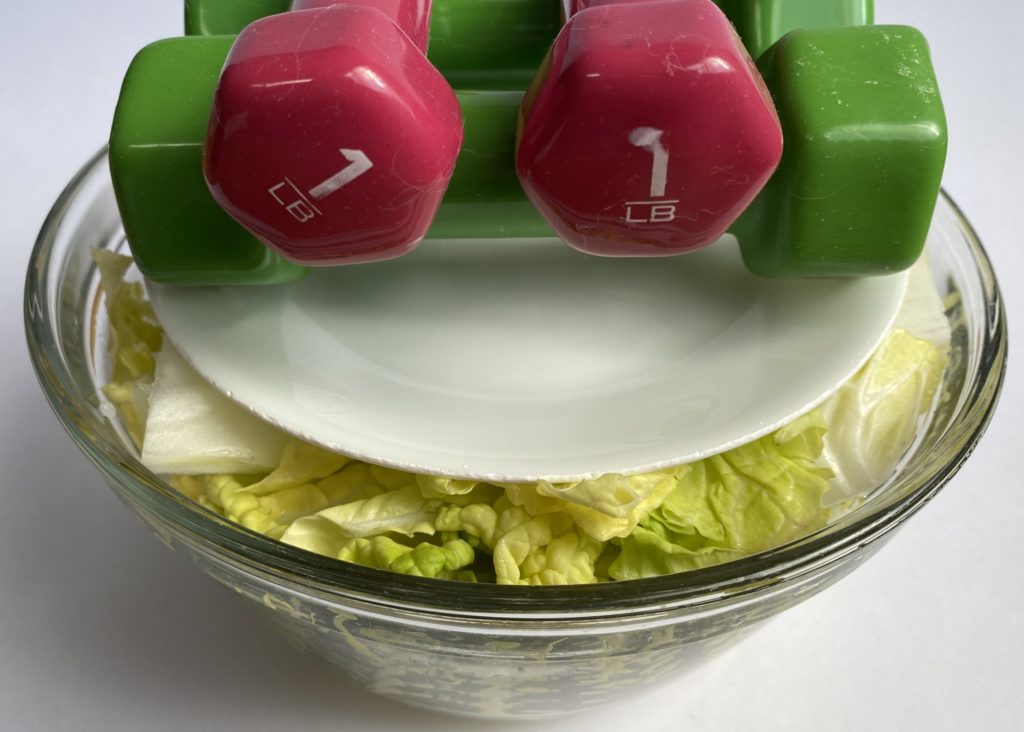
When you finish, put them into a bowl. What you want is to make 2~3 layers. After making the first Sui Choi layer, sprinkle salt before adding a Sui Choi layer on top. Once it’s done, use both hands to mix them well.
Then, place a plate on top like what you see in the bottom picture, and add weights on top. Then leave it for 3 hours. During this pickling process, remove the weights & plate to give it a quick mix a couple of times. If you are busy, just set a timer and forget about it!
Step 2: Rinse & Drain
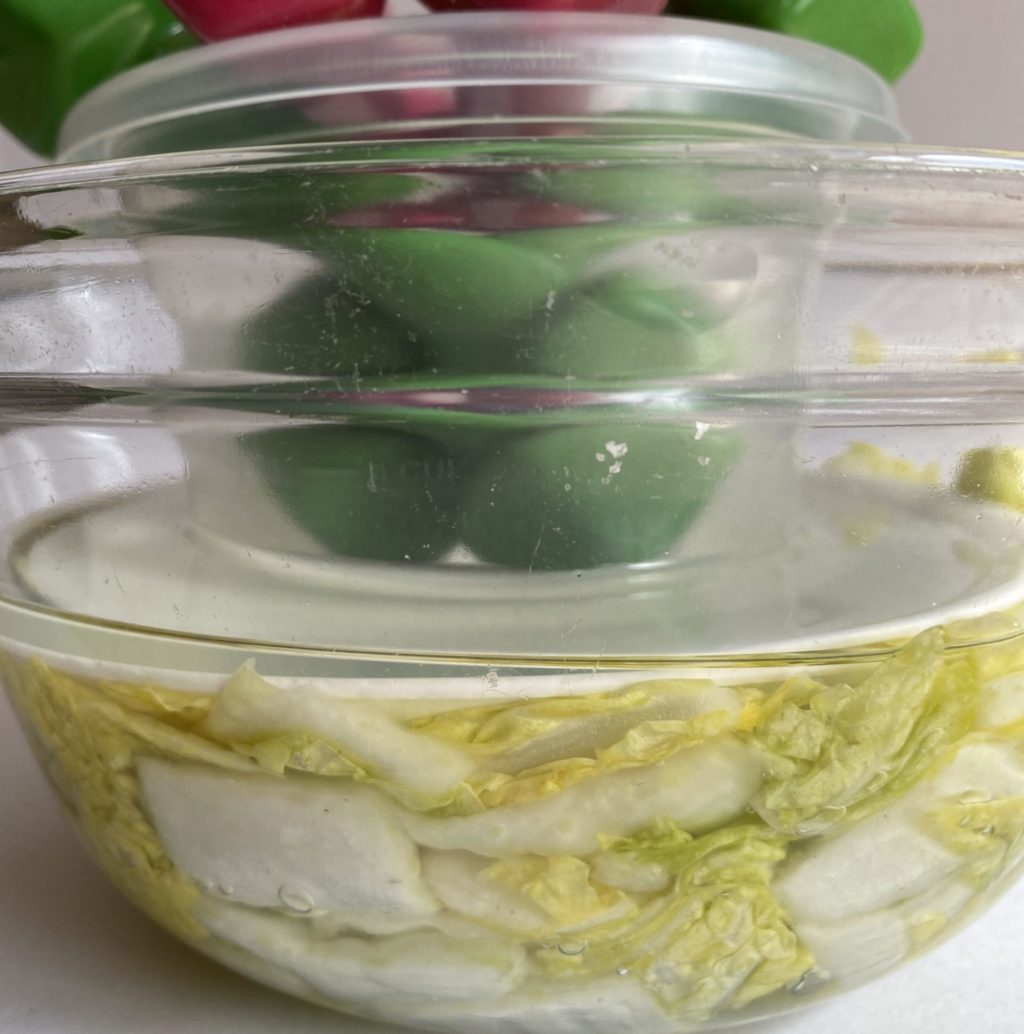
3 hours later… What you’ll see is a lot of liquid in the bowl (left). First, remove the weights and the plate.
Next, grab the Sui Choi bites and drop them into a container filled with water. While they are in the water, gently stir and then drain through a strainer. Refill the container with fresh water and repeat the step 3 times. (Clean water → rinse → drain)
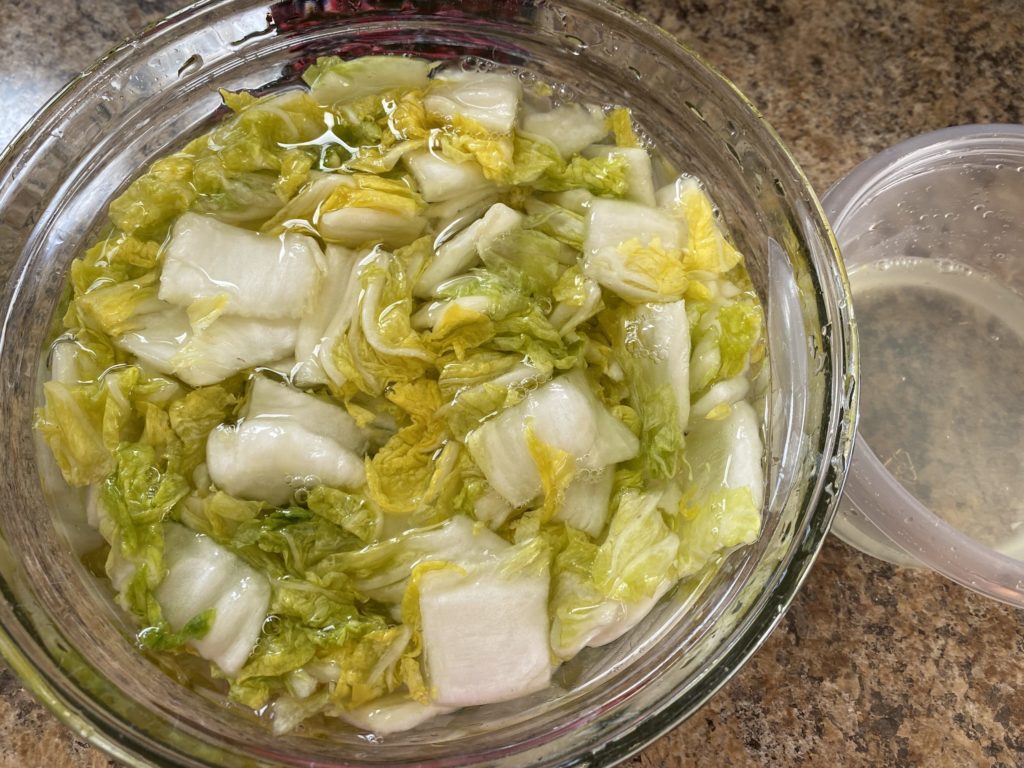
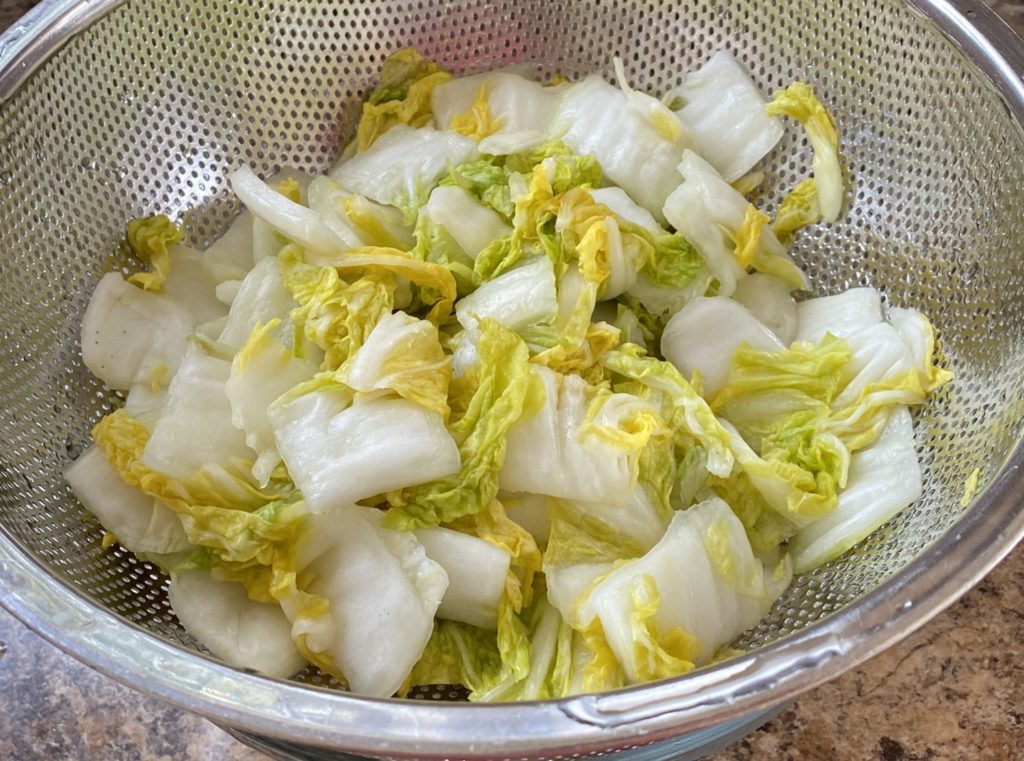
Once you finish the rinse & drain 3 times, leave the Sui Choi in the strainer for 4 hours or longer. Please avoid SQUEEZING the Sui Choi here. Letting them drain naturally keeps the texture intact.
4 hours later (picture on the right)… All the excessive water is drained. This time, you can gently squeeze.
Step 3: Make the mixture with B
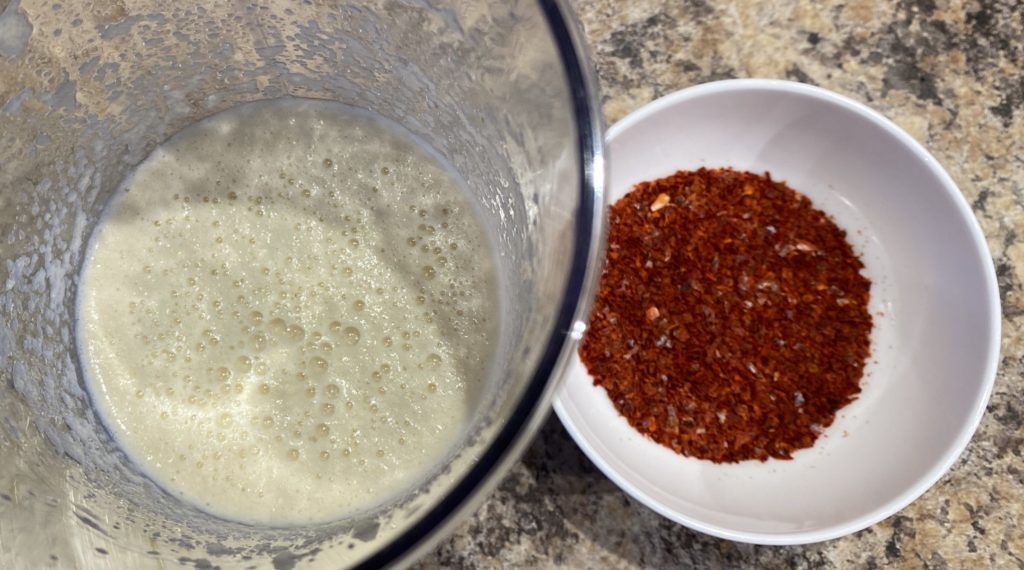
First, remove the peels off apple/pear, garlic cloves, and ginger. Then add all group B ingredients to a blending container. In my case, I used a hand blender to mix them until it becomes a smooth paste.
Second, add group C ingredients into the Kimchi mixture you just made. Use a spoon to mix them well.
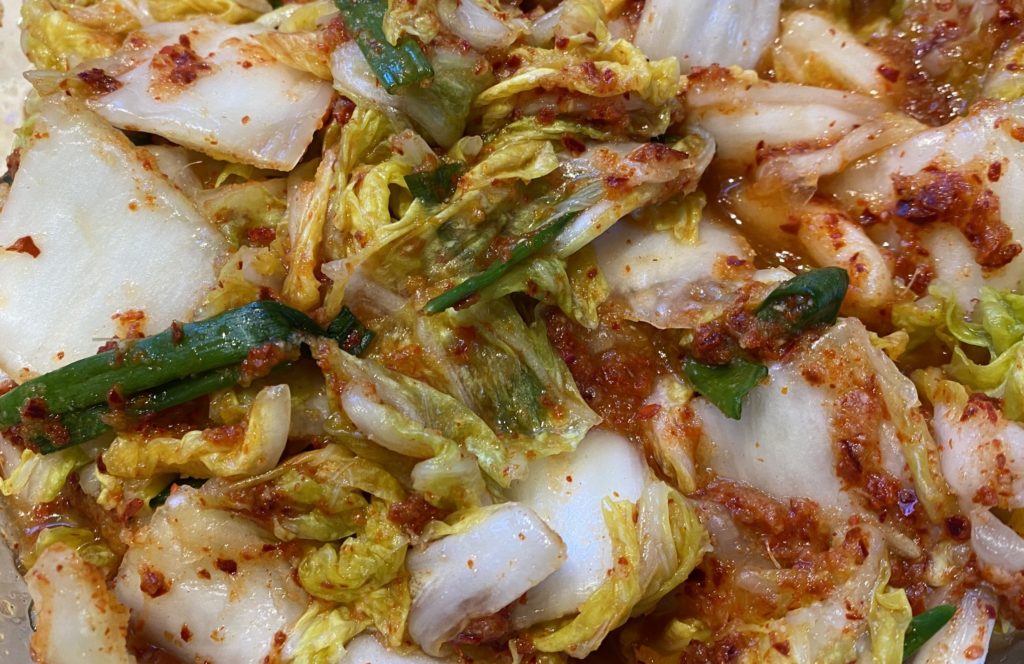
Final Step: Mix Sui Choi & the Kimchi mix
Finally, put some of the Sui Choi into a container – the first layer. Then add the Kimchi mixture. Repeat by adding layers of Sui Choy & the Kimchi mix.
When it’s done, mix them well. Now, leave it on the counter for a couple of hours, then put it in the fridge for half a day. Or eat it right away if you prefer salad-like Kimchi!
Bon Appetit!
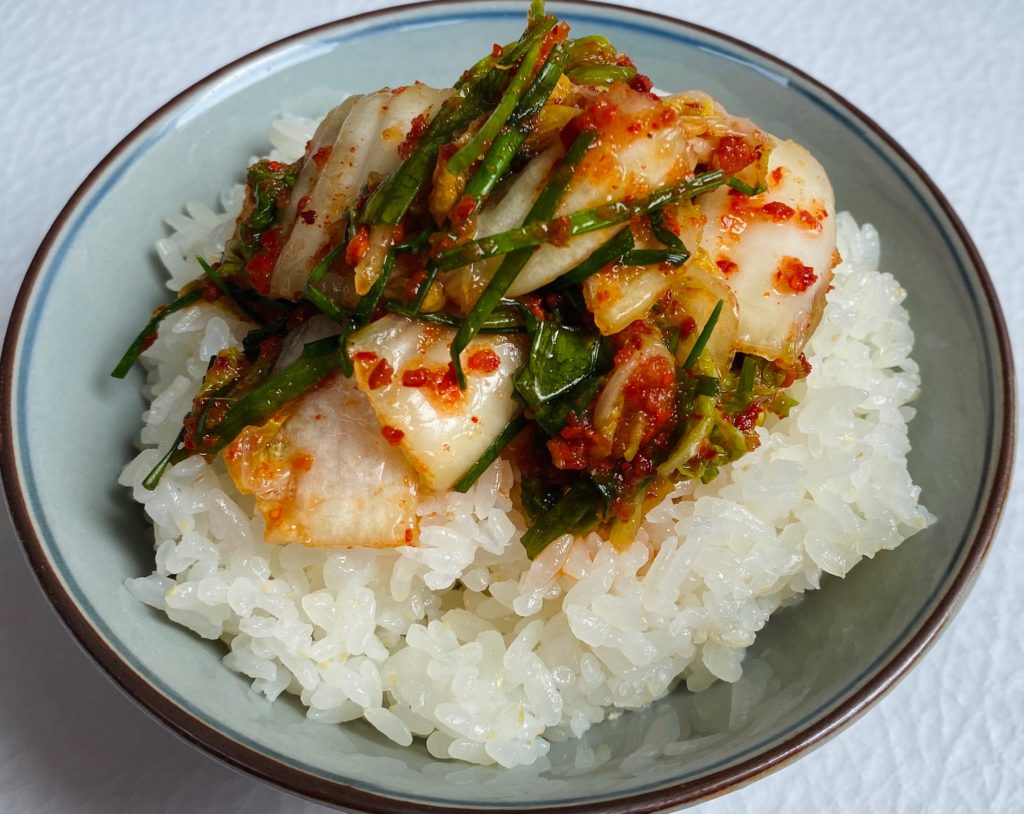
Kimchi is such a versatile food to have in your fridge. Believe it or not, It’s actually a time saver!
For instance, you can simply eat it with rice or add it to a salad. You can also add Kimchi in a hot pot, fried rice, pasta, and more. Making your own Kimchi makes every meal special & beneficial to you and your family!
As you know, I adjusted the recipe to create my own. That’s what I want you to do as well. We all have different tastes, so craft your own!
This time, I harvested my homegrown Sui Choi, green onion, and chives. I also used the garlic I grew last year.
When you grow your own food, it tastes even better!