Let’s make the actual lasagna garden with children! It’s quite simple and the reward is BIG!!
My mother-in-law originally shared her knowledge of lasagna gardens with me. Since then, I’ve taken a compost class and talked to my knowledgeable neighbour.
In this article, you will learn how to make a lasagna garden with children.
What you need
- Shovel
- Pruner / Scissors
- Gardening gloves
- Brown materials (contain carbon)
- Green materials (contain nitrogen)
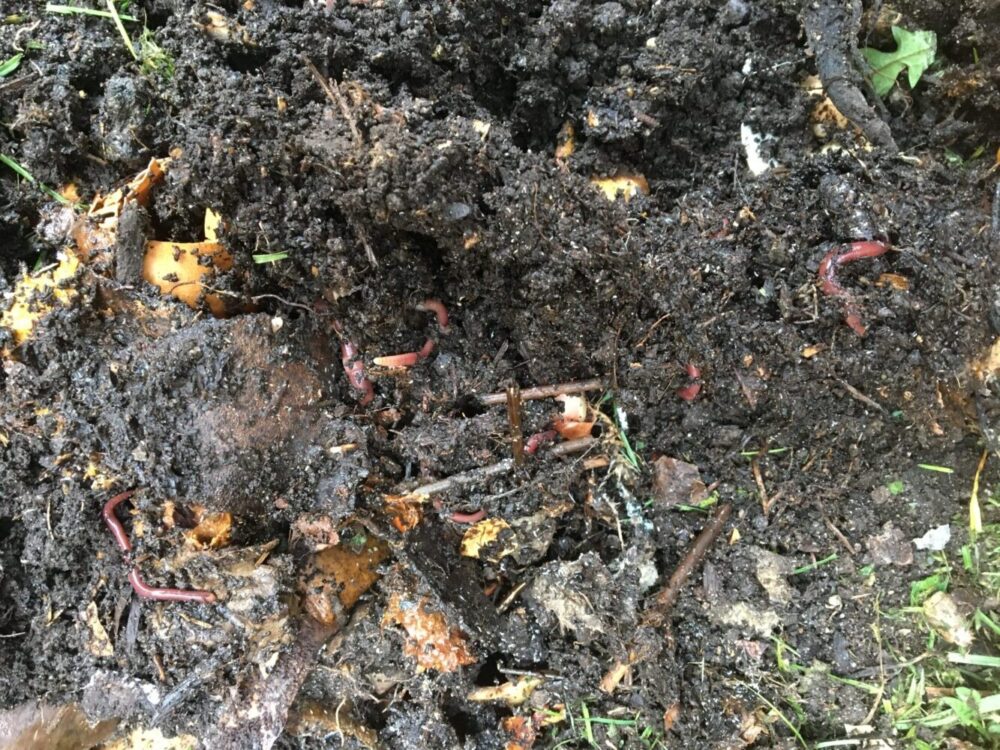
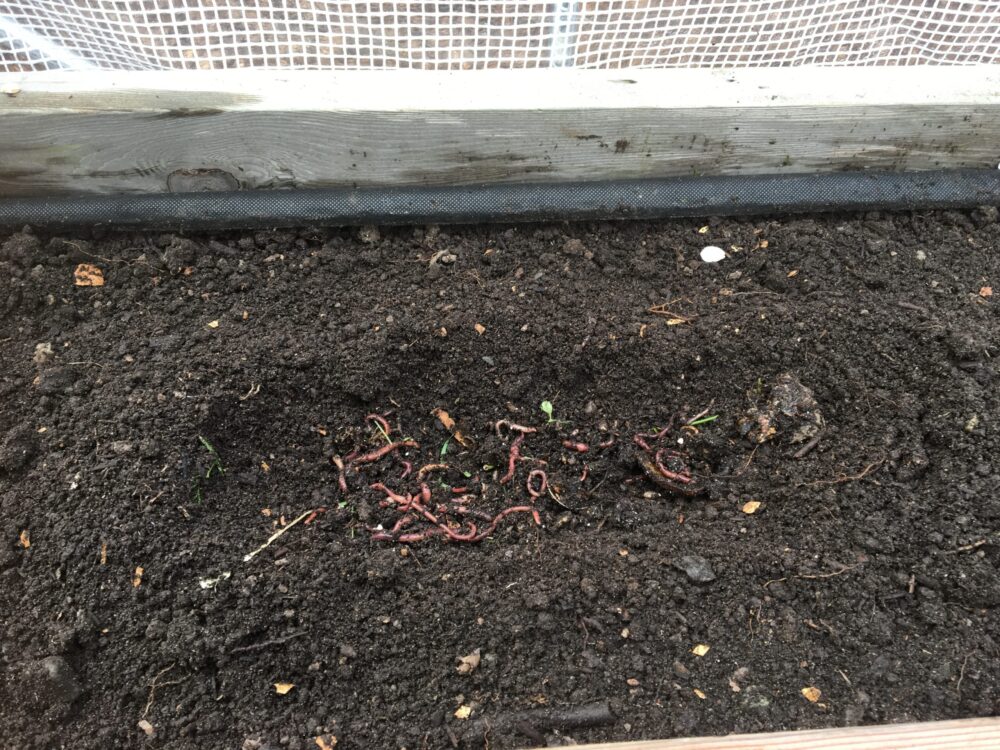
- Earthworms
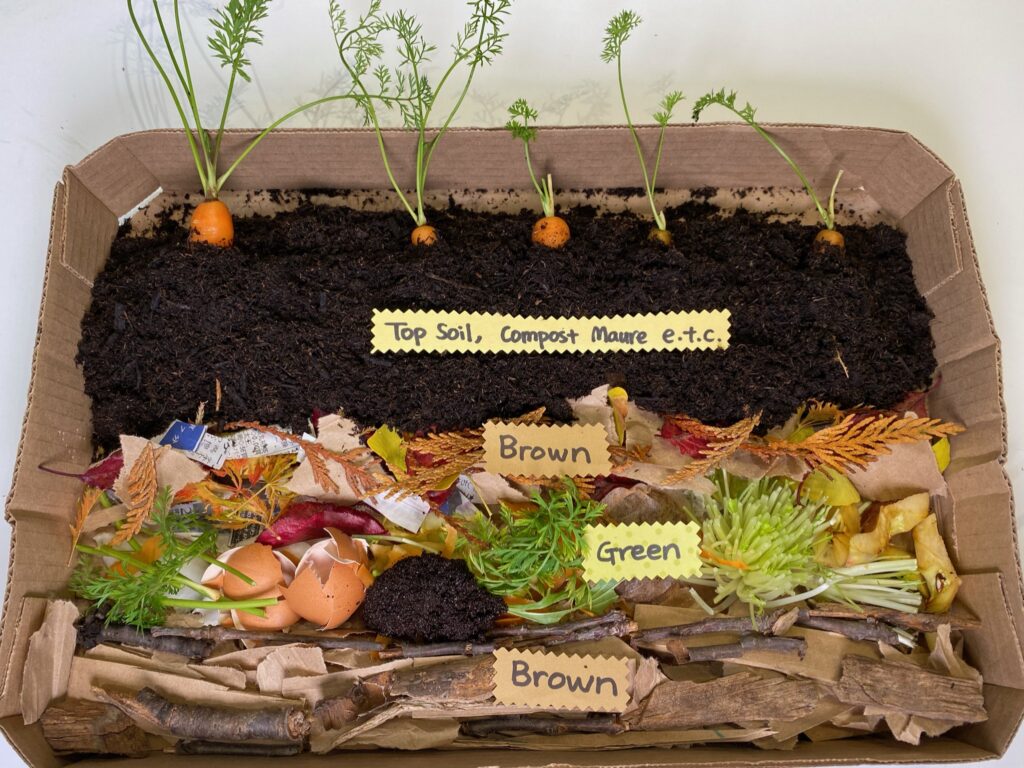
- Topsoil, Composted manure e.t.c.
- Water
For more information on compost materials, please visit Compost Education Centre. You will also find useful gardening tips on sustainable living!
How to make a lasagna garden with children
Step 1: Identify a location
Pick a spot where you are going to create your garden. In my case, the repurposed container will go right beside my greenhouse. Once you decide, you can either mark the location with a string or just start the process below.
Step 2: Create layers in the lasagna garden with children

* Make all the layers roughly 3 inches tall & water each layer when it’s done.
The bottom layer
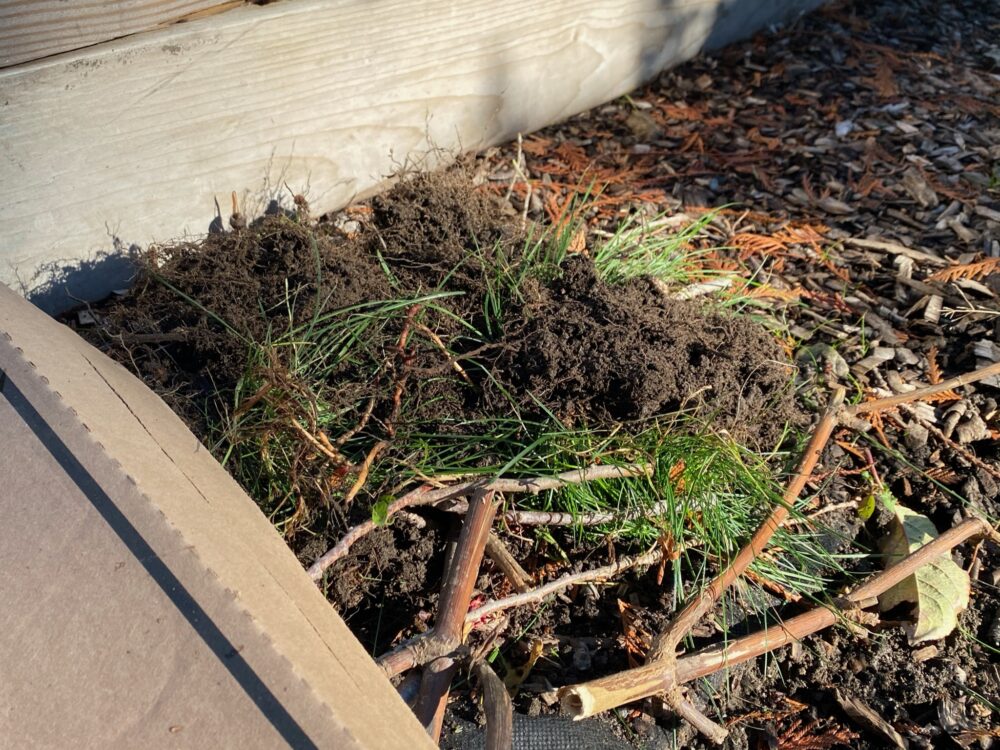
First of all, gather some sticks & twigs, and lay them down as the bottom layer. No need for digging – this is the beauty of a lasagna garden. Just make a layer with sticks and twigs. This allows aeration for quicker decomposition.
Tip: Ask children to gather sticks and twigs. Do you know any child who does not like picking up a stick?! It certainly saves your back, too!
Green layer
Next, add the first green layer. I often use grass clippings and clumps of sod as a first green layer. These often contain seeds and roots, so place the clumps facing down. Otherwise use any green materials like leaves, kitchen scraps, coffee grounds, tea bags, eggshells, etc. Then water to keep it moist.
Tips: When you use sod clumps, be mindful to keep them away from the edges, because they will look for the light to sprout. While you are busy making the layer, the children can become hairdressers cutting the grass with a pair of scissors! By doing that, they gain fine motor skills and hand-eye coordination. And it’s fun!!
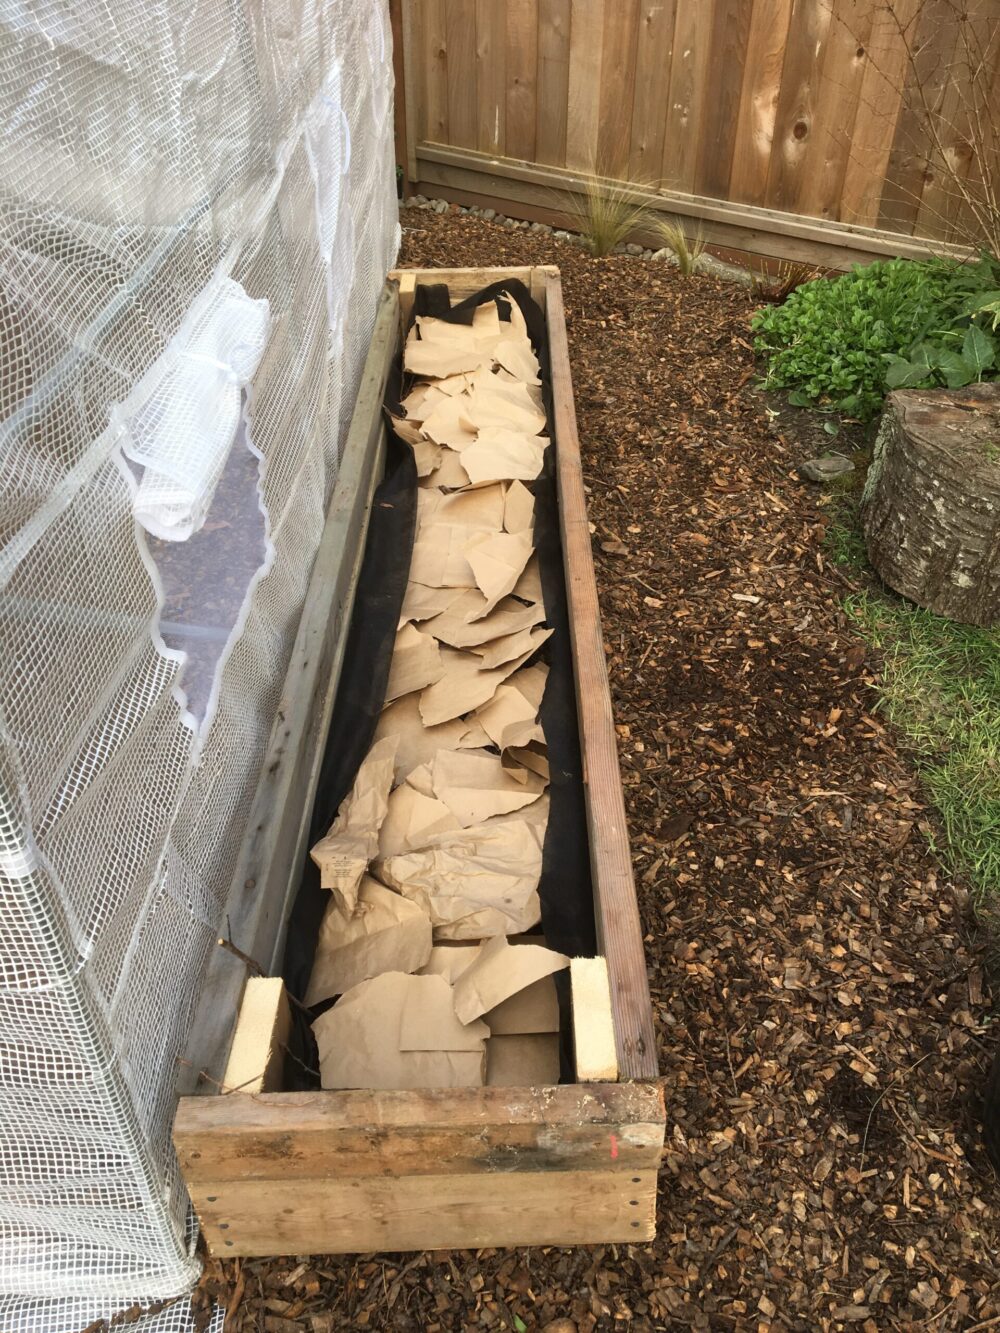
Brown layer
Then add the brown layer. This needs to be cardboard (and paper bags if you have too many like I do). When you complete the layer, soak it with a sufficient amount of water.
Tip: Cardboard prevents any weeds underneath from growing by shutting out the light. You can ask the children to soak the layer… but watch out for how they choose to do it! If it’s a water hose, run!
Step 3: Repeat adding green & brown layers
Repeat adding layers until your desired height. Many raised lasagna gardens are between 12-18 inches tall, but it is really up to you.
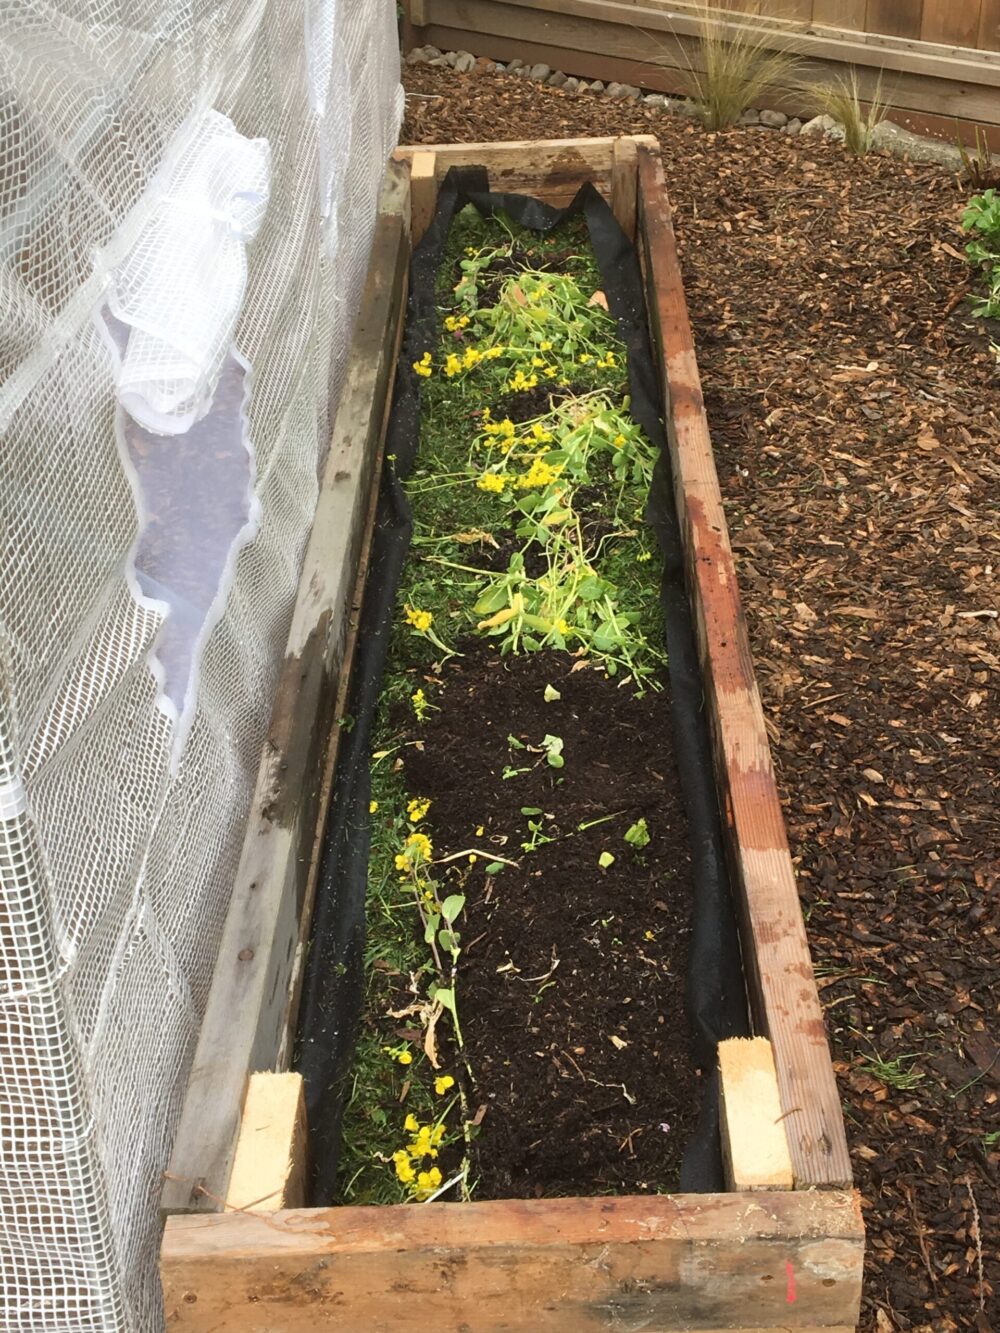
Let’s add a second layer of green. Just like the first green layer, you can add kitchen scraps, coffee grounds, tea bags, eggshells, etc. However, avoid things like grass clumps and weeds this time. Otherwise, you may end up weeding regularly. Don’t forget to water when complete!
Tip: I often add a bit of compost here including earthworms! While you and your children transport the worms, you can talk about what they do. In fact, I call them my friends in the garden!
Next, create another brown layer like shredded newspaper, egg cartons, soil, paper bags, brown leaves, etc. Remember watering?
Tips: Unlike the first brown layer with the cardboard, I use finer/easier to decompose materials. Just like when the children used the scissors, you can demonstrate tearing & ripping the materials into smaller pieces, then let them do it. It’s great extra practice for fine motor skills and hand-eye coordination!
The final step for making the lasagna garden with children
For the spring/summer months
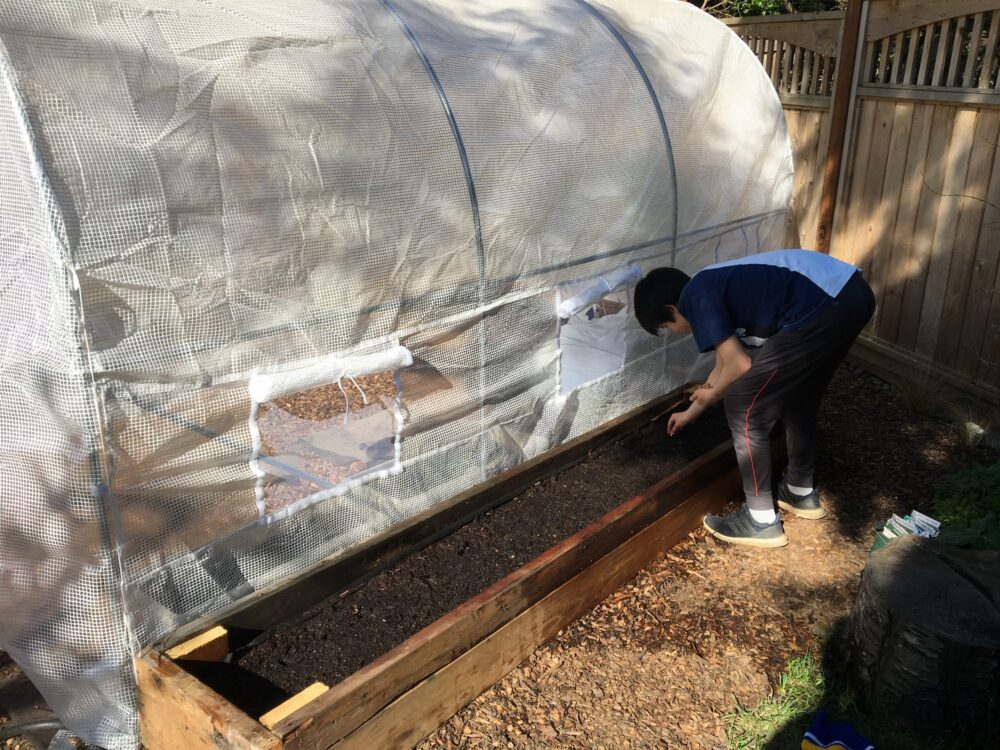
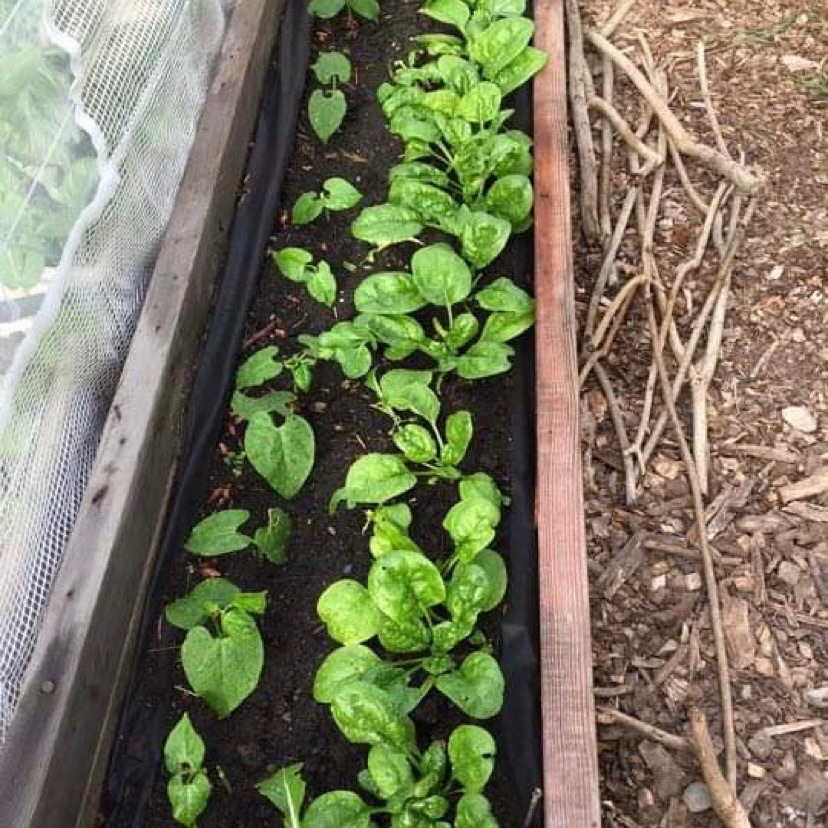
Add 4-5 inches of soil/composted manure. While the lasagna garden is cooking underneath, you can start growing. As you know, decomposition lowers the height of the soil, so add extra on top.
Next, water the brand new lasagna garden for seeding/planting. At the same time, your plants are growing, the lasagna garden is cooking itself.
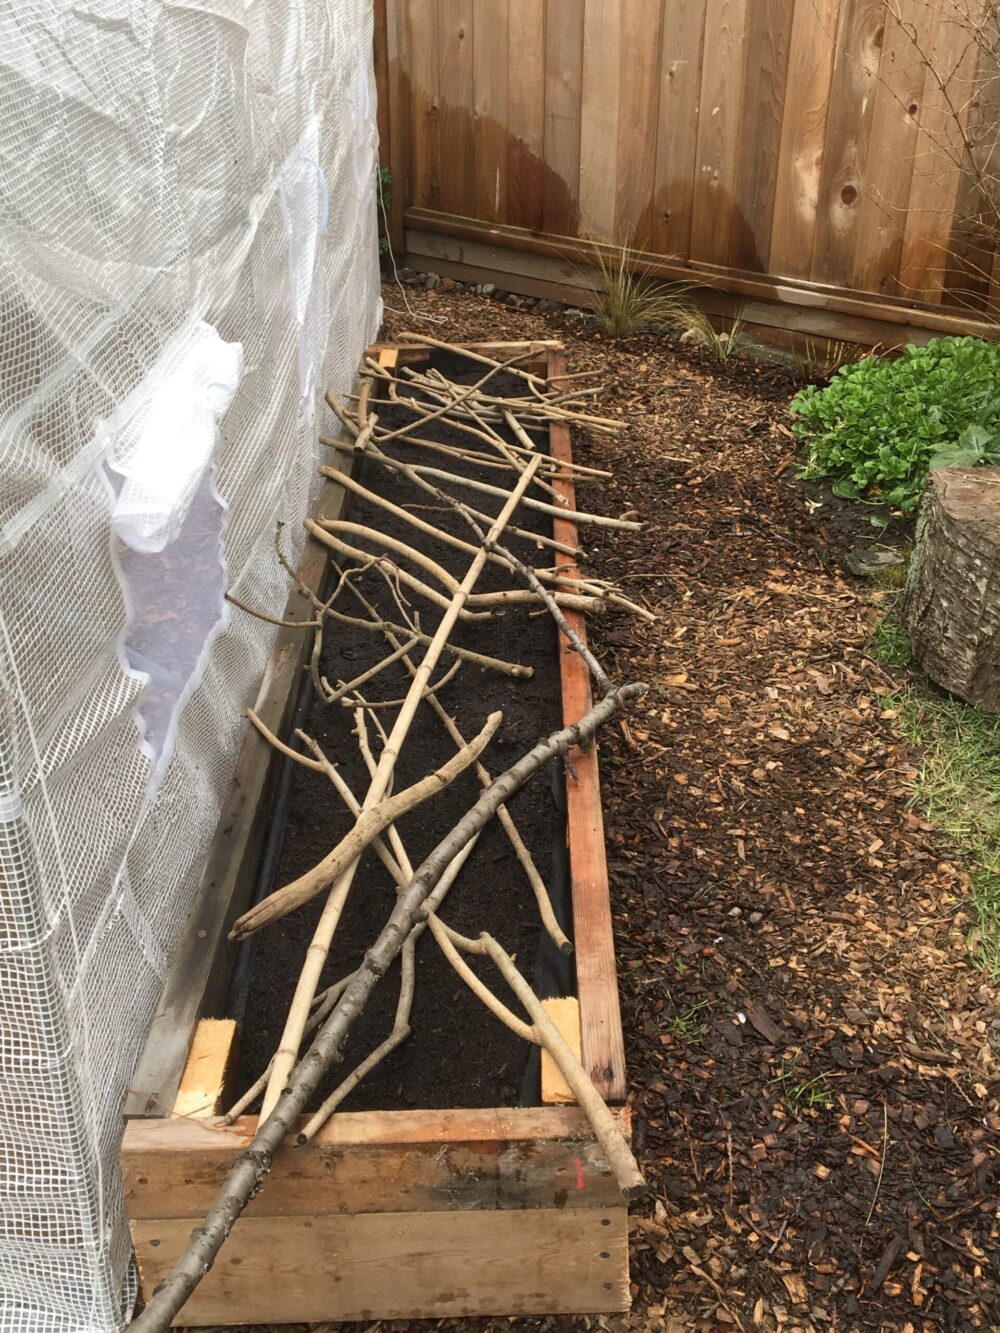
Tip: Cats can be a nuisance, particularly in brand new gardens. As a solution, I criss-cross branches over the seedlings until the plants get established. Later on, these branches can become a trellis.
For the autumn/winter months
Add a couple of inches of soil/composted manure on top. Then collect leaves with your young gardeners and make a pile. It’s like a big lid/blanket for the lasagna garden and the worms!
Where we live we have a lot of rain in the fall, so I skip the watering part. Let the lasagna garden sit and cook until next spring.
Tip: When my children were small, they turned this process into a construction site. With their big dump truck and front-end loader, they had a blast. (I actually made a song for it, too!”)
Mission Accomplished!
A few weeks later…
During the quarantine, I wanted to expand my veggie garden. But the long lineup discouraged me to go to a nursery. As a result, I had to build a lasagna garden with what I had.
Later on, the harvest was shared with families, friends, and neighbours. They also shared their fresh produce with us. It reminded me of my mother who believed in caring for others. There is always a light in the dark – acts of kindness ROCK!