Are you or your children looking for an idea to make a special card for a group of people? Then making an origami heart with a message is for you!
It’s so simple and you can make them with what you already have. No shopping is required, so you can start making one right now!
In this tutorial, you’ll find how to make origami hearts with messages.
What you need
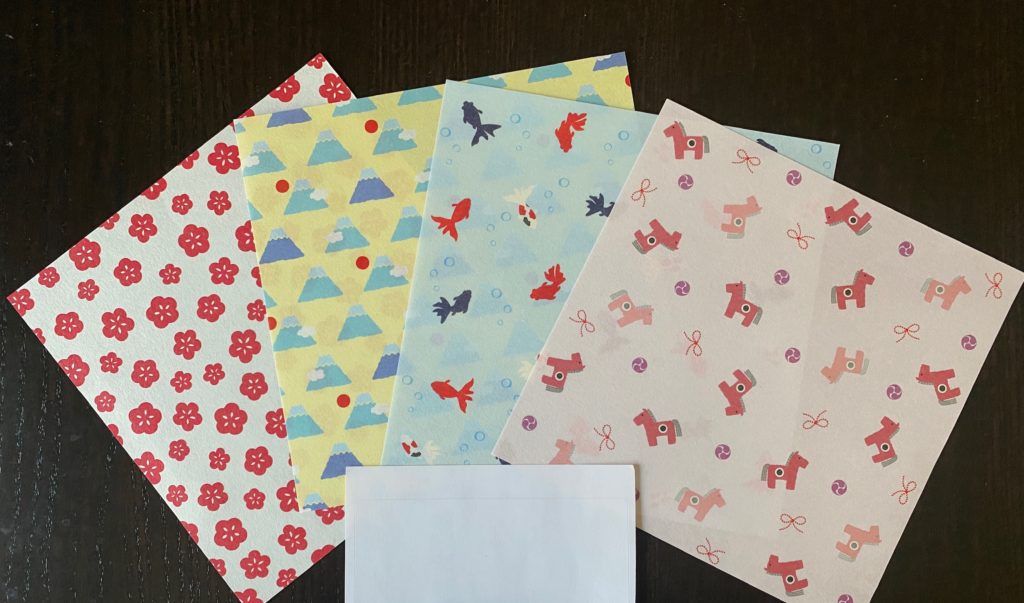
- origami paper (any paper works, and all you need to do is make it into a square!)
- sticker labels (I used stickers for an envelope.)
Before you make
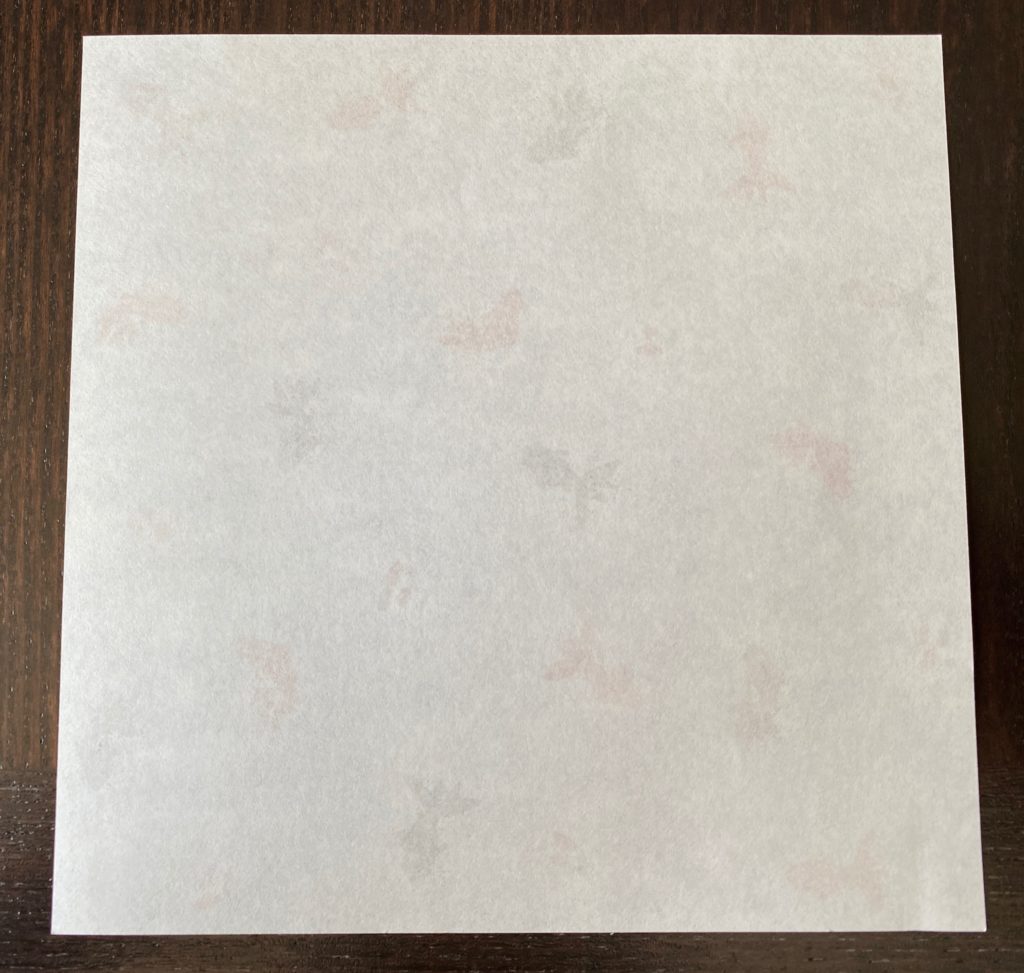
Make sure to write a message before you start making the origami heart. In the picture below (left), I used a blank sheet for privacy reasons.
How to make an origami heart
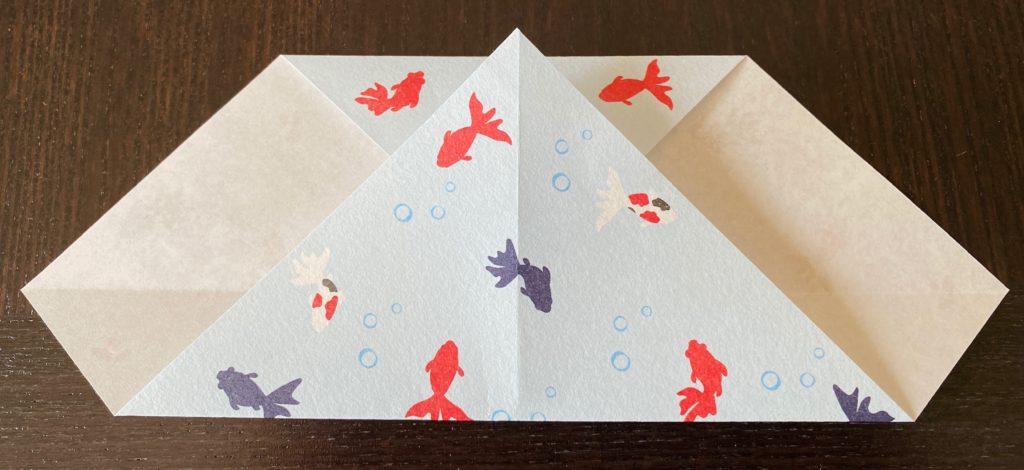
Step 1: Fold to make lines & mark center
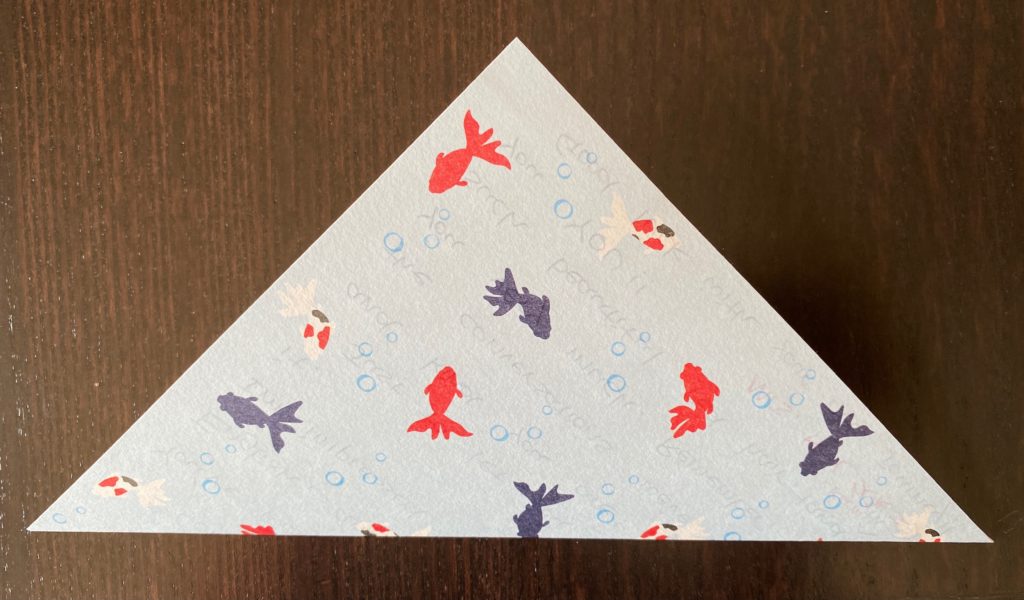
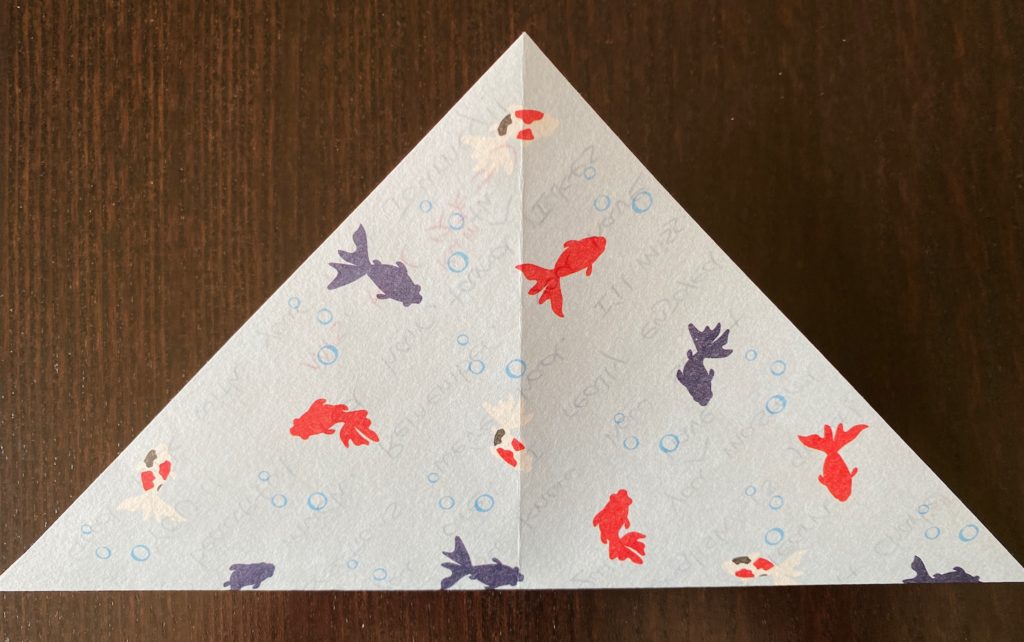
First, lay a piece of origami on a flat surface. As you can see in the picture, the back should be facing up. Next, fold it in half to make a triangle. Then open up and make another triangle.
What you are doing here is identifying the center by creating the letter X on origami.
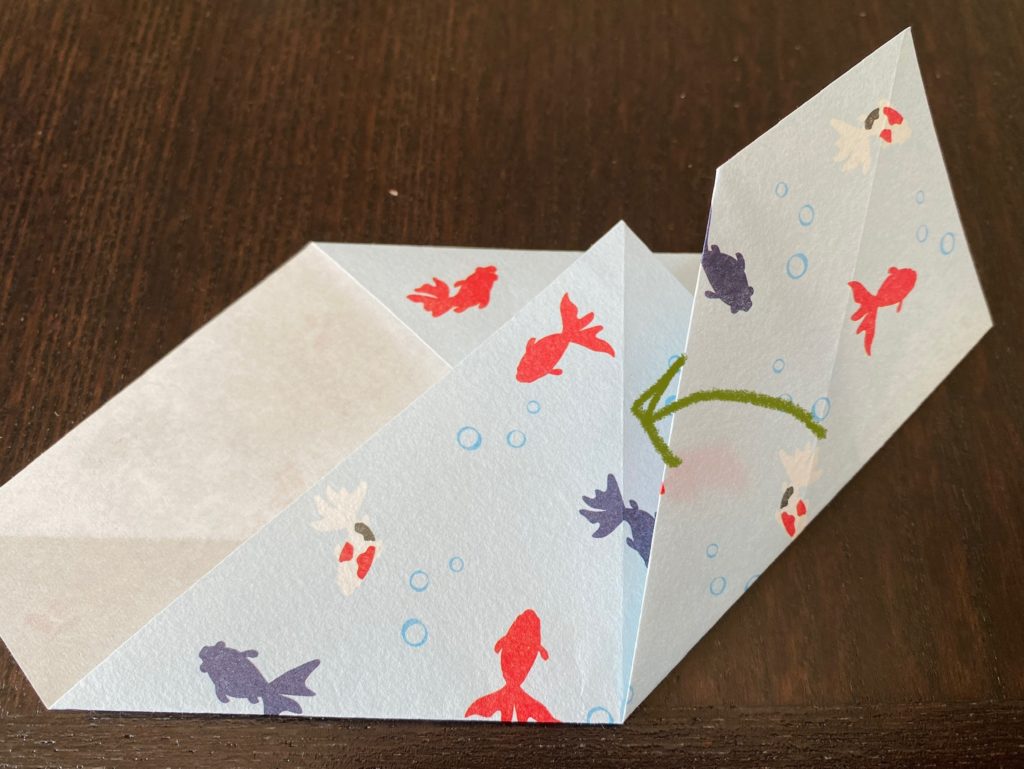
Step 2: Fold the top & bottom corners
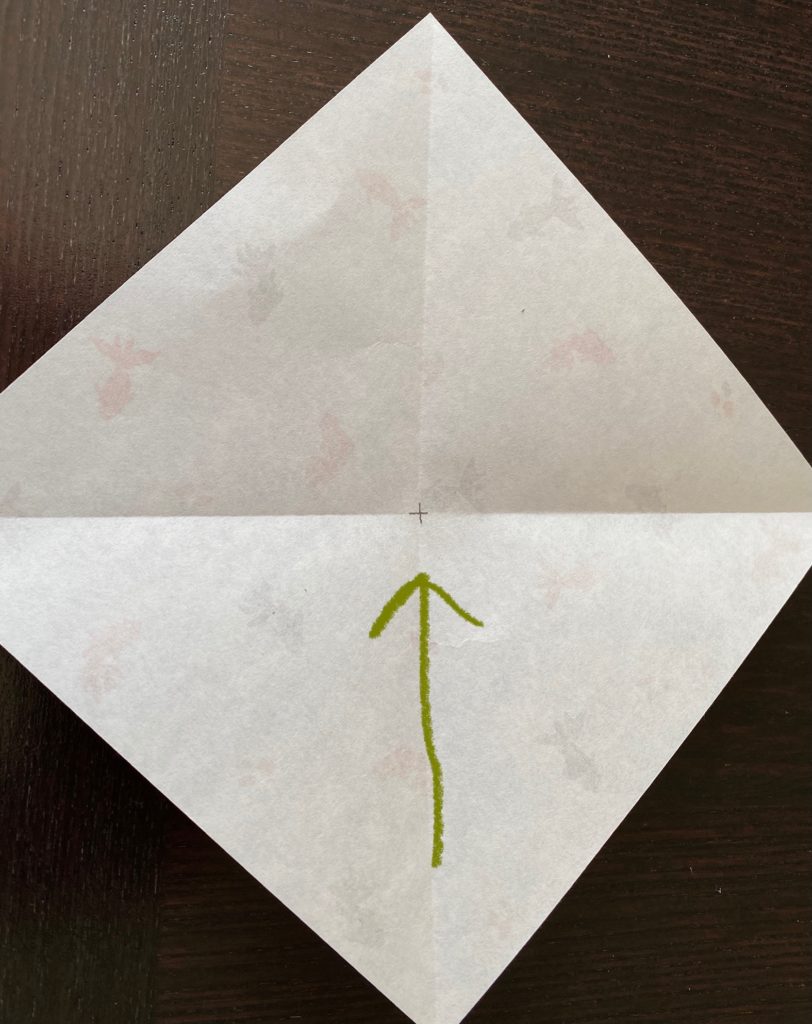
To begin, bring one corner up to the center and press it down. As you can see in the right picture, rotate the origami to bring the folded part on top.
Next, bring the bottom corner to the top. To clarify, the corner and the top edge are aligned.
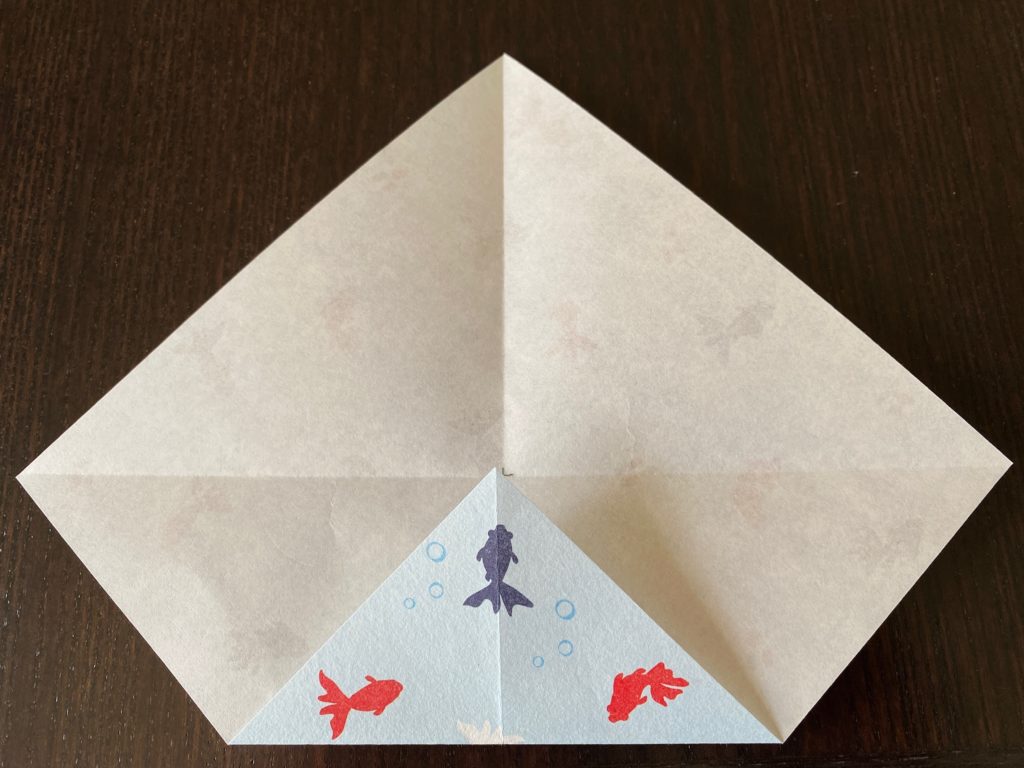
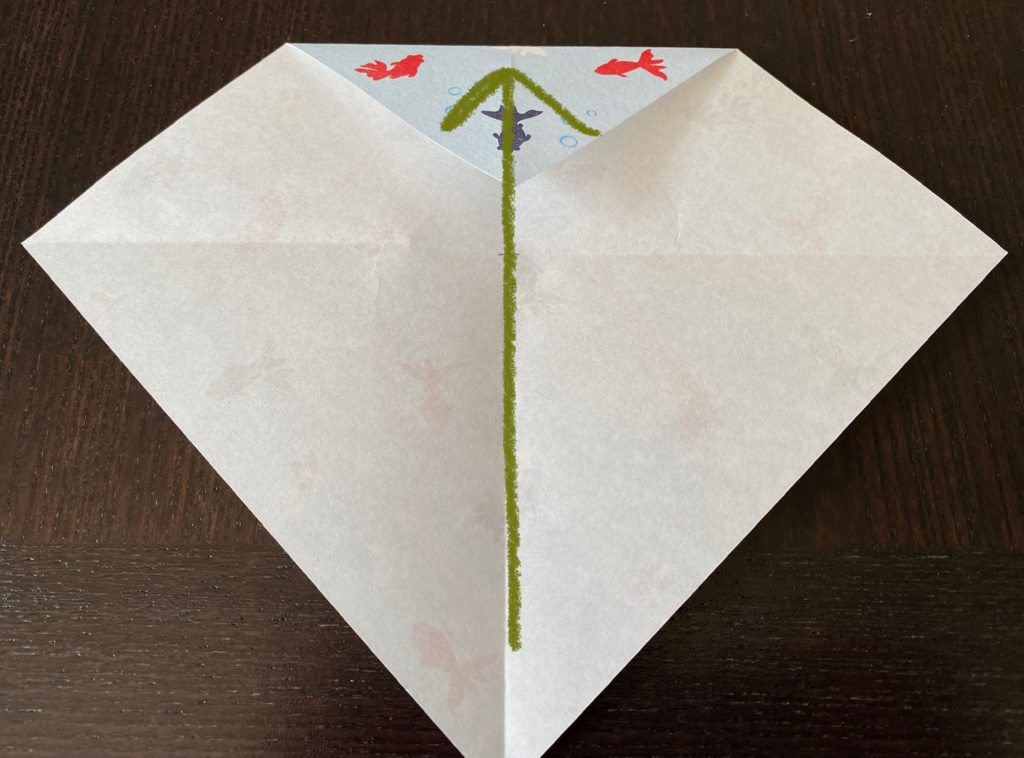
Step 3: Bring the bottom edges to the center
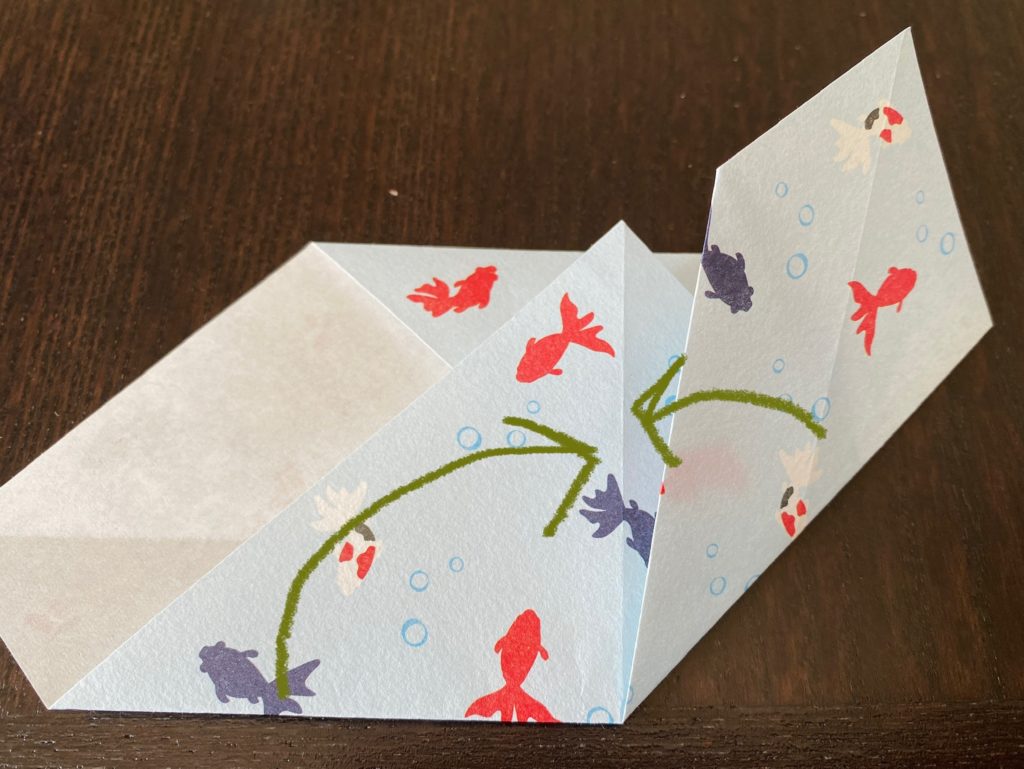
Now, you are creating the main part of a heart. As you can see, bring the bottom edges to the center by folding. Both edges will be aligned over the centerline.
Final Step: Fold the marked corners of the origami heart
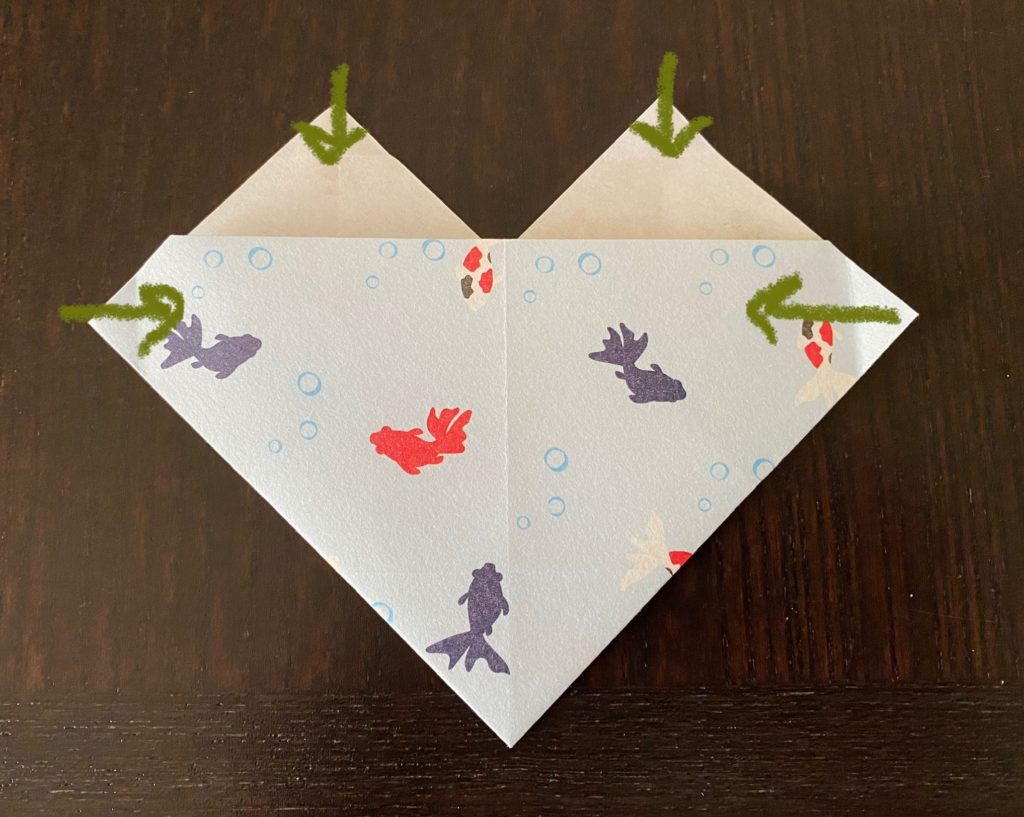
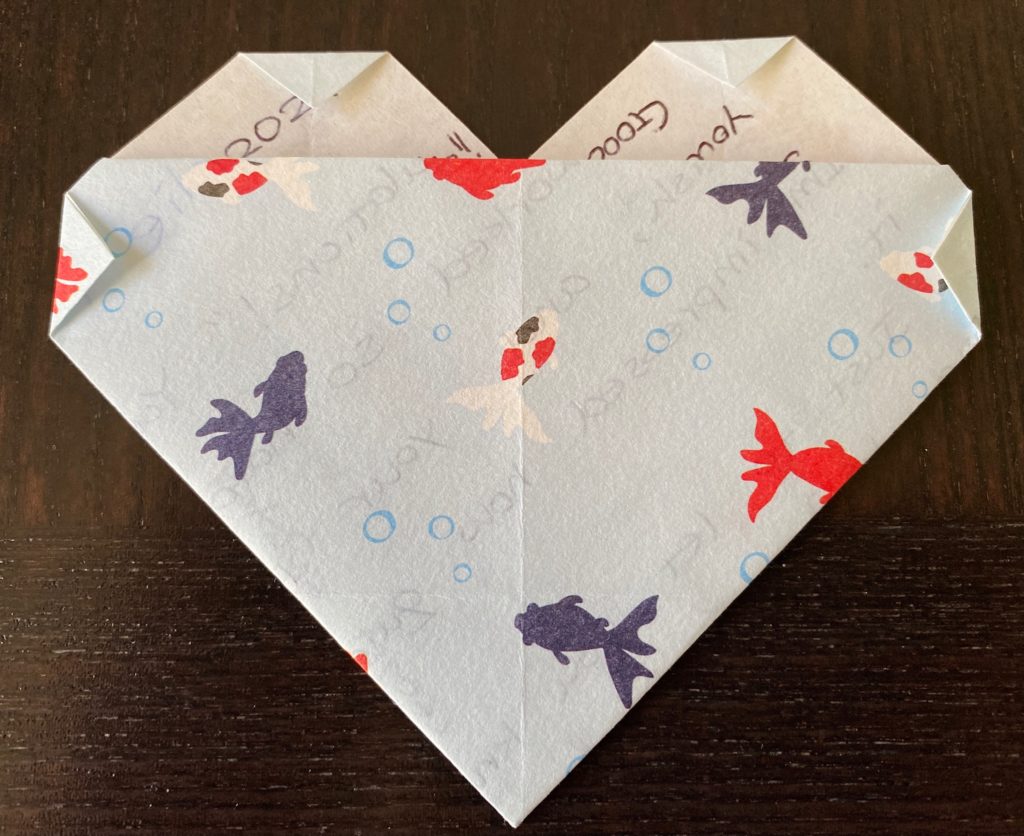
Now you can probably see the pointy heart. What you need to do now is fold those marked corners (left picture). For this, I folded a bit less than 1cm (7~8mm).
When you are done, flip it to the front and see the balance. You can always adjust it, and that’s the beauty of origami.
Ta-da! What do you think? It’s quite simple that even young children can make one!
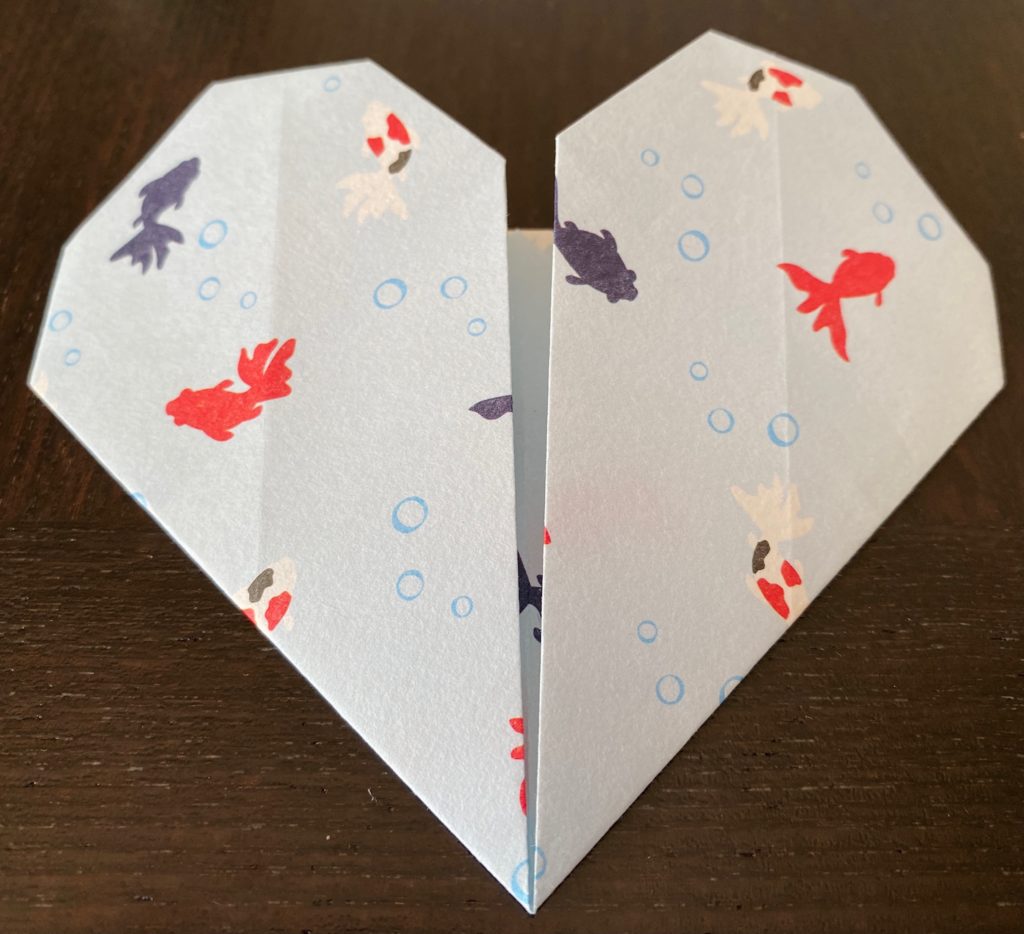
Extra touch for origami heart
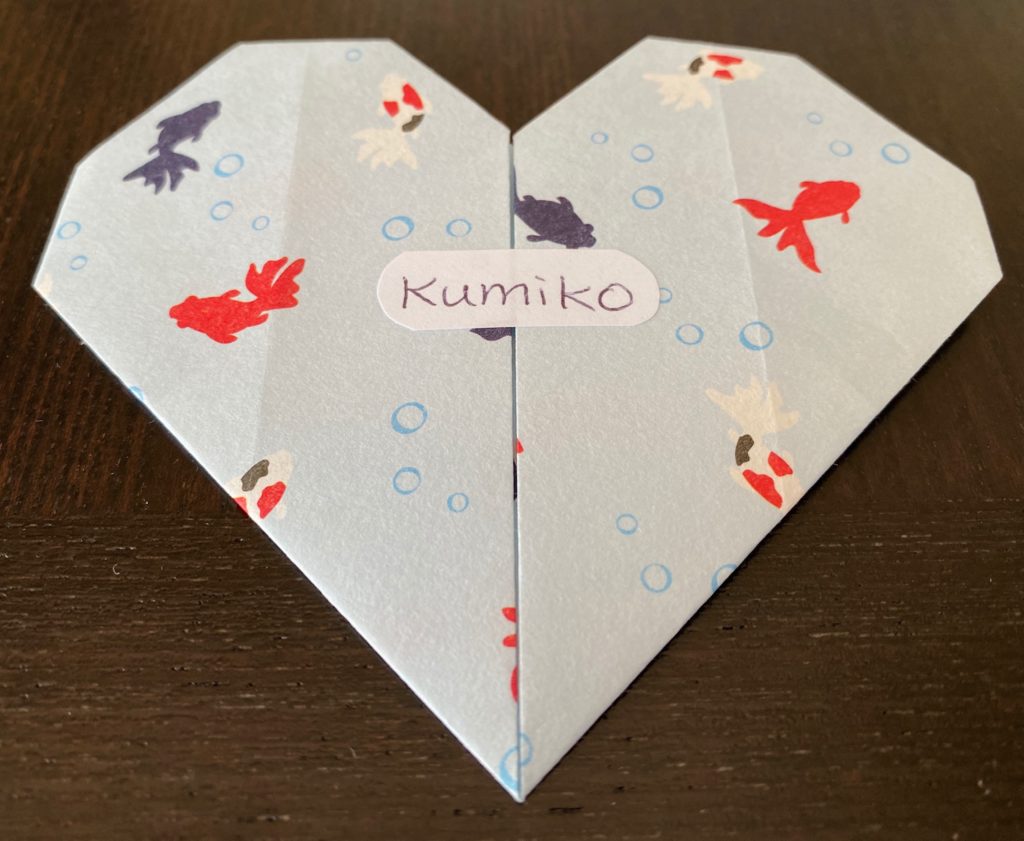
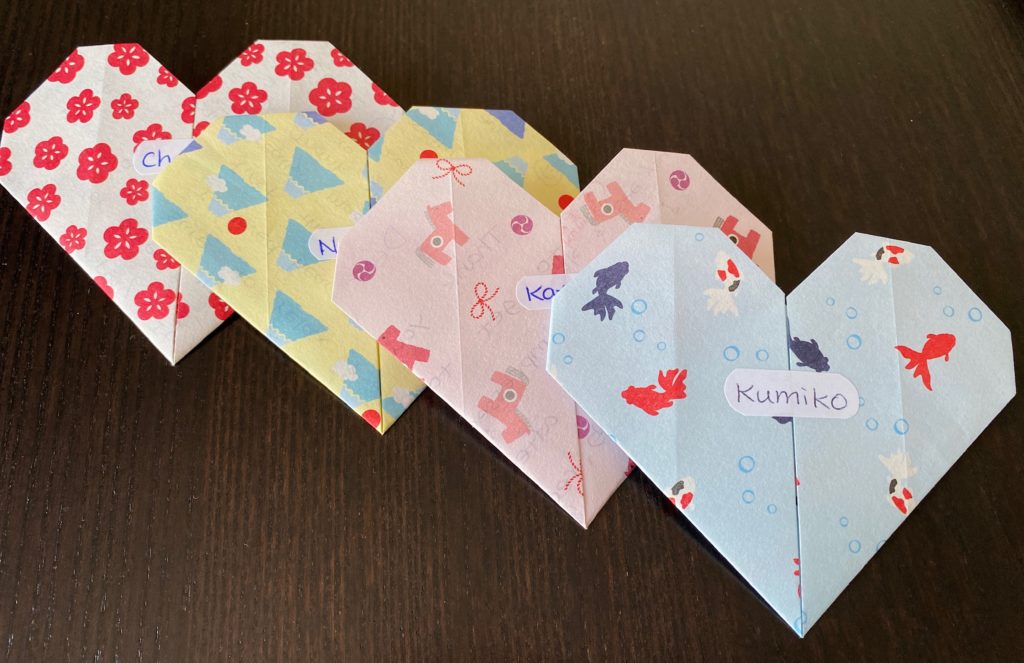
Once you fold the origami, you won’t be able to see the name on the message on the back. Instead of writing a name on it, I used a sticker label to hold two parts together.
Unlike the old days, we don’t use a sticker label on an envelope anymore. So I wrote a name and cut it just like what you see in the picture.
Mission Accomplished!
It’s almost the end of the school year. I certainly had a great opportunity to work with awesome kids. So I wanted to create something special that also represents me! All students know I’m Japanese, so the origami heart was ideal!
In the messages, I focused on their strengths and the personal memories I had with the individuals. In the challenging times like what we’ve been having, children for sure move us forward with joy.