
Repurposing fabric scraps is one of the fun ways to reduce the amount of garbage. Whenever you hear fabric scraps, you may think about patchwork. But what about smaller pieces like what you see in the picture?
With special fabric, you probably want to use them and minimize the amount of garbage. Or maybe you simply want to challenge yourself to become more sustainable.
In this article, you’ll find how to repurpose material scraps to create a flower vase.
How are we repurposing fabric scraps?
Are you wondering how to use these material scraps? Just like paper mache, you’re gluing bits & pieces onto a container.
Don’t worry, you don’t need to buy anything. You’ll be using what you already have, so start thinking about what you want to use.
What you need

- plastic bottle (vitamin bottles work great for this!)
- scissors
- brush
- liquid glue
- lid/small cup (mixing glue and water)
- material scraps ( kimono materials for this project)
- ribbons/string/twine (reuse what you have!)
- non-stick/washable mat (I used an old plastic placemat.)
Instructions – repurposing fabric scraps
Let’s get started! You can either watch the video or scroll down for written instructions. Either way, it’s very simple, and all you need is your imagination.
Step 1: Mix glue & water
Once you gather everything, the first thing you need to do is mix the glue & a bit of water. It depends on the glue, but if it’s thick, add water to make it the consistency of whipping cream.
Step 2: Glue – repurposing fabric scraps
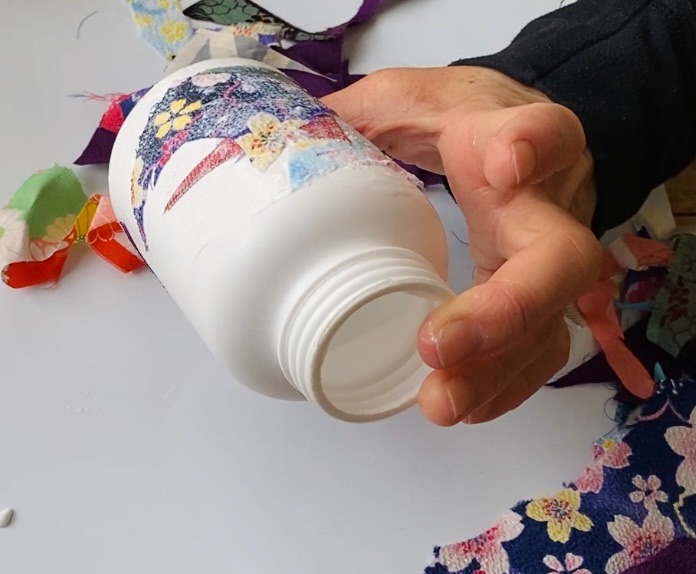
First, apply the glue onto the bottle evenly with a brush. Then place a piece of fabric scrap on it, and gently spread it with a gluey brush. Yes, you want to cover the piece with additional glue to create layers on top.
When the first piece is glued onto the bottle, start covering the surface with more fabric scraps. What you want to make sure of is that you are overlapping materials each time. You’ll also need to apply additional glue both on the bottle and the materials.
Tips:
- Hold the top & bottom of the container to avoid gluey fingers.
- Whenever you see a wrinkle, spread the material out with the brush. Or simply press it down with extra glue.
- It’s easier to leave the bottom uncovered for its stability.
Step 3: Leave it to dry
Once you are happy with your art piece, just leave it to dry. Avoid leaving the vase where you just worked on gluing. Instead, you can place the cap of the vitamin container underneath or something similar so it sits off the surface.
Now just leave it until it’s completely dry. You’ll see the white glue becoming clear. The gluey soggy materials also harden which protects against water as well.
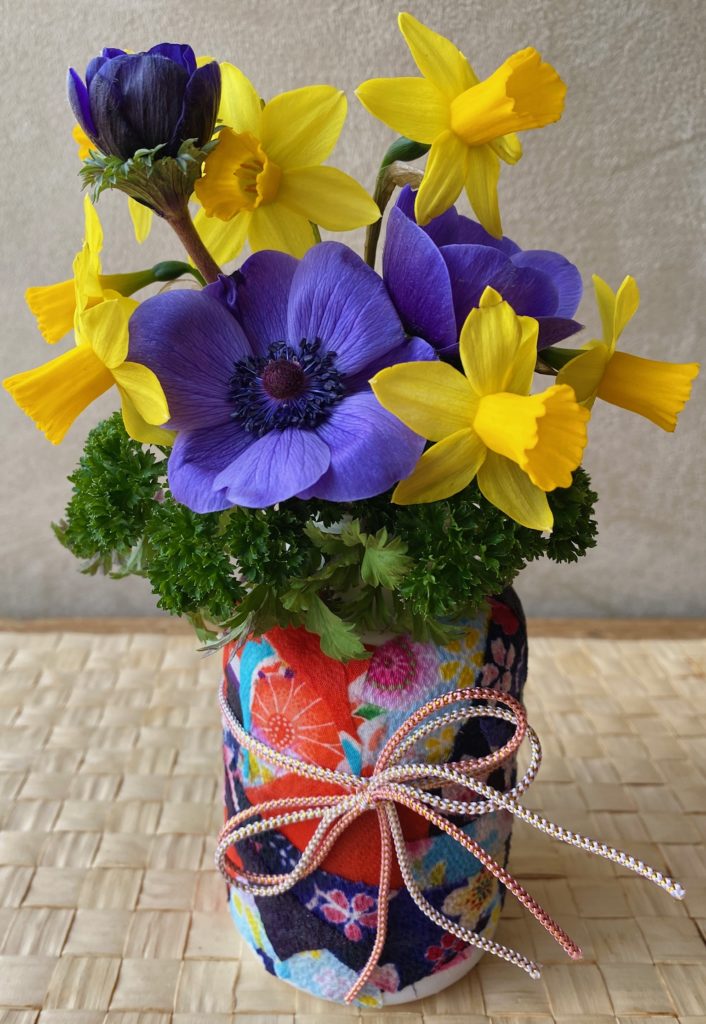
The final step: Add ribbon & make an arrangement
Finally, add a ribbon or any accent on the flower vase, and make an arrangement.
For the flower arrangement, go outside and see what’s available in your garden. Since it’s early spring, something as simple as daffodils and greens can brighten up your living space!
Mission Accomplished!
Let’s review the project. As I mentioned in the introduction, there are two things I wanted to achieve. The first one was to reduce the amount of garbage, and the other one was to be more sustainable.
Since I repurposed the fabric scraps and the plastic bottle, the amount of garbage was surely reduced.
Was it sustainable? As you know, I used what I had at home including the flowers. Additionally, the ribbons were reused as an accent. So the craft had a very low environmental footprint.
Now, I want you to use something you already have to be creative! As always, please send me a picture of your creation!