
This is the 2nd post in a series of making a ‘one of a kind gift bag. To begin with… I have to confess – I’ve NEVER made a 3D snowflake before! Of course, growing up in Japan, Christmas was foreign for many families. But this year, I had to learn how to make it.
So I watched a tutorial and made a sample with my children. Then I used scrap paper to make a smaller version for a gift bag.
In this article, I will share how to make a ‘one-of-a-kind gift bag with children.
What you need
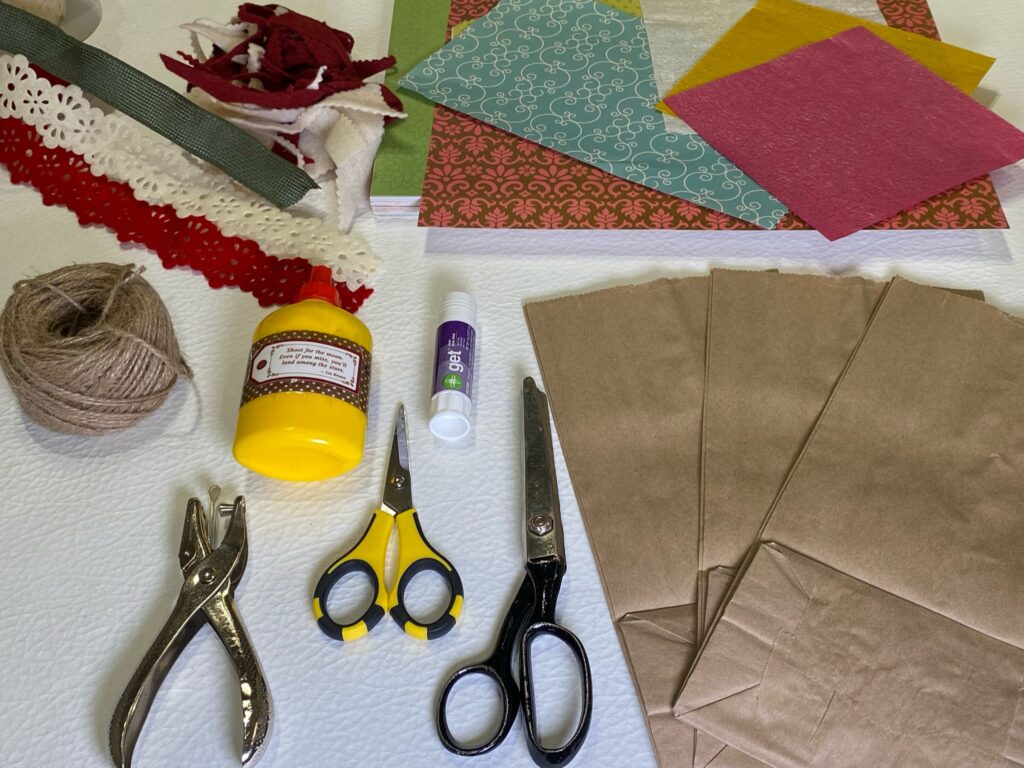
- lunch bag
- scissors
- glue (either glue gun or liquid)
- paper (copy paper is fine)
- bits and pieces of felt
- marker
Making a ‘one of a kind gift bag
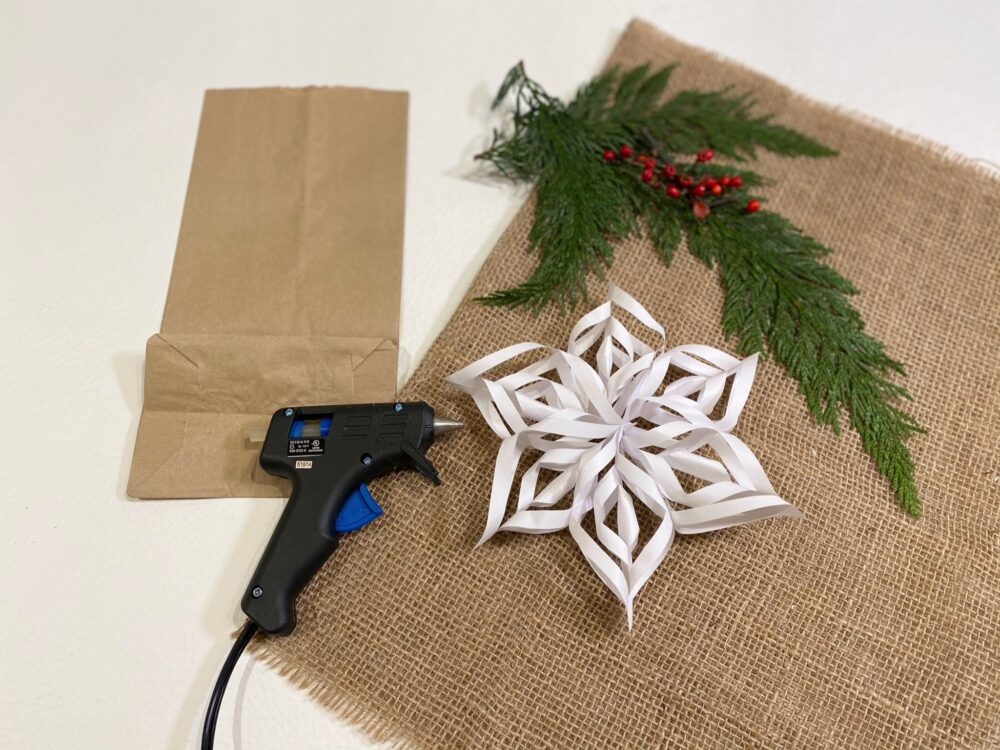
First of all, let’s create the most important piece: the 3D snowflake. If you are like me who has never made it or need to brush up your memory, check out the tutorial below.
Tips: The smaller the paper the harder it is to make. So if you are working with smaller children, choose bigger paper. It is ideal for mid to upper elementary grades and up.
Once you have your beautiful 3D snowflake, let’s get the bag ready for the decoration.
What you want is to fold the bottom part down as you can see the picture below. Doing so gives you the idea of a location of where you want the snowflake to be. This is a simple task even for a little one to participate.
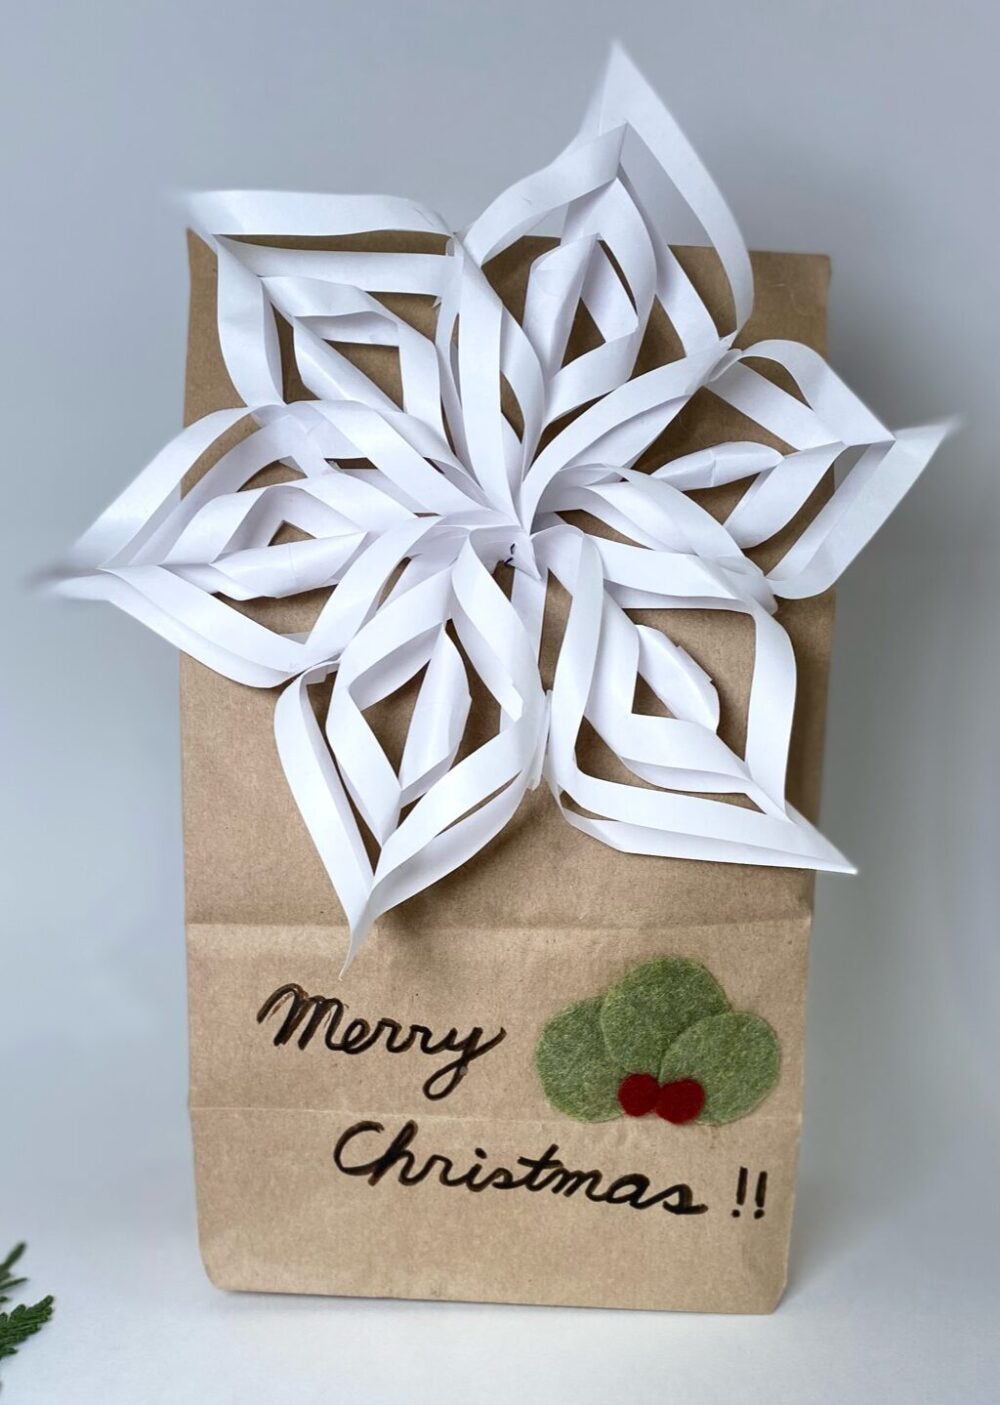
Next, glue the snowflake onto the bag, and see if you want to add anything else. It’s really up to you and your family. Since it is an open ended concept, I’m just here to show you possibilities.
Lastly, I added some felt and the writing at the bottom.
Mission Accomplished!
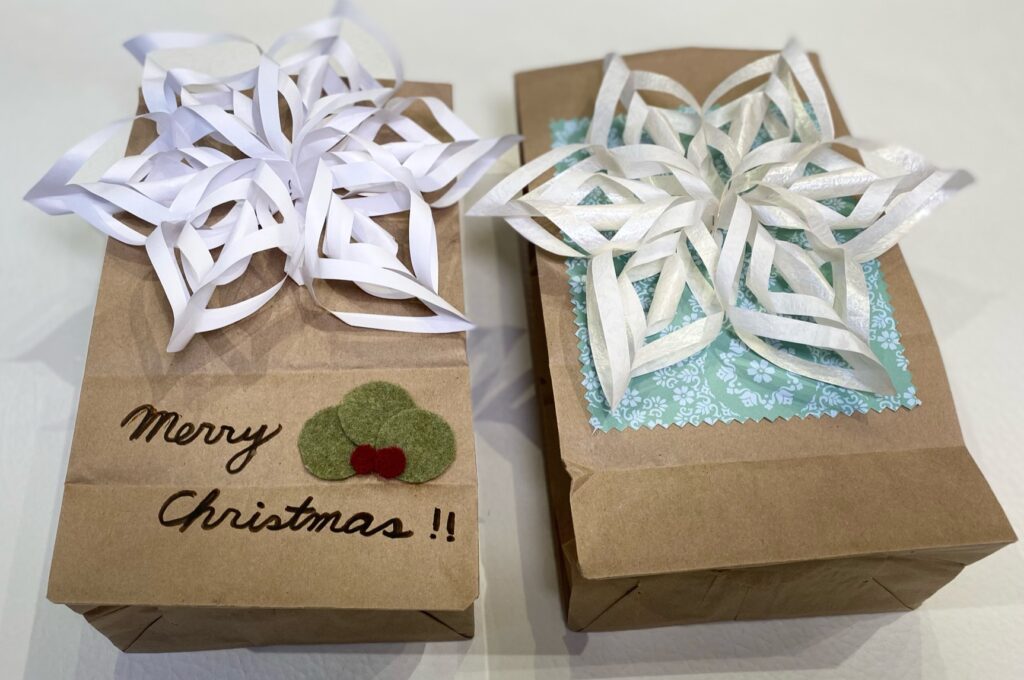
Another design using a 3D snowflake. With this, I used double-sided tape (5mm width).
As an open-ended DIY project, it surely reflect who you are for your ‘one of a kind’ special bag! And you are the only one who can tell the story behind it. So, be a creator to share the gift you have!