
Revive the kids’ pants or chuck it?
What would be your reaction when you see this? Believe it or not, I can’t let it go yet. So, my reaction is revive the kids’ pants!
In this article, I’ll show you how to revive kids’ pants.

What you need
- pants – the patient
- thread (heavy duty)
- shears
- material (donor)
- sewing machine
- sewing pins
How to revive kids’ pants
Step 1: Choose, Cut & Pin
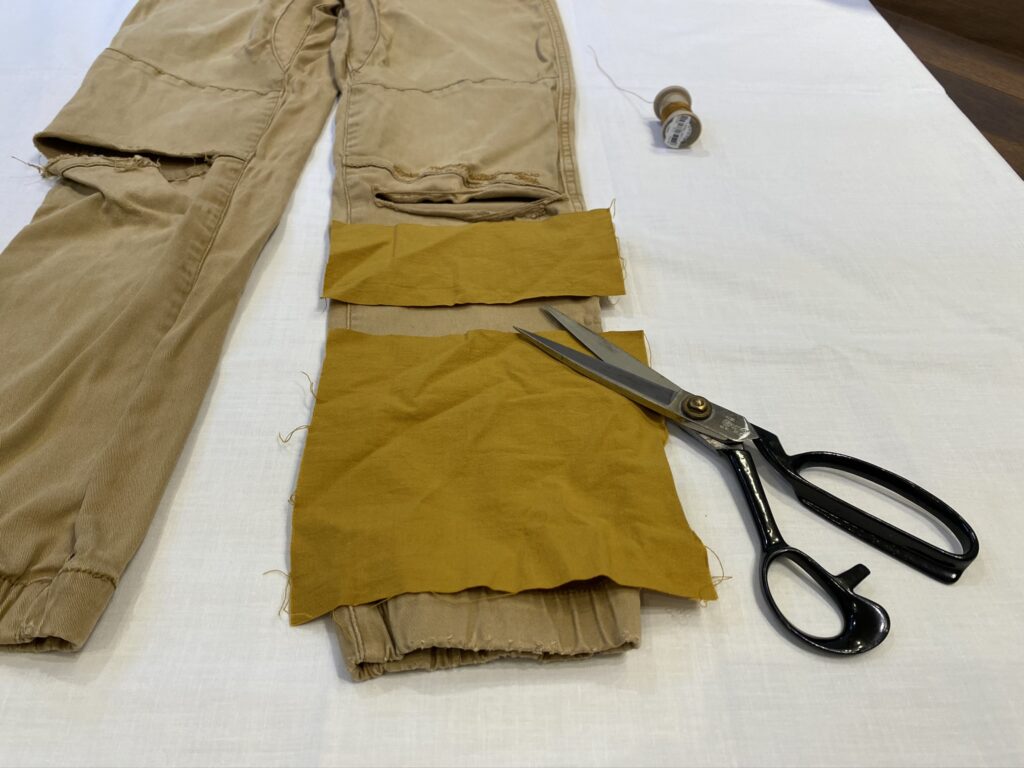
cut the donor material – revive kids’ pants 
put the material inside and pin
First of all, choose some donor material a similar color to the pants.
Tip: Donor material can be anything you have. Ideally, match with the type of material of the pants. For example, cotton for cotton pants and stretchy material for jersey type pants. In fact, I often use nylon stockings for the latter.
Next, rest the donor material next to the hole/rip to determine the size you need. Then cut – the picture above may be confusing, but make sure to lift the piece off the pants when you cut, or you may have to do additional sewing! (Yes, I have done it several times…)
Lastly, place the donor material inside of the ripped part and secure it with pins.
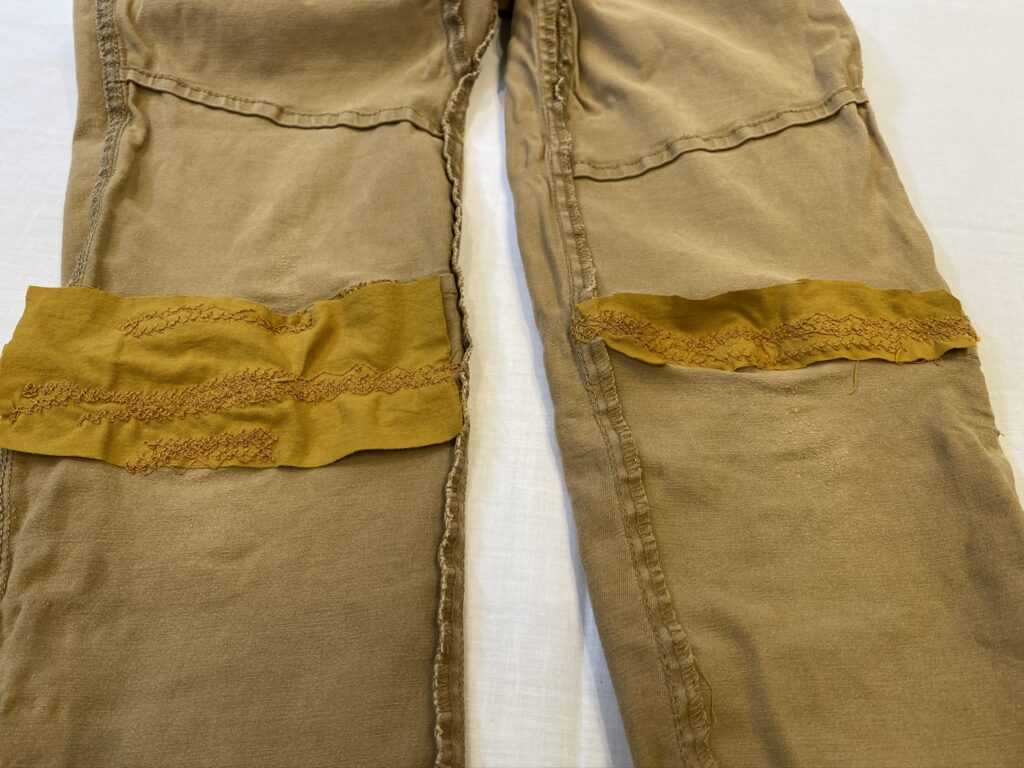
Step 2: Sew the patch (revive kids’ pants)

remove the attachment 
let’s revive kids’ pants 
start sewing 
zigzag – back & force 
cut the thread 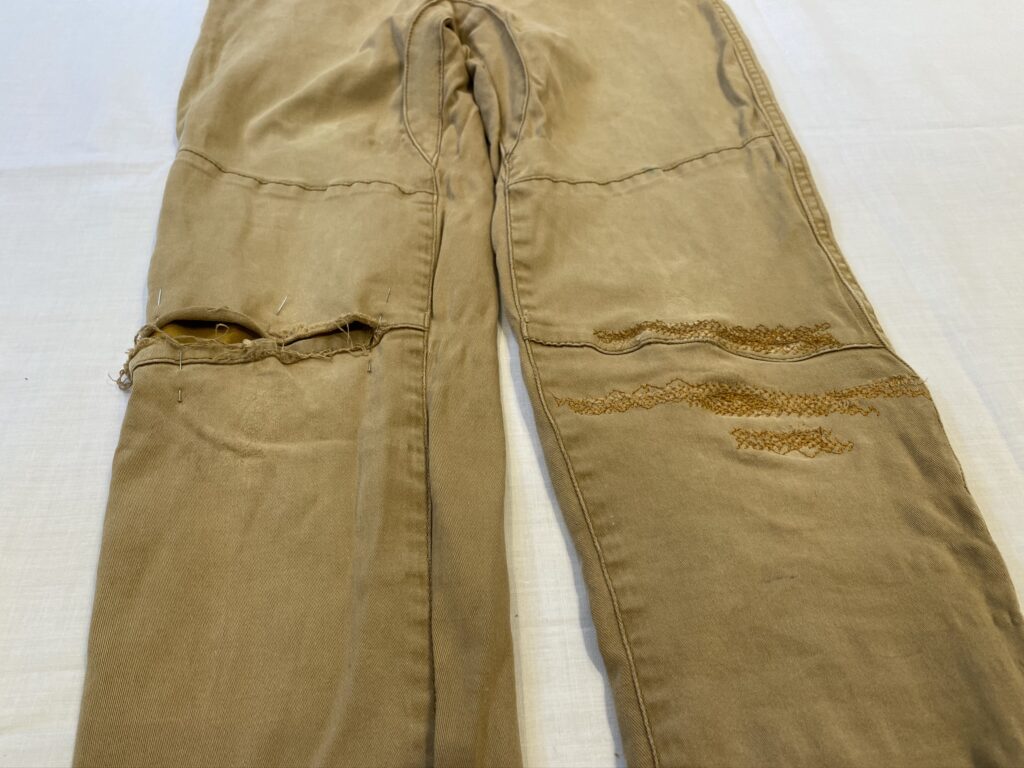
one side is done
First, detach the flat bed attachment from the sewing machine. This allows us to sew cylinder-shaped material. With a gentle pull, place the leg part around the leg of the machine and under the needle.
Then, choose a sewing pattern. Something like a zigzag gives it extra strength. Again, knee parts get the most wear!
Next, sewing begins! Make sure the material is right side out.
Once you know where you want to start sewing, place the needle through the material. Then lower the foot. Unlike sewing regular thin materials, you want to go slow. In fact, sewing requires both hands for feeding and pulling the material.
Tip: Sew back and forth a few times to strengthen the part. I also sew over (1 cm) both sides of the rip as you can see in the picture above. Because that’s where it will most likely get ripped again. When the sewing is done, cut the thread.
Final step: check & cut
turn Inside out 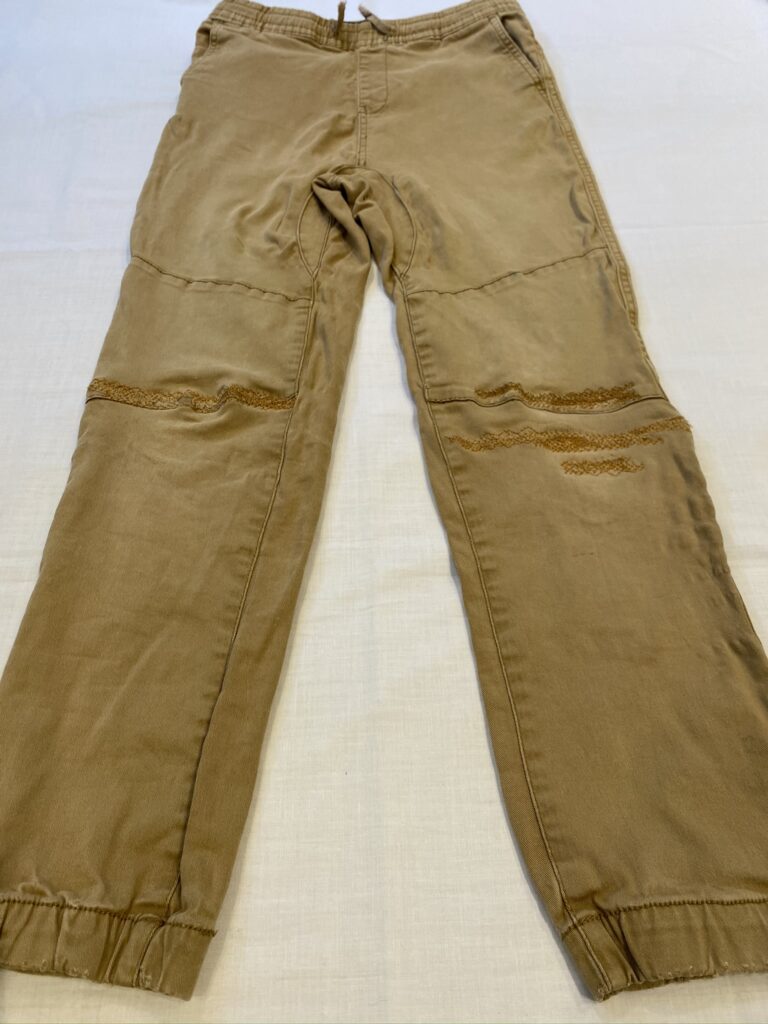
revived kids’ pants
When the sewing is completed, remove the pants from the sewing machine and flip the pants inside out to check.
Clearly, I am not a pro, but it is good enough to last a bit longer. While it’s inside out, cut all the extra threads for a clean look. Additionally, trim off the donor materials. Finally, flip the pants right side out.
Mission Accomplished!
Although I wanted to be Eco-friendly and teach my children my values, I was afraid of the eyes of others. Do people think we can’t afford to buy new pants for our children?
Clearly, it took me courage. It sounds silly, but my ego and the cultural expectations got in my way. But once I started, I felt good. One less thing to go in the landfill!
Anyhow, I have saved many pants by doing this. Luckily, most of them have survived even my boys wearing them…especially the second one. Some pants have turned into shorts! And other parts have become repurposed crafts! Win- win for nature and us!