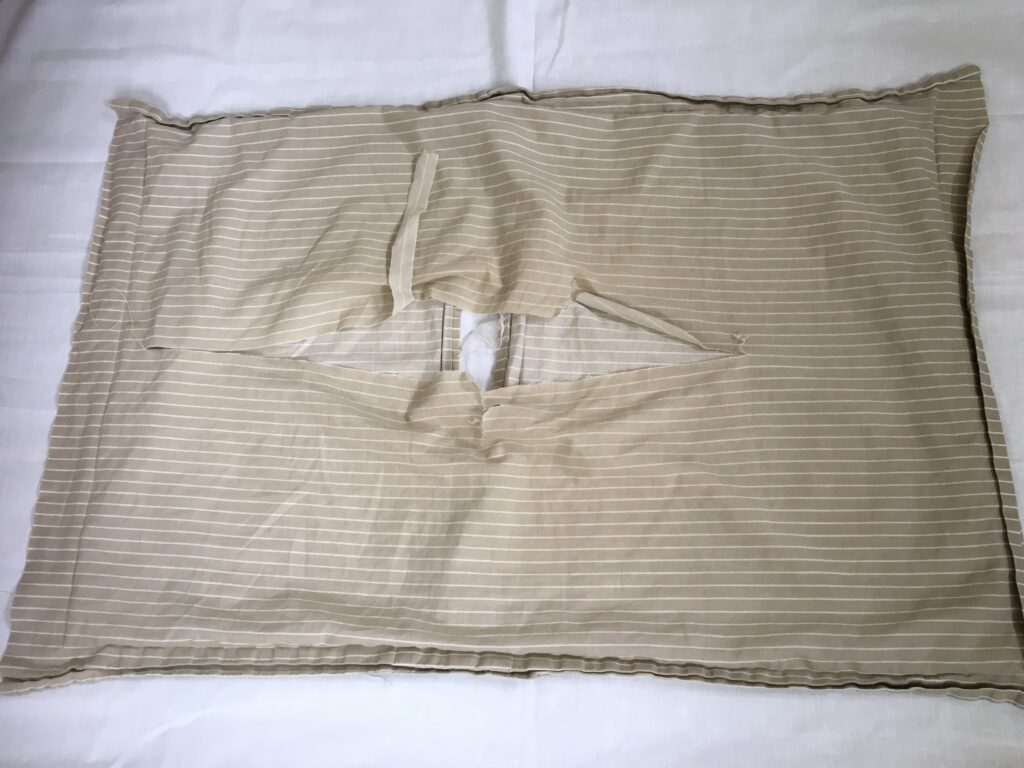
The pillowcase with rips… garbage, right?! This is what happens when a teenager plays with a pillow.
I wish I could see it as is and ignore it…but I can’t (agony). So I pulled out my imagination toolbox!
In this article, I will show you how to repurpose a pillowcase into bags.
What you need
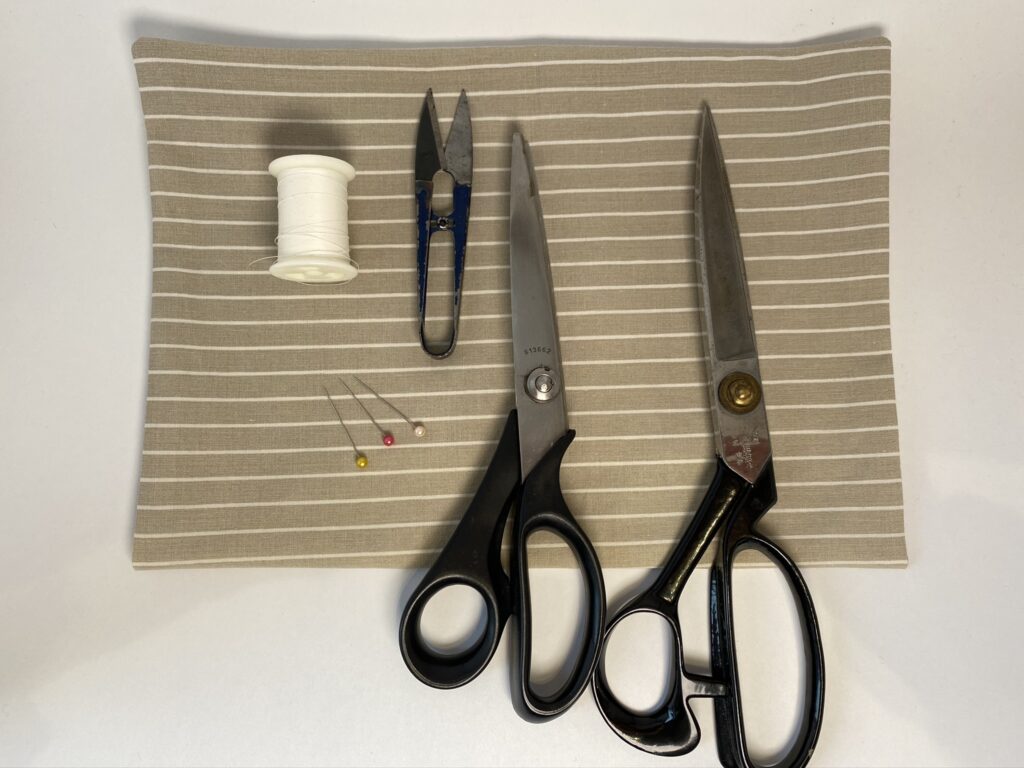
- pillow case (washed)
- sewing supplies
- pinking shears
- shears
How to repurpose a pillowcase
Step 1: Disassemble the pillowcase
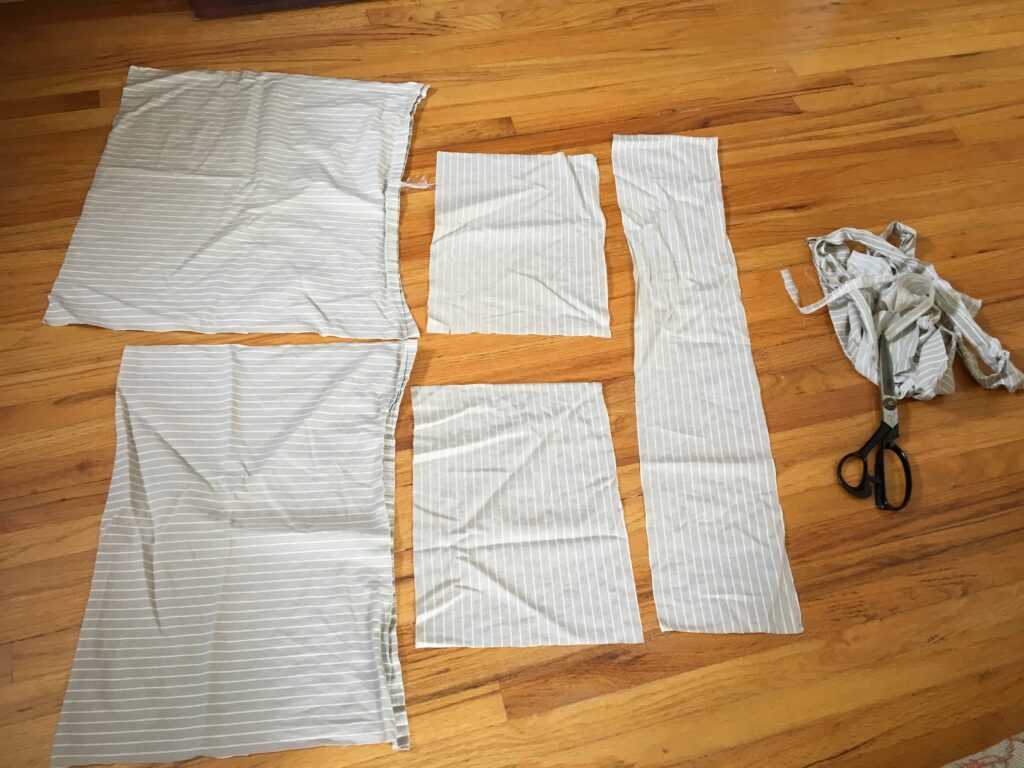
First, cut out salvageable pieces. Then identify similar sizes to sew together. If there is a long skinny piece, save it as is.
Tip: Leaving a long/wide enough piece and folding it in half will make 1 less seam you need to sew.
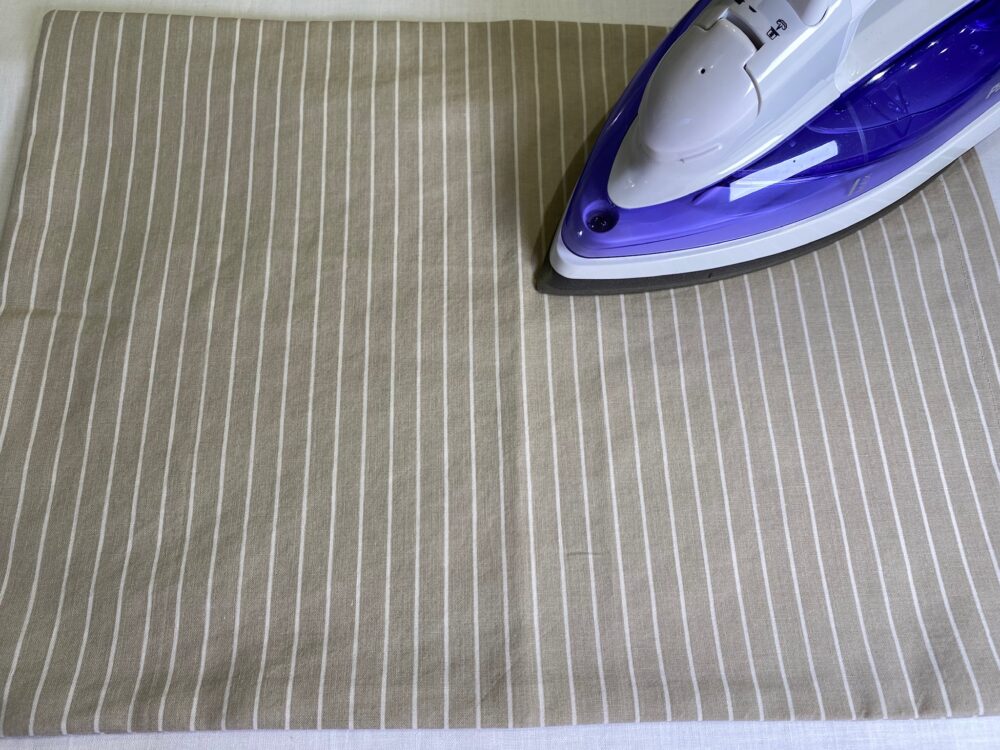
Next, iron the pieces so they’re flat, and trim any uneven edges.
Tip: Although setting up the iron takes time and space, it makes the sewing part easier. So don’t skip it!
Lastly, take 2 similar-sized pieces and trim them to the same size. Once they are the same size, pin them together. If you have a big enough piece, all you need is to fold it in half and pin it.
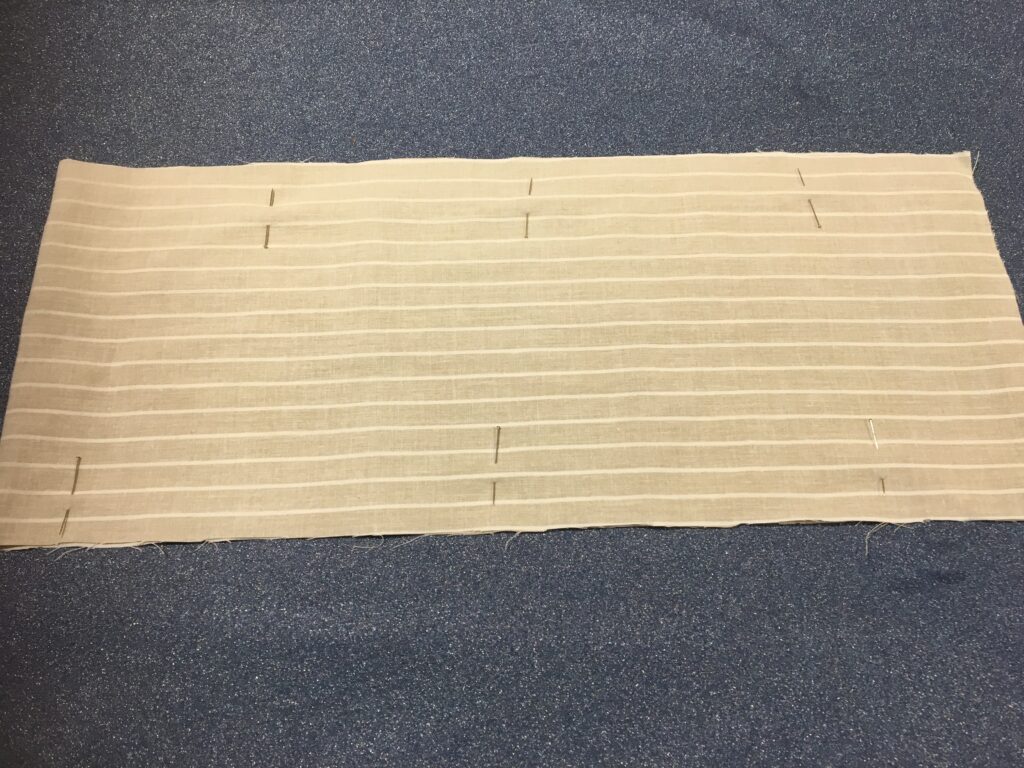
Step 2: Sew & Cut the corners

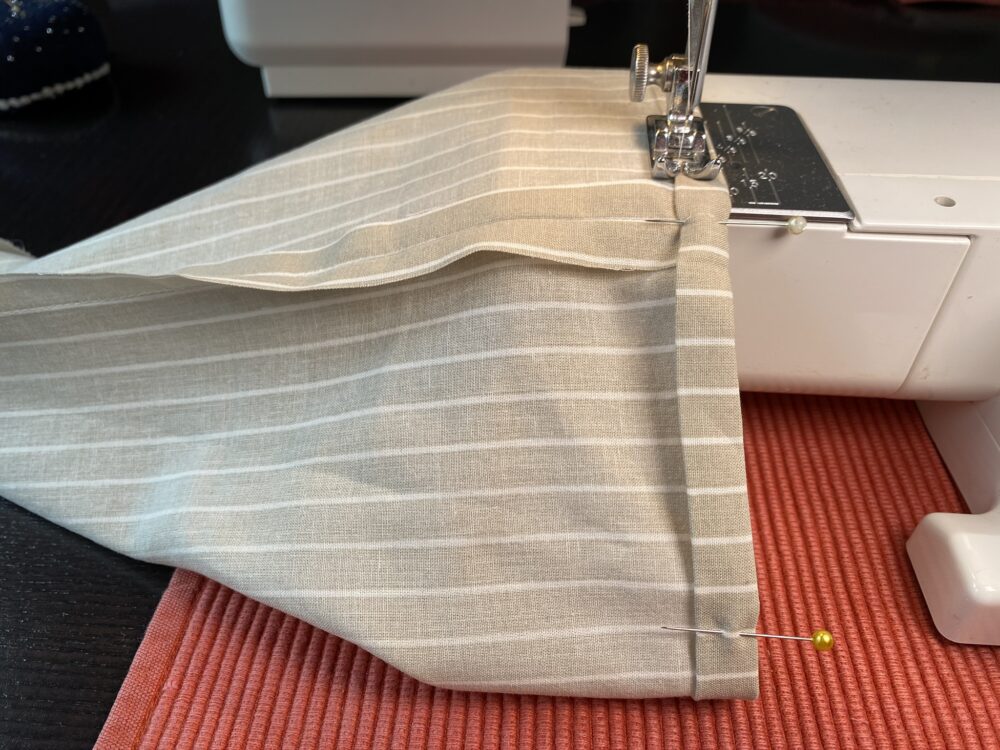
Start sewing
Since all the seams will be straight lines, they should be pretty easy to sew. You can certainly mark a sewing line 1-1.5cm from the edges, but if you are comfortable just go for it!
Make sure to use the reverse lever at the beginning and the end of each seam.
Tip: Sew the three edges of the two pieces of material like a “U” shape. When you get to the bottom corners, position the needle through the material, then lift the presser foot, turn the material and put the presser foot back down again and continue sewing.
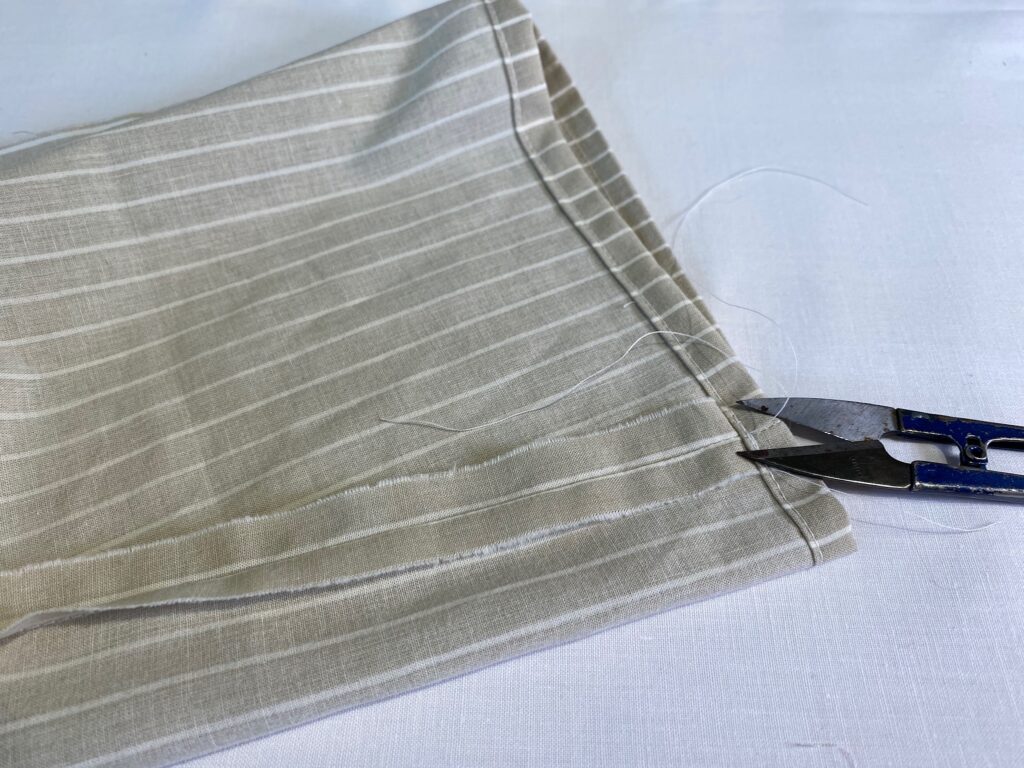
When all the sewing is done, cut the bottom corners. See the picture above as a reference. This prevents the bottom corners from becoming bulky.
Tip: Leave 2-3mm from the sewn corner, so it can hold the material together.
Step 3: Sew the upper part
Option A
First of all, 5mm down from the top, and press with the iron. Then fold it a second time and iron, but make it 1cm down and press for a finished look.
Be careful with the iron. Many of them have a steam feature, so keep your fingers at a safe distance.
Next, remove the flatbed attachment. Then carefully place the material under the presser foot. Carefully lower the needle and the presser foot. Then start sewing.
Option B
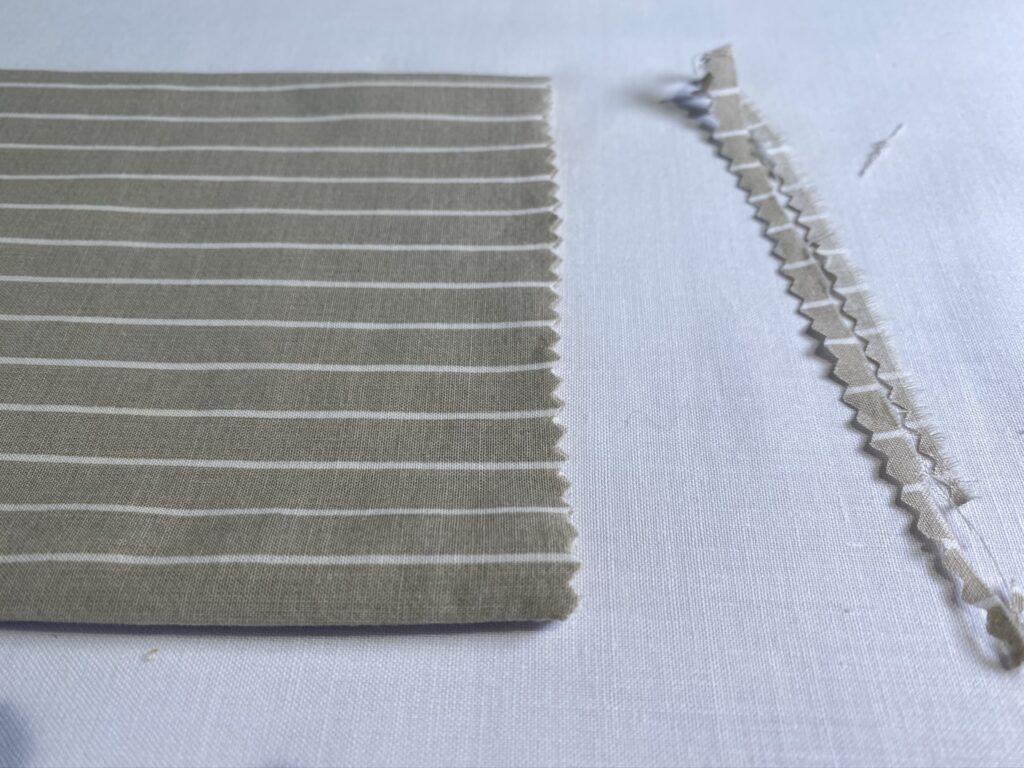
This is the easiest way to make a finished look. Pinking shears certainly make it easier for simple crafts like making gift bags. Just trim the edge and FINITO!
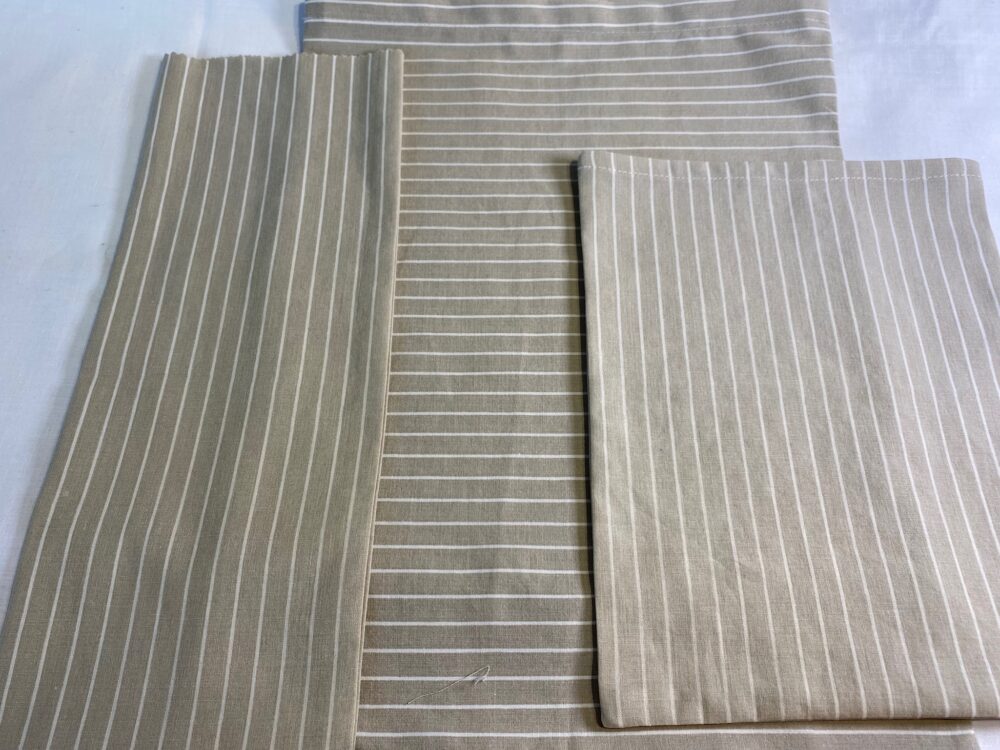
Final Step: The pillowcase into 3 bags!
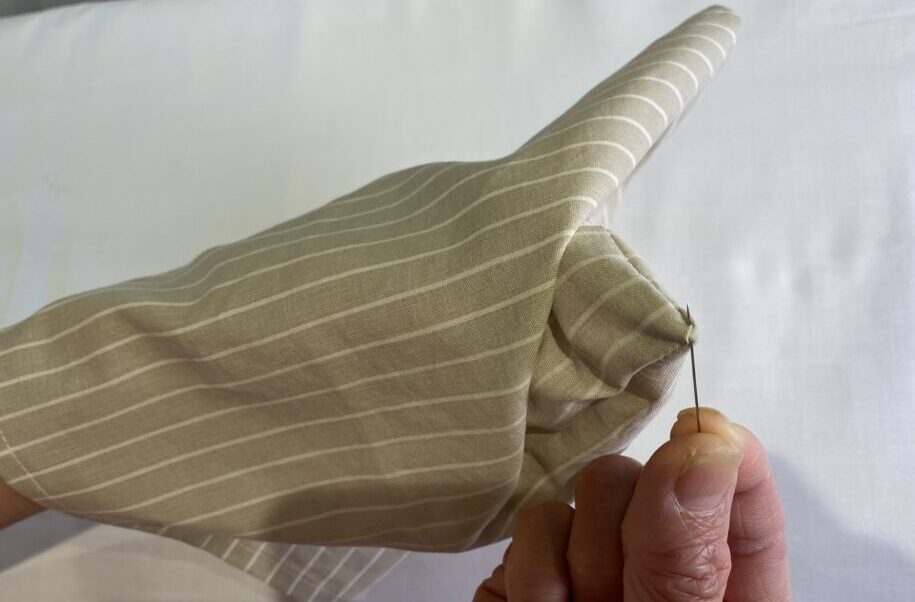
First, insert your hand and pull the bag inside out. Use both hands to flip as much as you can.
Tip: Use a sewing pin to poke the corners out.
Finally, iron the bags as the last step of the task. Out of the ripped pillowcase, 3 new bags are born!
Mission Accomplished!
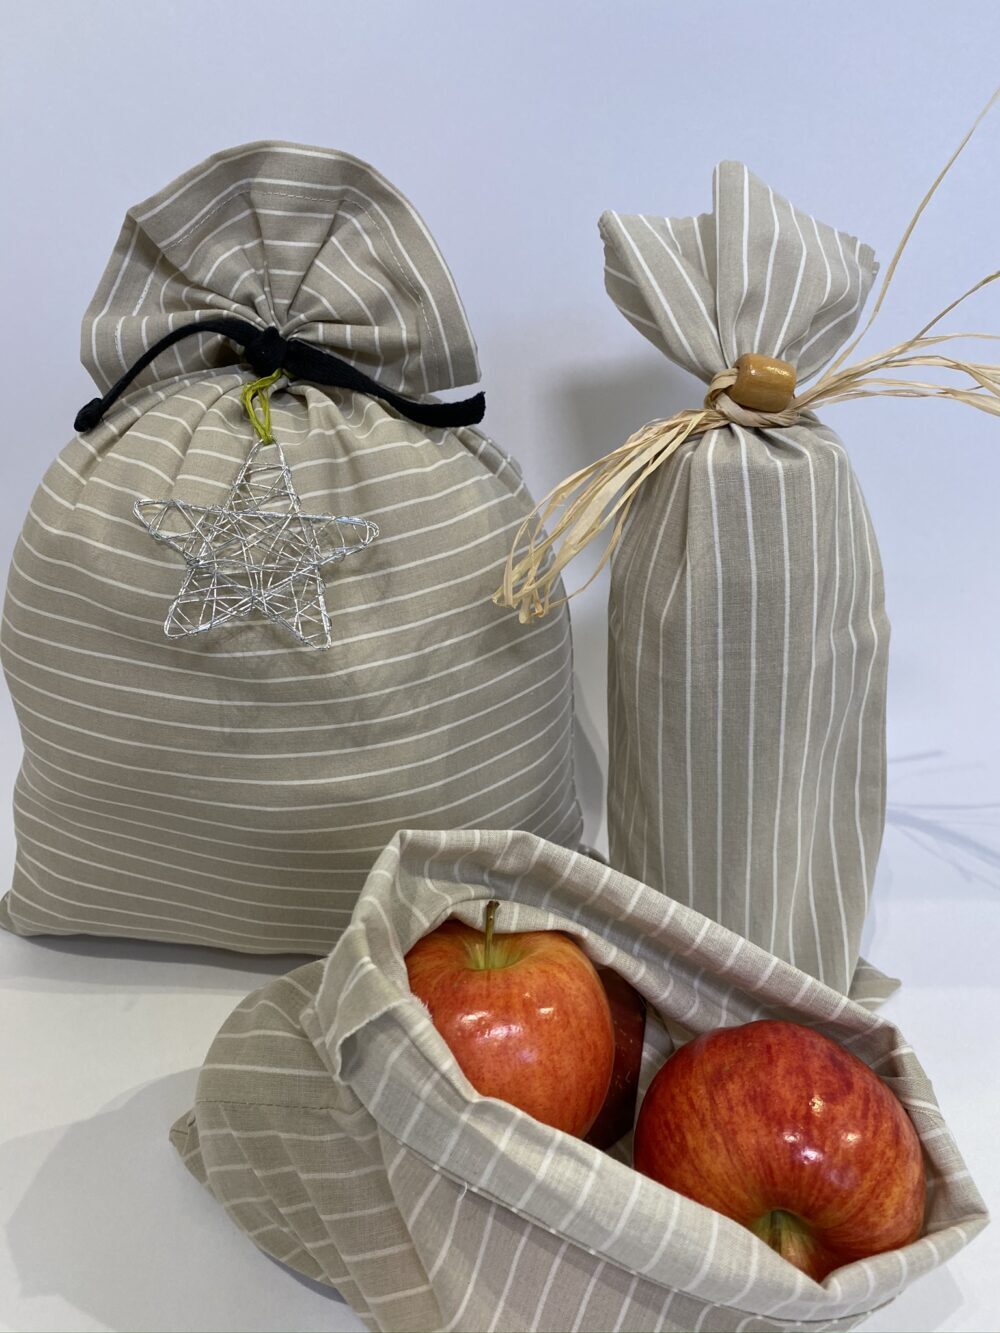
Yet again, I feel a small achievement for reusing an item. I often apply this resizing technique to repurpose unwanted items.
For instance, unused sheets become napkins, Furoshiki (Japanese wrapping material), and bags. They are ideal as gift bags or as plastic bag alternatives. I use them to carry fresh produce like apples from the grocery store.
A small daily action that makes a big difference!