Seed balls?! You may be wondering what they are or how to make them. When I saw pictures of them on my friend’s FB post, I knew I wanted to make them someday.
Of course I forgot about it, but just recently I remembered and immediately contacted my friend who lives in Japan. She told me about a site I should check out so I can get all the details. It looked easy and fun except for one very important thing.
Since it’s a Japanese site, a few listed items aren’t even available here in Canada. So I simplified the ingredients to create my own.
In this article, you’ll find out How to Make Seed Balls with What You Have!
What you need for making seed balls

- 1 cup Topsoil
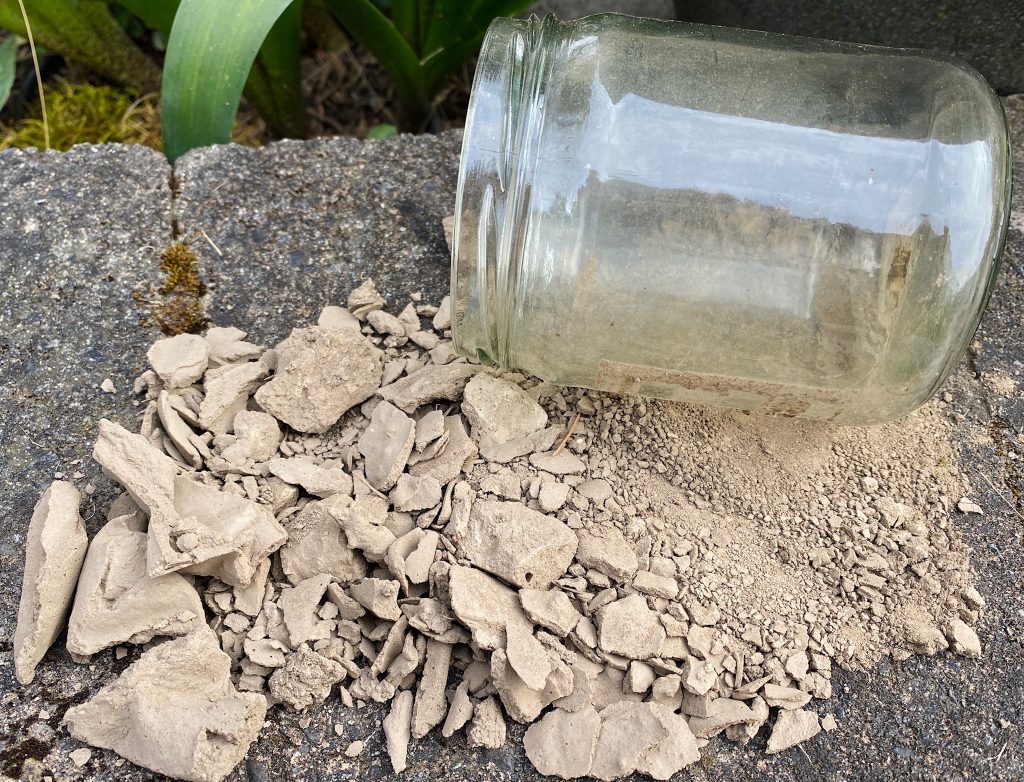
- 1 cup Clay ( I used the dried-up clay that was sitting in my garden shed.)
- 1 Mixing Bowl
- Seeds
- Water (in a spray bottle)
- Gardening Gloves
How to make seed balls
If you want to jump in, here’s the video tutorial to get the idea. Otherwise, follow the written instructions under the video for more details.
Step 1: Prepare
Before you begin, you may want to do these two things first.
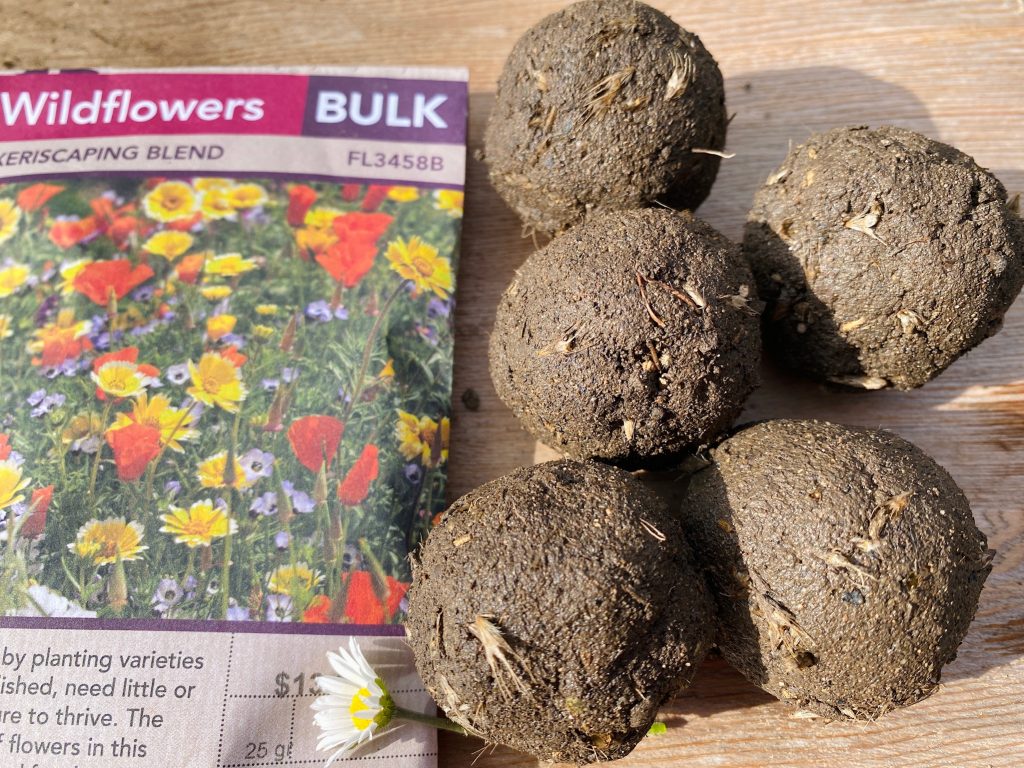
- Choose the flower seeds you want to grow. If you already have some from previous years, please use them. Otherwise, get some the next time you go shopping.
- Break down the clay into fine pieces
Now let’s get started! The first step is gathering all the items for the project. I used a spray bottle for the water, but you can use any container.
Step 2: Mix the soil & clay
The second step is mixing the soil & clay. Let’s dump them into the bowl and mix. When you finish mixing, add some water until the mixture becomes like cookie dough. If it seems too soggy, add extra soil to get the right texture. But don’t worry too much because perfection is our enemy!
While you’re mixing, you should remove any rocks or pieces of wood from the mixture.
Step 3: Add the seeds & make the balls
When the mixture is the right consistency, sprinkle the seeds into the bowl. Then mix the seeds evenly into the soil mixture. Additionally, you want to make sure that you’re gentle with the seeds. Some are quite fragile, and you don’t want to break the shell.
Once it’s mixed, use both hands and firmly form it to make a mud ball. It doesn’t have to be a ball, you can choose the size and shape. So if your heart desires a triangle, go for it!
Like making a Kokedama, this is the best part! You’ll remember your childhood and enjoy creating mud balls. Repeat the process until the mixture is all gone.
Now you should have your home-made seed balls in front of you! The next step is planting.
Final Step: Plant the seed balls
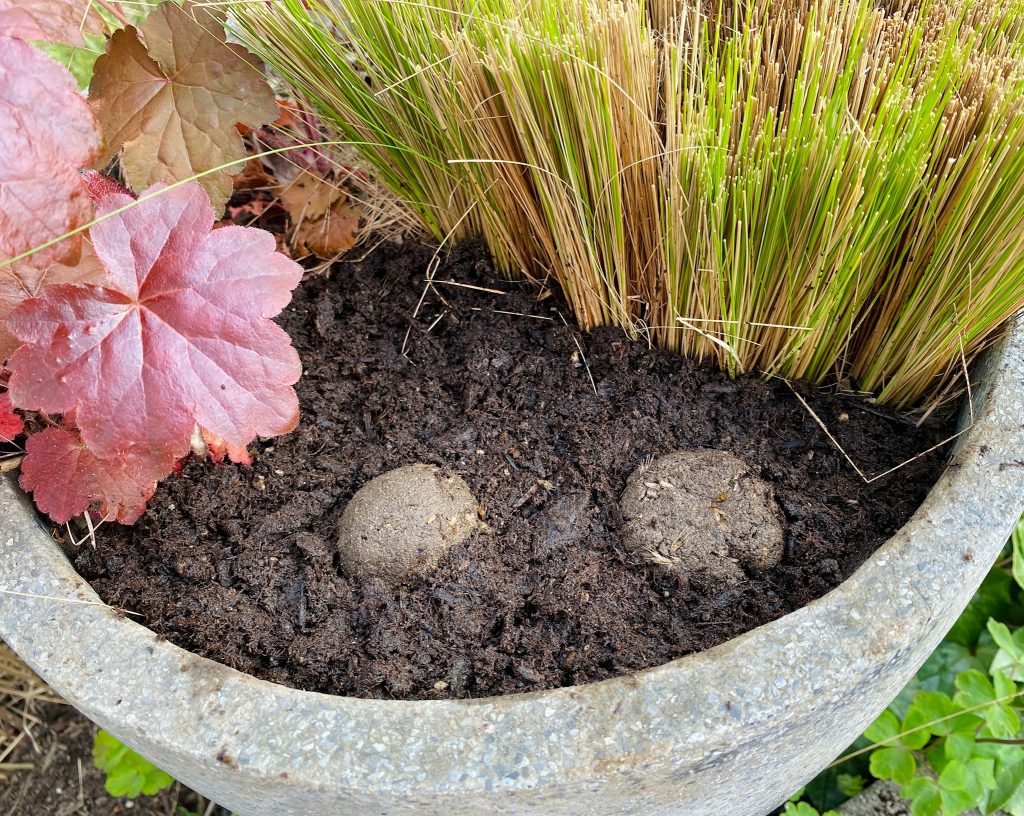
Finally, let’s pick a spot to plant them either in your garden or a planter. Just before you place them, gently squeeze them with your fingers to make the top & bottom flat. Then, snuggle them into the soil. Once they are in place, water and watch them grow!
They also make a great gift. On special occasions like Mother’s Day and birthdays, people would appreciate your thoughts and enjoy growing flowers.
In order to give them as a present, keep them moist by wrapping them in something you have. For example, you can use a used paper towel & coffee filter, egg cartons or plastic. It’s all about ‘Reduce, Reuse, Recycle, and Repurpose!‘ Additionally, you want to tell the person that she/he should plant it within 2~3 days.
So let’s review the process of making your original seed balls. There are three steps: prepare the items, make the mixture, and create the mud balls. Whether planting them in your garden or giving them to someone special, everyone can enjoy your creations. And the best part is they’re so easy to make with what you already have.
It’s definitely a fun outdoor activity for you to enjoy. So try it on the weekend!