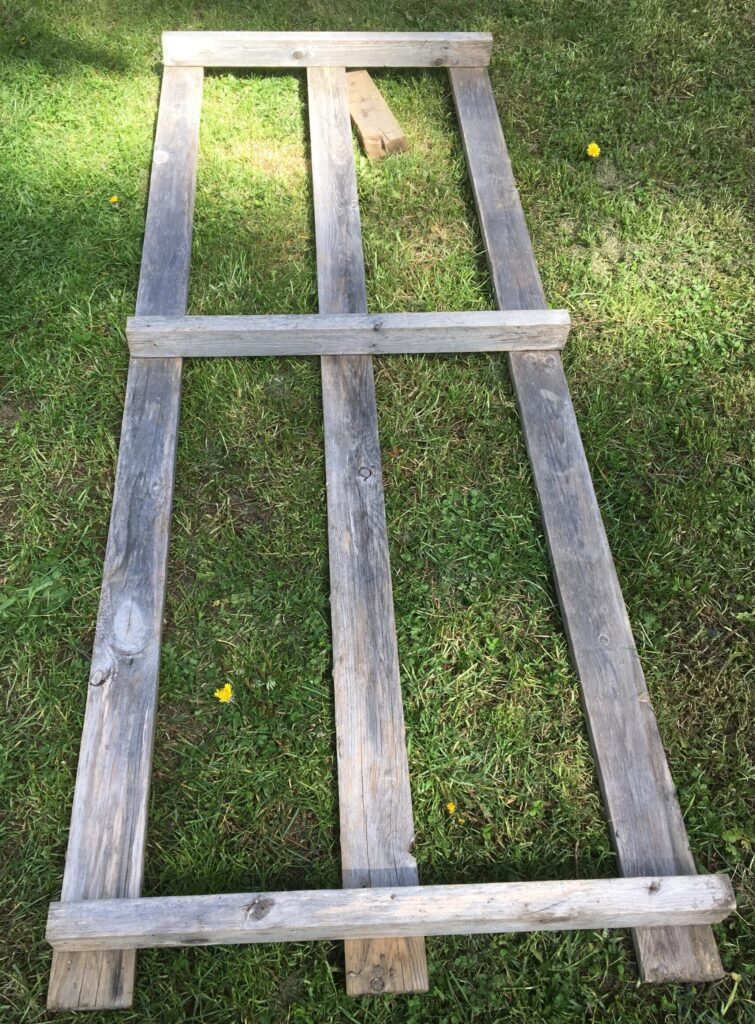
Do you have one of these pallets from some kind of renovation? I did! Mine sat in my backyard for almost 20 years (not very proud)! Finally, I had the time to create something with it during quarantine.
If you have any pallets or salvaged wood sitting around, this will be a great solution!
In this article, I will show you how to make a vertical pallet planter.
What you need
- pallet
- (left-over) wood pieces *What can you use sitting around your house?
- nails/hummer/nail gun
- measuring tape
- landscape fabric or something can retain soil & moisture
- scissors/cutter
- your imagination!
*You can use cedar shingles, 2x4s, or any miscellaneous wood sitting around.
How to make the vertical planter
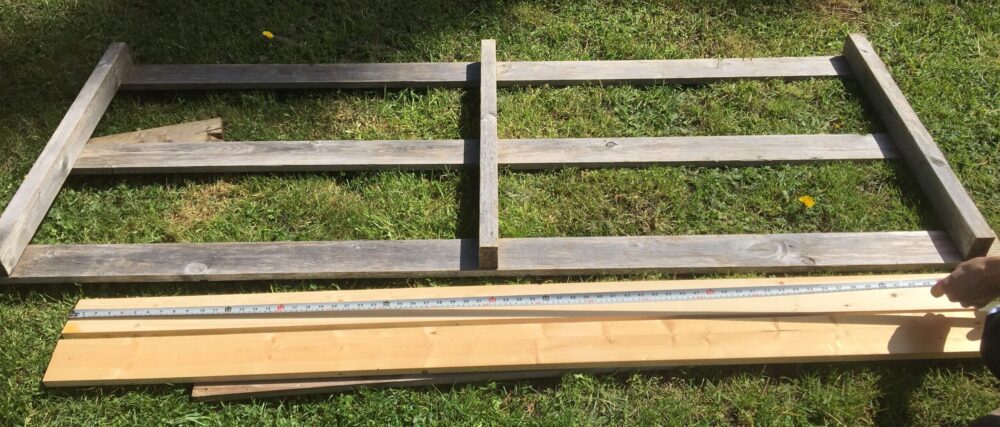
First step: measure the width of your pallet for creating the bottom of the planter. In my case, there are 3 parallel wood pieces which will work out into 3 compartments. Unfortunately, the wooden pieces I had were shorter than the width of the pallet, so I had to put a piece of wood on each side to bring the sidewalls closer. (see the middle picture)
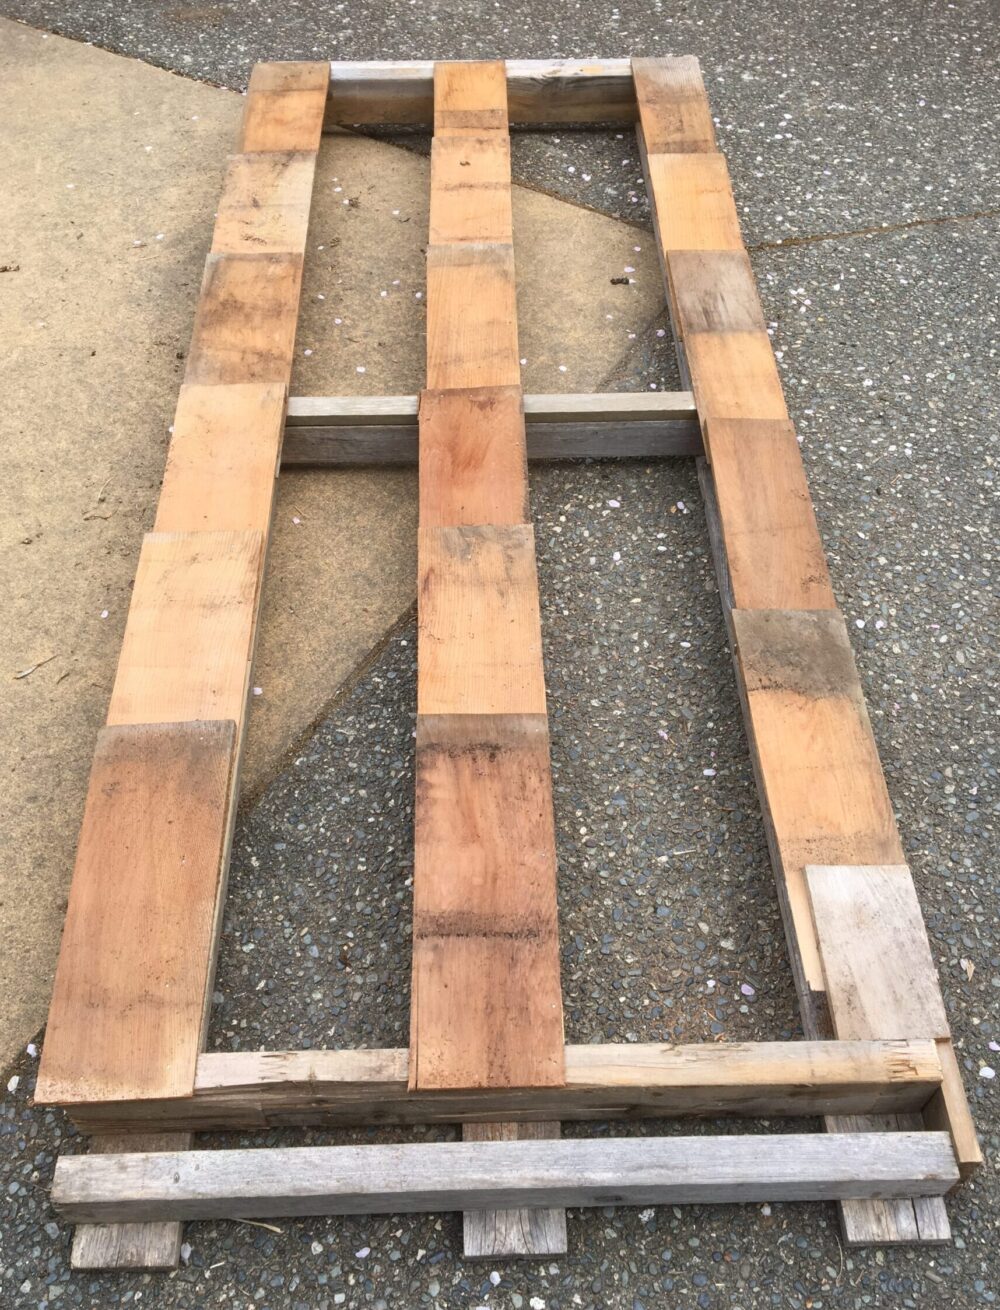
Second step: nail three bottom pieces to the pallet. (I asked my husband to do this part.) Meanwhile, I was searching for any salvaged wood for siding…I found 20+years old cedar shingles!
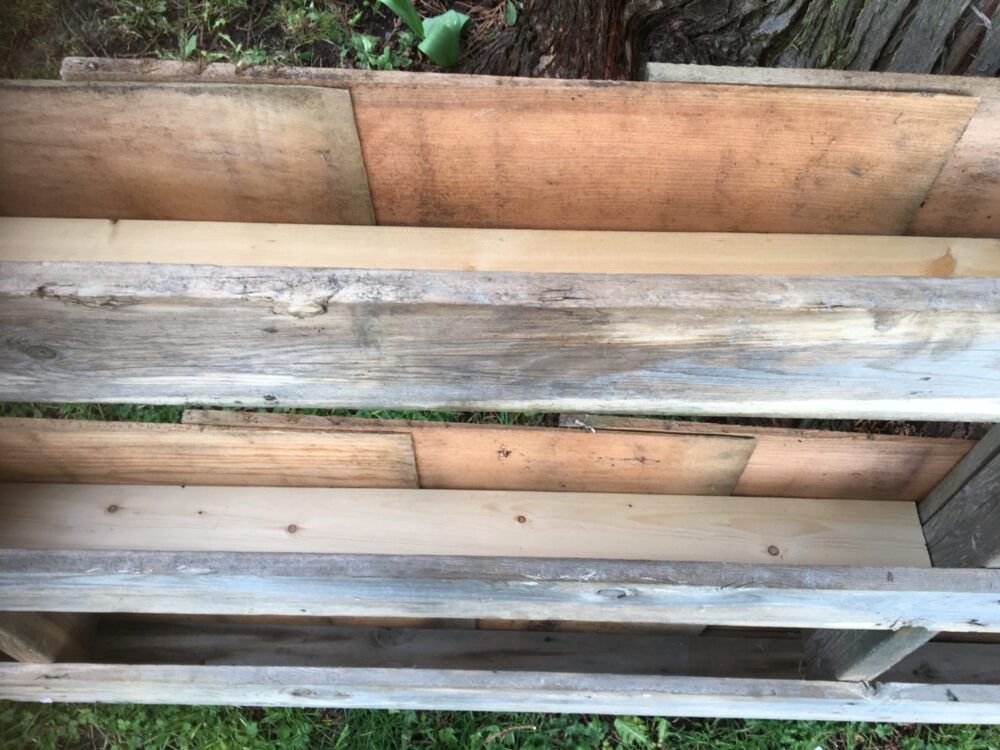
Third step: unless you are using long pieces, lay the cedar shingles on the pallet. What you want to do is make sure that they overlap each other for strength. Otherwise, the retaining wall won’t hold soil.
Last step: nail the shingles to the bottom & side of the wood.
Where to locate the vertical garden
There are a few ways to locate the vertical planter in your garden. Some install it on a wall, hang it from a structure, or lean it against a wall/fence. In my case, I wanted it to be free-standing, so I can move around if I needed to. So I asked my husband to attach some wood pieces as a stand.

Preparation for growing in the vertical planter
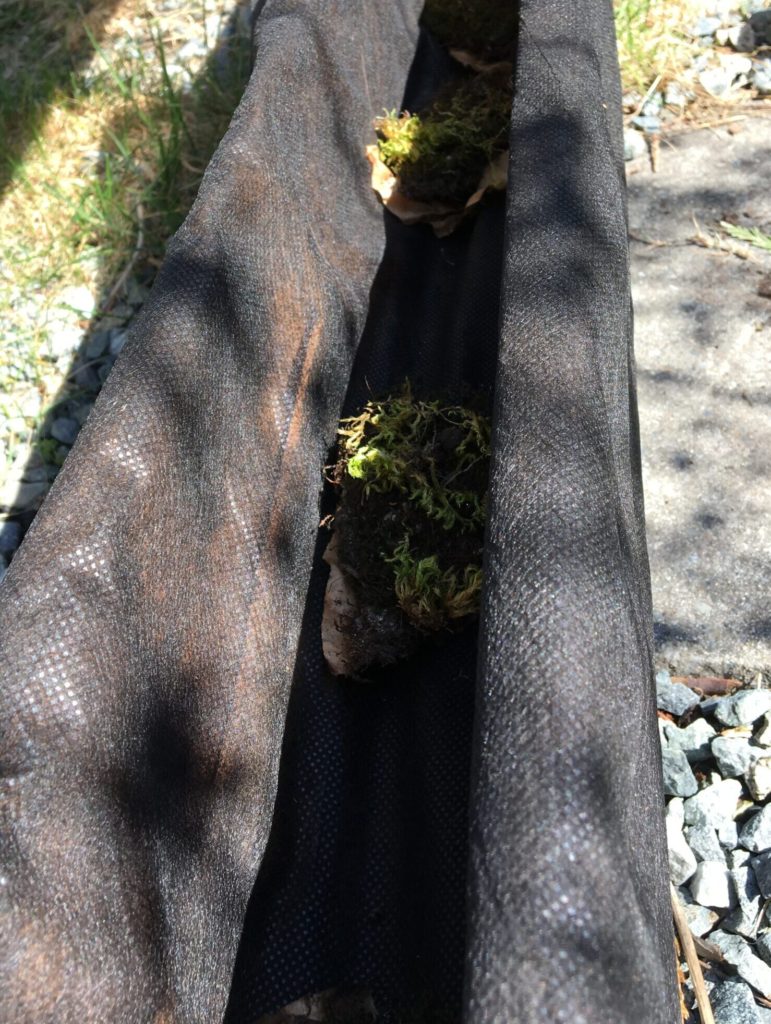
First, lay and fit the landscape fabric in the compartment, and cut out some drainage holes. I placed some used coffee filters from my compost, and put some organic materials.
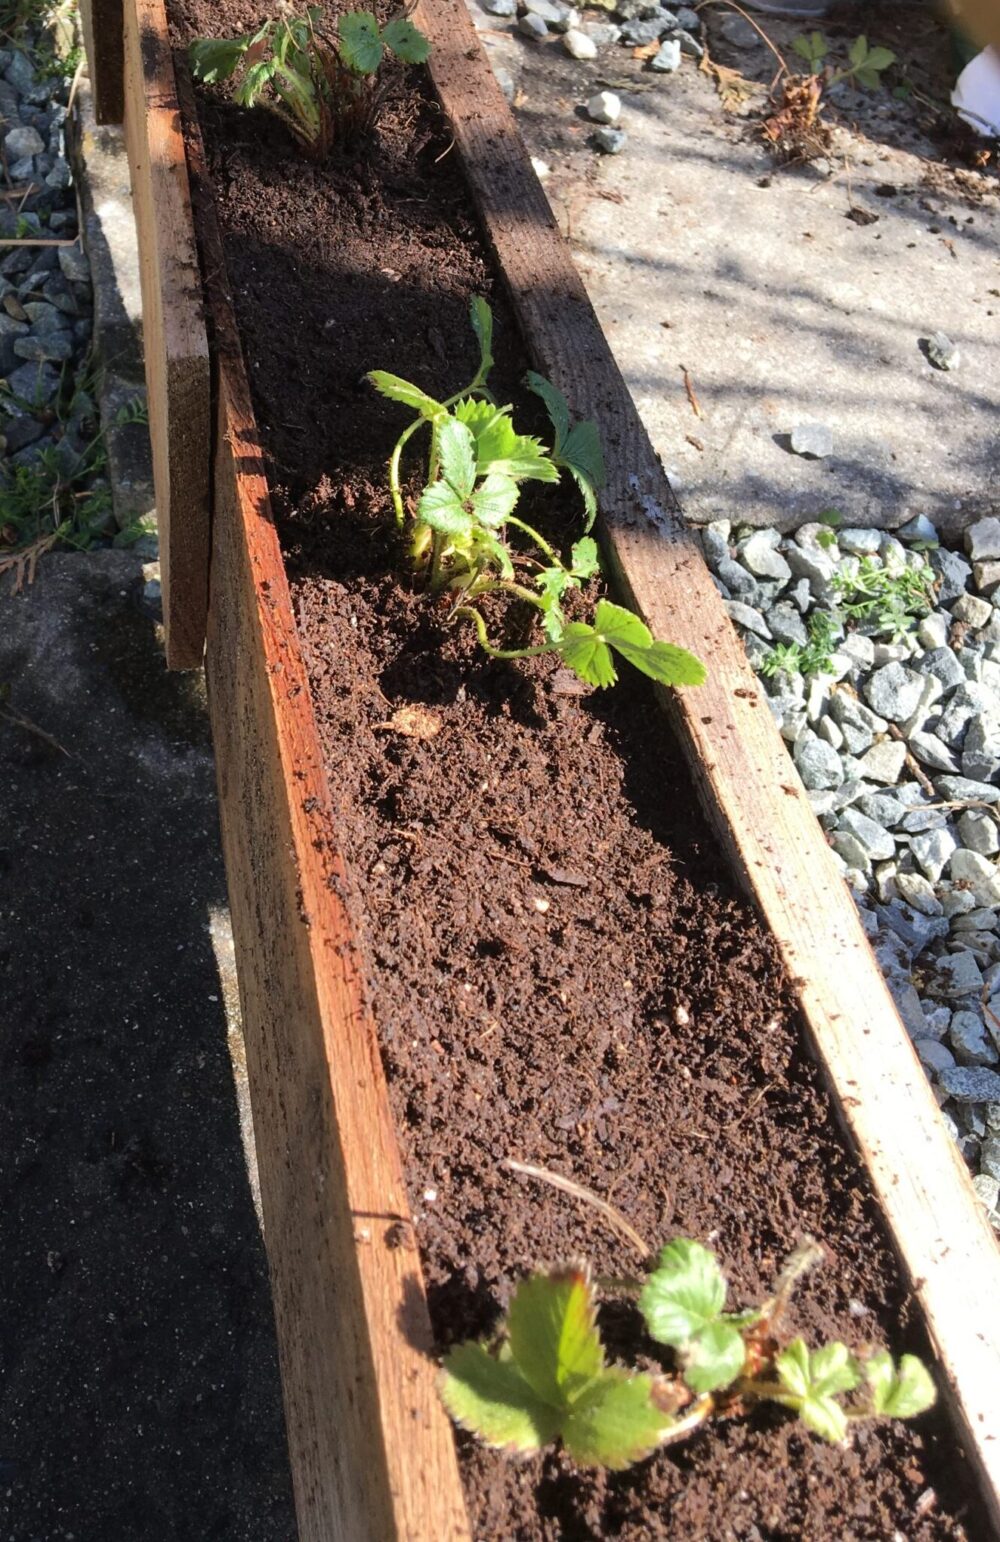
Secondly, fill it with some potting soil/compost. Once the fabric is nicely settled, cut the top and add more soil.
Lastly, wet the soil with water before you plant or seed. Place some plants (strawberries in the picture), and/or seed some herbs. Then top up with extra soil if needed.
Just be patient and let it grow…nature always rewards us with joy!
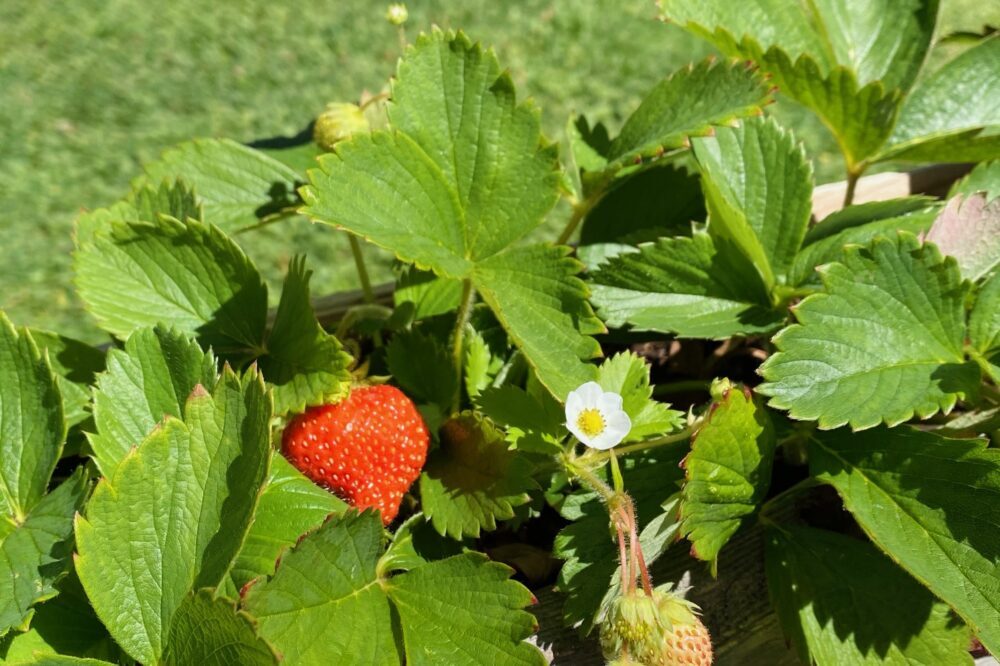
Mission Accomplished!
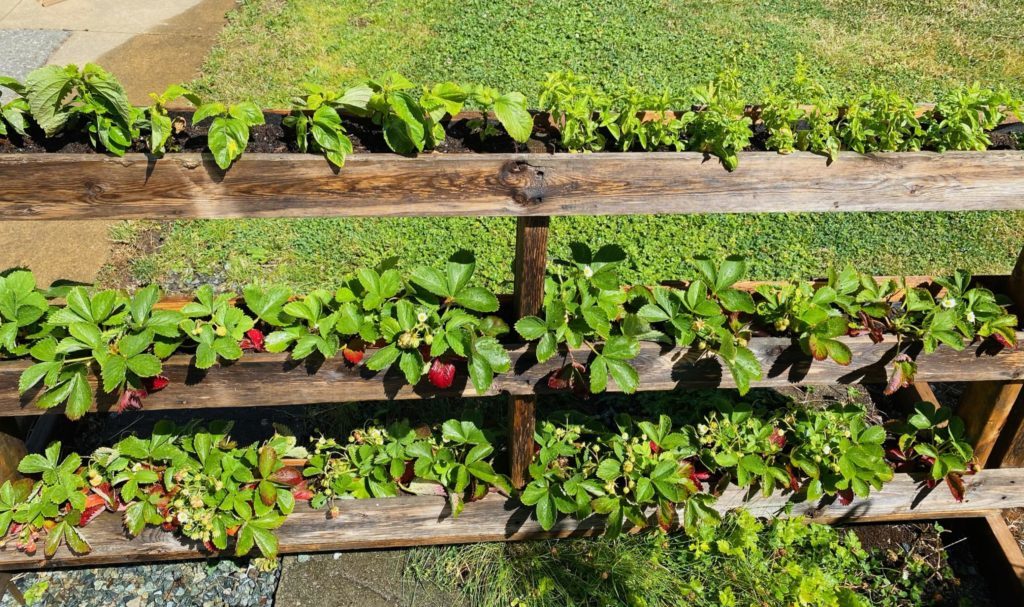
When it comes to choosing plants/seeds, be mindful of their height and how they grow. For instance, I seeded basil and Japanese shiso on top. Then I chose strawberries for the bottom two because I wanted the fruit to hang from both sides.
Since the fruits are not touching the soil, they don’t need any straw! Also, strawberry plants sometimes carry diseases, so it makes sense for them to be at the bottom.
Now you know how to make a vertical pallet planter, so you can try creating one in spring!