Are you looking for an easy way to expand your edible garden? But buying a planter or wood (to make a planter) is a bit out of your budget? Then create a retaining wall!
Or simply want to be an Eco-friendly gardener? If so, using scrap wood to make a retaining wall can be a simple solution!
In this tutorial, I’ll show you how to make a retaining wall with scrap wood.
What you need
Before we begin
There are two ways you can create some garden area: build a retaining wall first, or last. In this article, you’ll see the latter example.
During the winter months, I created a lasagna garden that my lawnmower couldn’t get to. It also made more sense to expand my edible garden with the experiences we had during the pandemic.
To clarify, you can do it either way.
How to make a retaining wall
Step 1: Prepare for creating the retaining wall
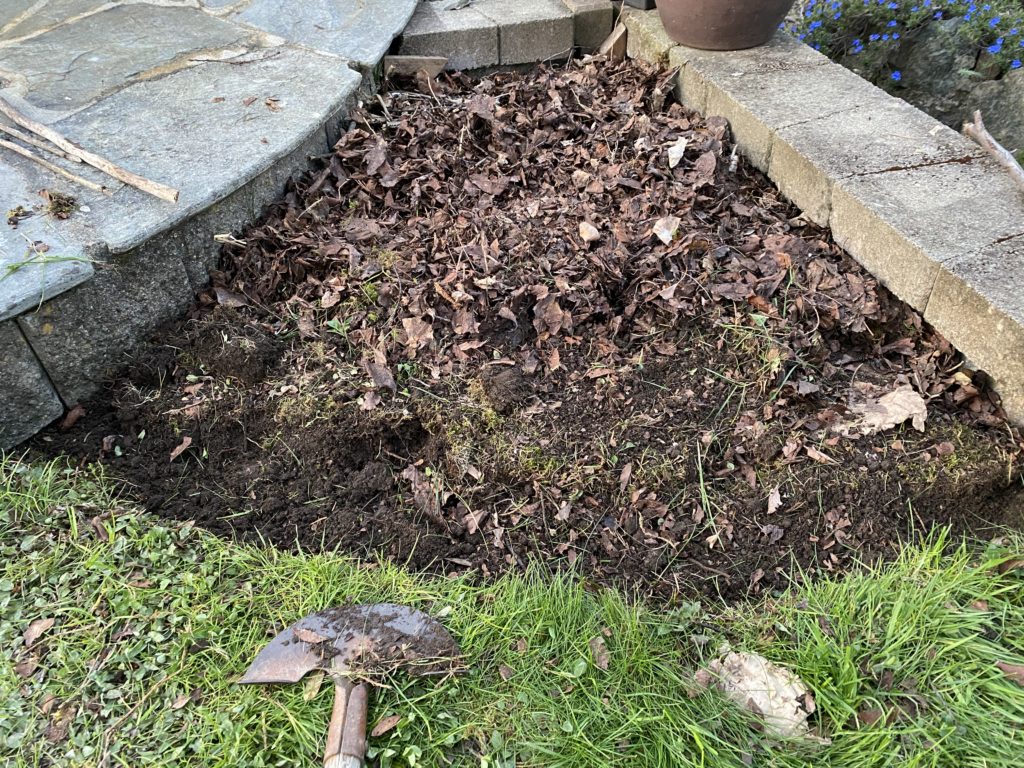
Use an edger to outline a new garden. Then remove the sod, and dig roughly 10cm/4in deep. By doing so, the cedar shingles will be inserted solidly into the ground.
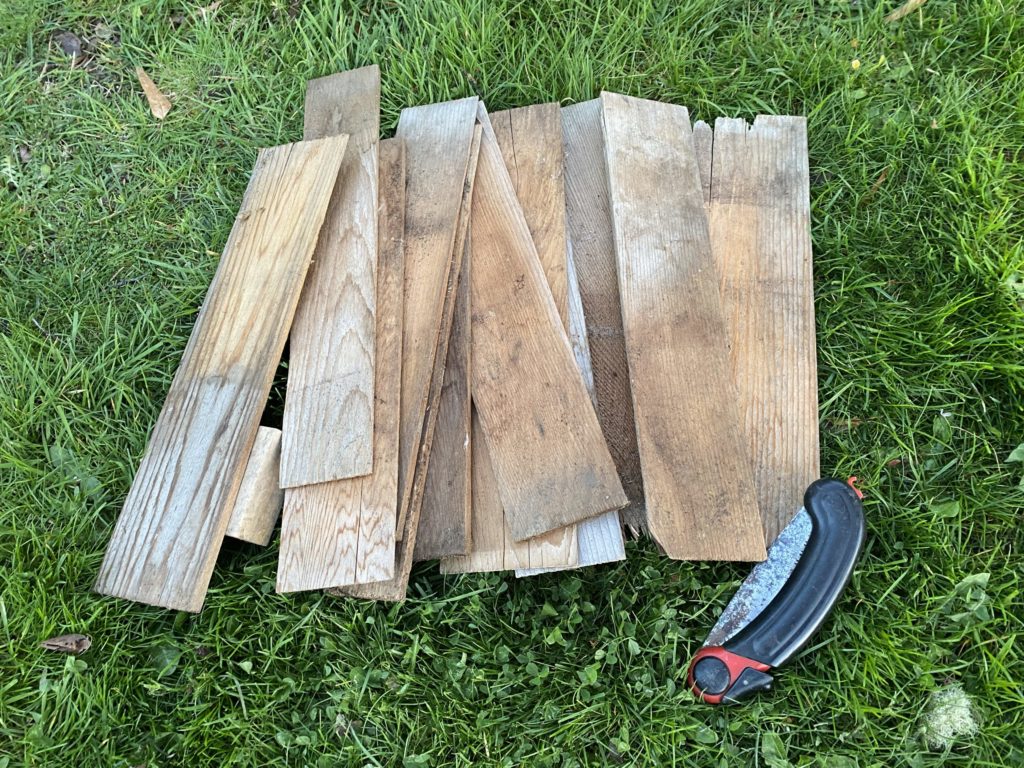
Step 2: Cut the scrap wood
In this case, the scrap wood is 20+year old cedar shingles – What a long hibernation!
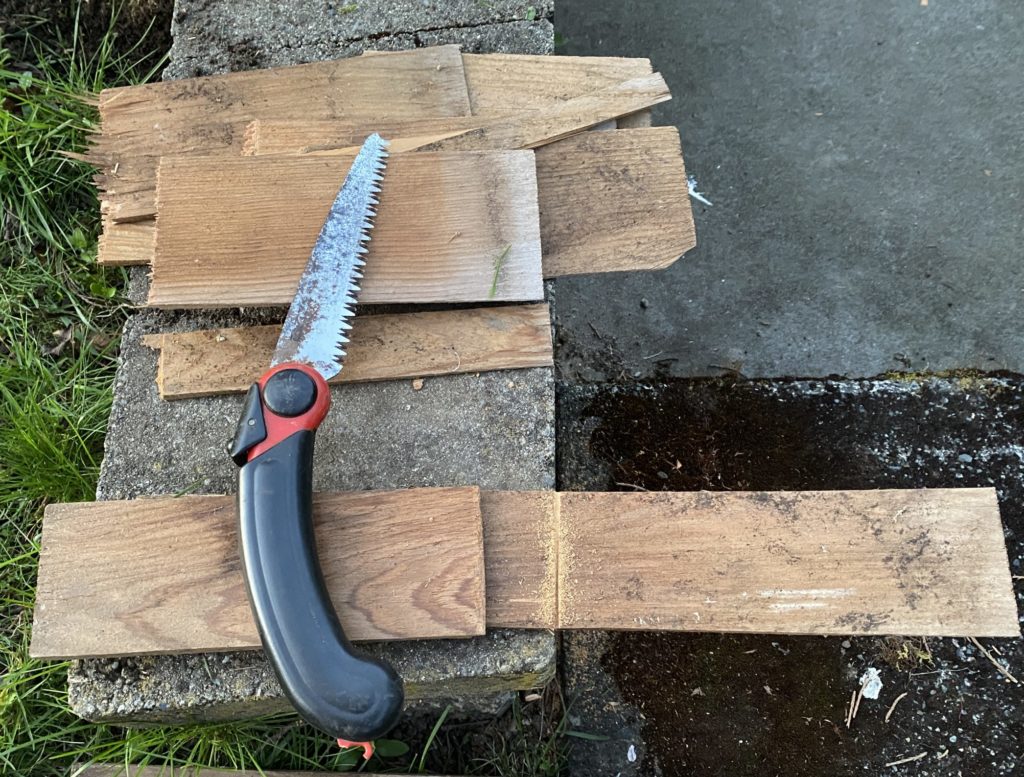
What you need to do is to decide the desired height. For this, I cut them into 20cm/8in high, using the hand saw.
Once you get a few pieces done, start building the wall.
Step 3: Install the retaining wall
First, pick one end to begin and insert the first piece. Once it’s in place, I used a hand-size 2×4 block to hammer it into the ground.
Then, lay the next one and repeat the process until the other end. You may have to adjust the size of the last piece of wood or a garden bed to fit the final piece.
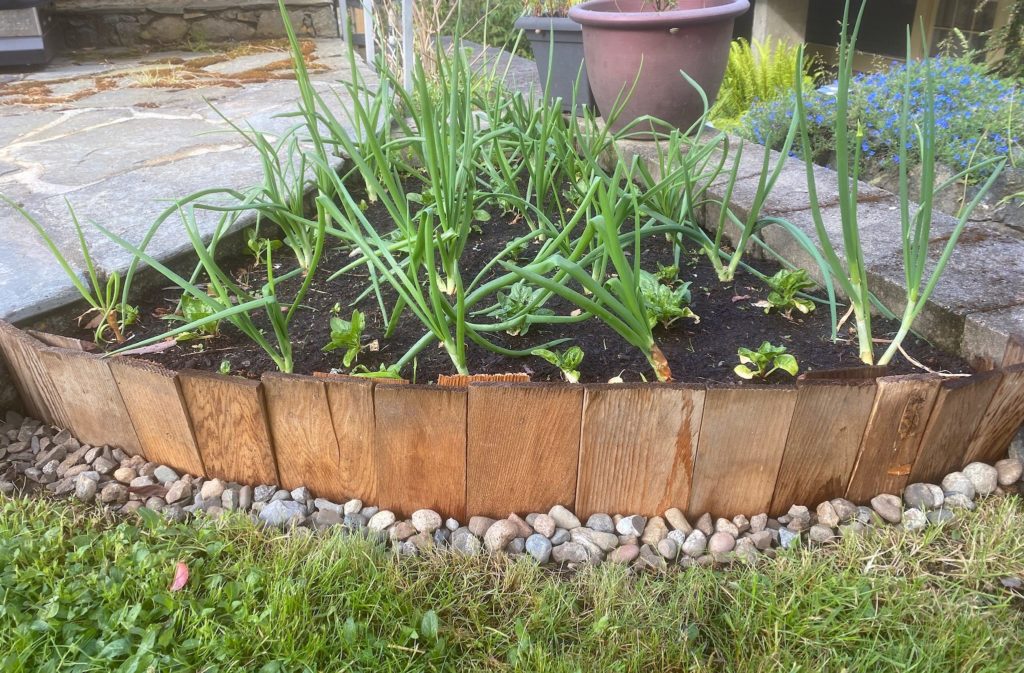
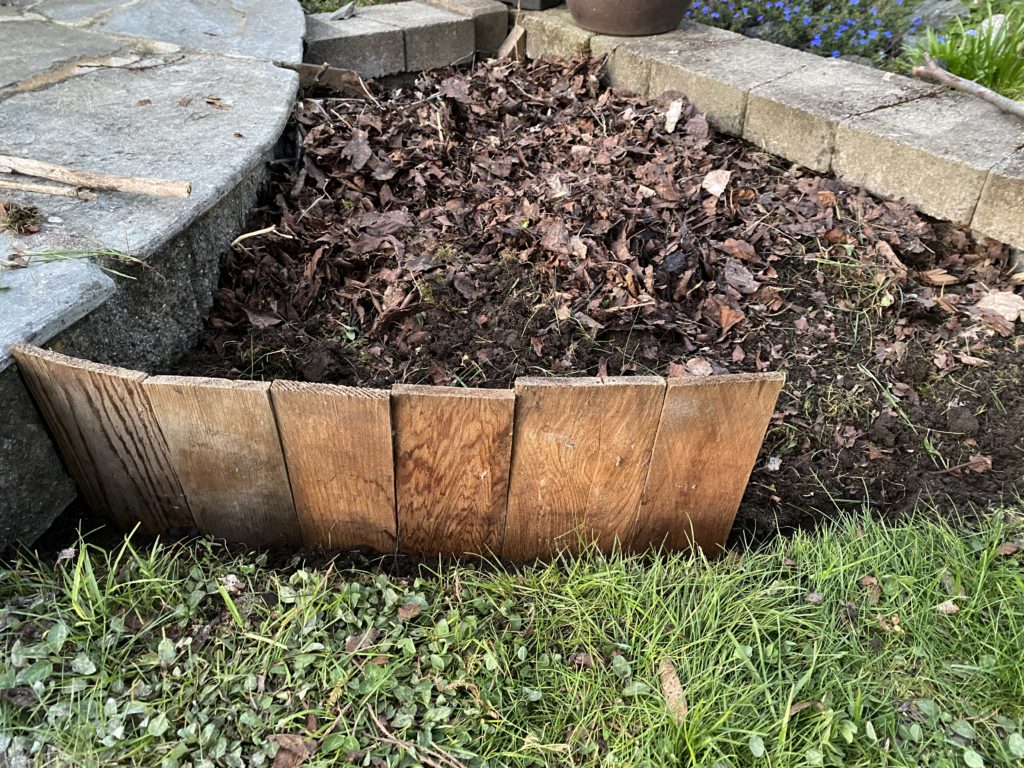
Since I had extra pieces of scrap wood, I added another layer to the other side of the wall which you can see in the picture above. What it does is strengthen the thin wall and fill the gap between the cedar shingles.
You may want to make the inner wall a bit shorter, so it’ll be hidden behind the main wall.
Tip: I laid small rocks & gravels in front of the outer line, so the lawnmower can go over it without knocking down the wall!
Final Step: Fill and seed/plant
When you finish installing the retaining wall, fill the area you dugout. To begin, place the sod you removed earlier, and place it upside down against the wall for its strength.
Then add some compost and soil. I also added 7cm/3in fish soil on top of the entire garden.
Finally, seed or plant your favourite fruit/veggies in your brand-new garden! Don’t forget to water!
Mission Accomplished!
You may have/had some renovation done or picked up some scrap wood for free. As a result, you may have a pile to feed the landfill. But before you dump them, think about what you could create…
Who would have ever thought cedar shingles could be used as a retaining wall? With that, you can expand your garden without much digging. It’s an easy yet meaningful solution for you & our environment.