Why repurposed planter?!
Have you ever had a problem finding the right planter for your needs? Seriously, I have wasted way too much time and energy looking for the right one.
Neither the size nor price matched my needs, but I wanted a small planter for my greens so they can sit on the windowsill in my kitchen!
Simply, creating a repurposed planter was the solution!
In this tutorial, I’ll show you how to make a repurposed planter.
What you need
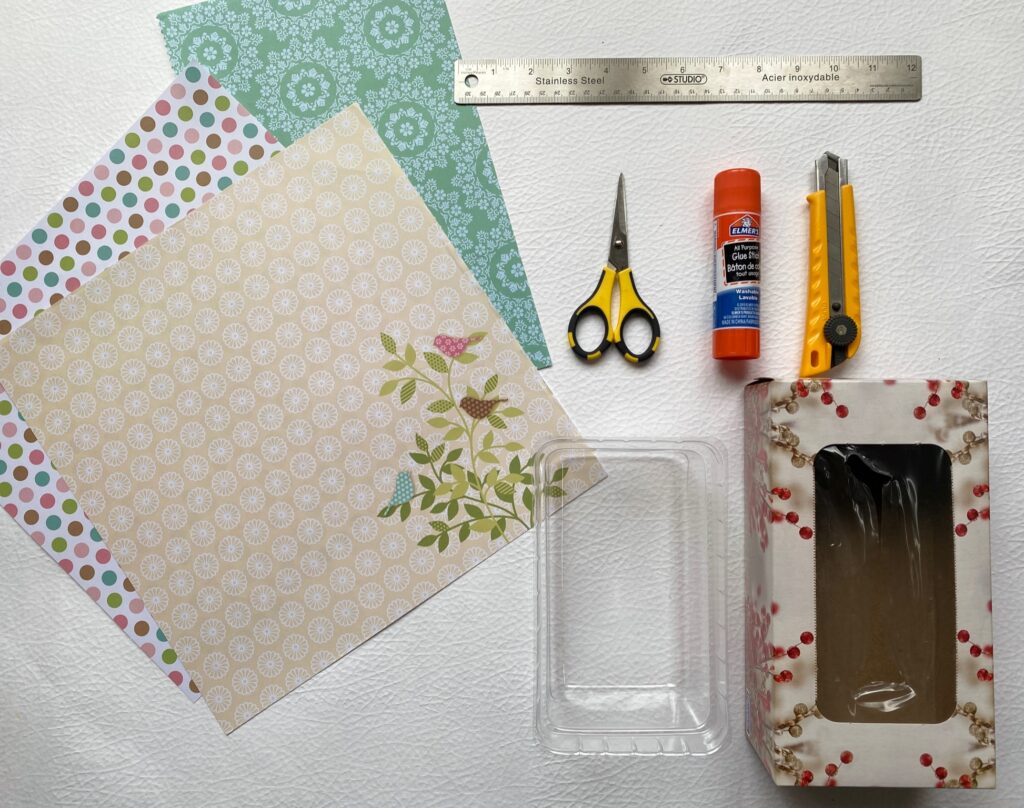
- Kleenex box
- plastic container (inner layer for holding water)
- cutter/scissors
- glue stick
- ruler
- any paper (I used scrapbook paper: 30.5cm x 30.5cm/12inch x 12inch)
How to make a repurposed planter
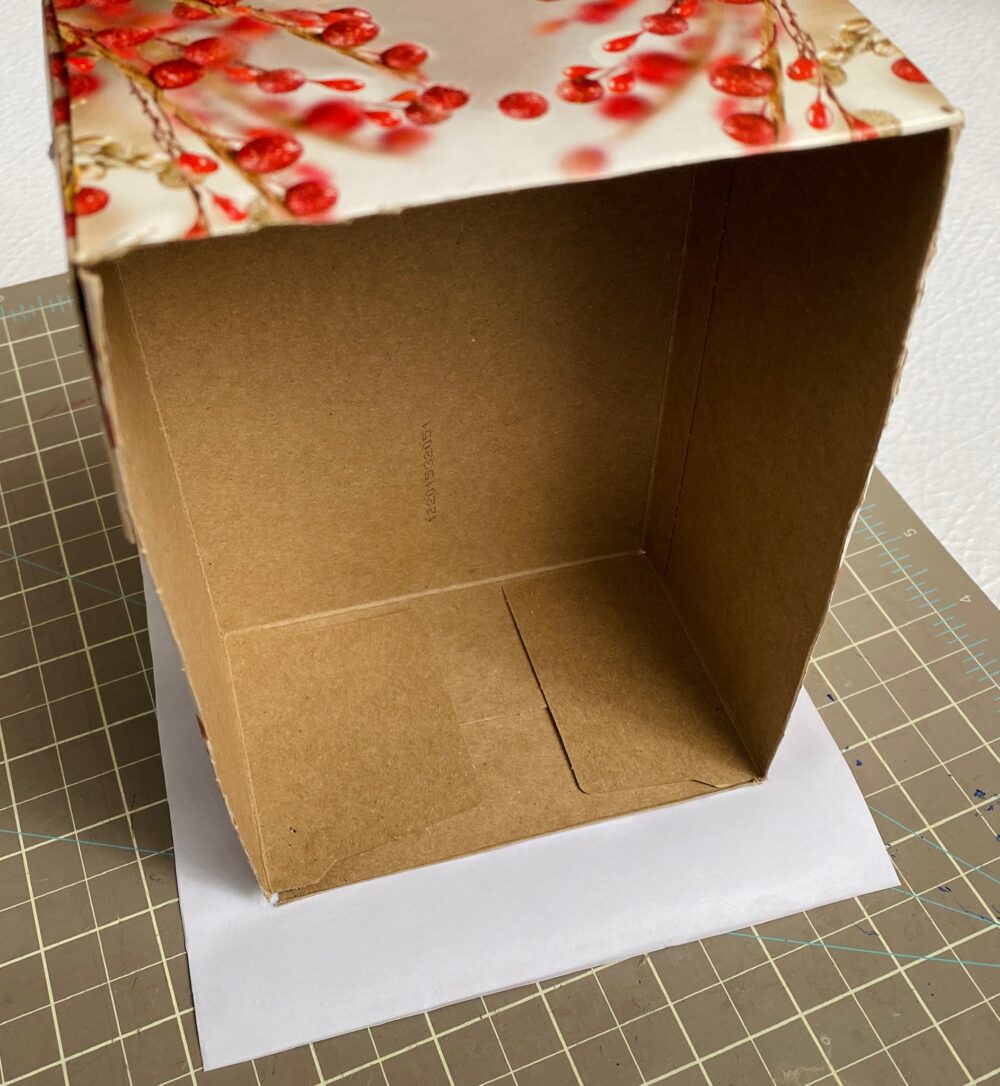
Step 1: Remove & Fit
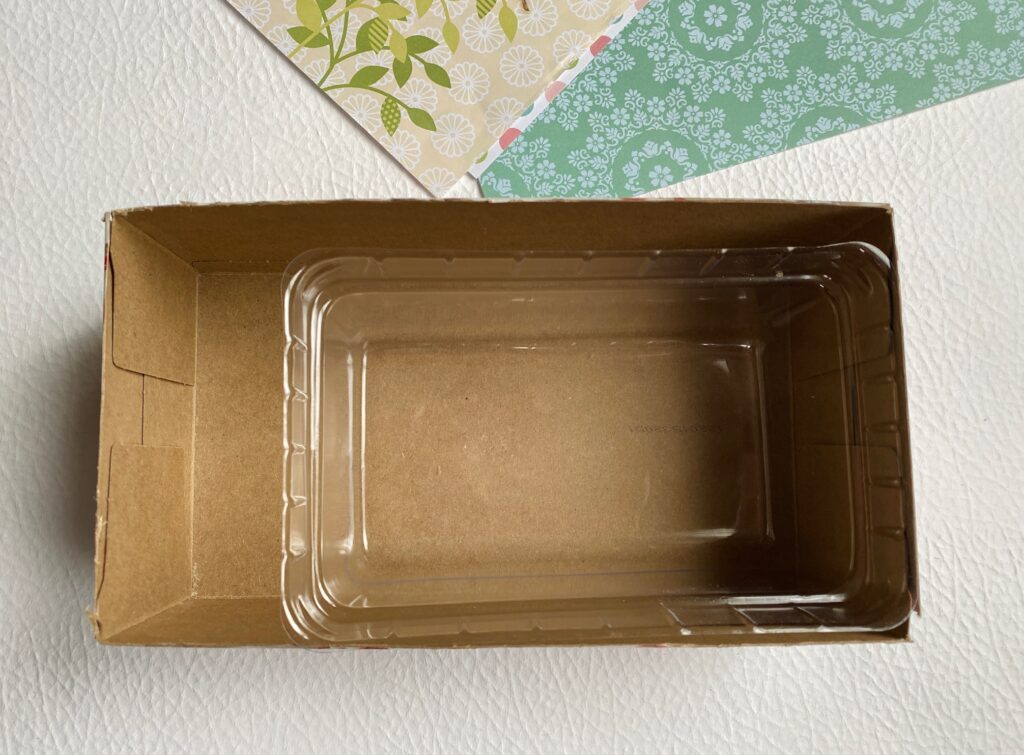
First of all, remove the top part of the Kleenex box using either a cutter or a pair of scissors. When it’s done, fit the plastic container inside of the box. As you can see, it has a large gap between the container and the box.
If you are fine with the gap, jump to Step 3. Otherwise, move on to the next.
Step 2: Adjust the size
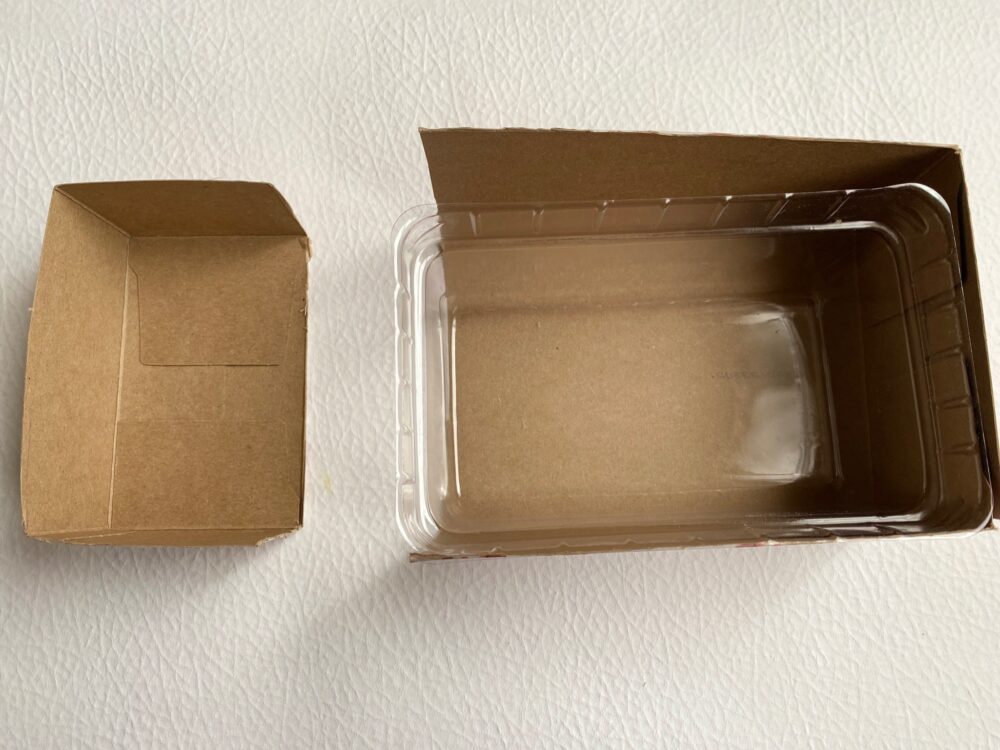

Using a ruler (optional), cut the Kleenex box to shorten the width. In my case, the gap was approximately 5cm/2in, so I cut that distance off of one end.
Then glue the two pieces you just cut back together. For the perfect fit, place the plastic container inside as a reference for your final adjustment before the glue dries.
Step 3: Decorate the repurposed planter
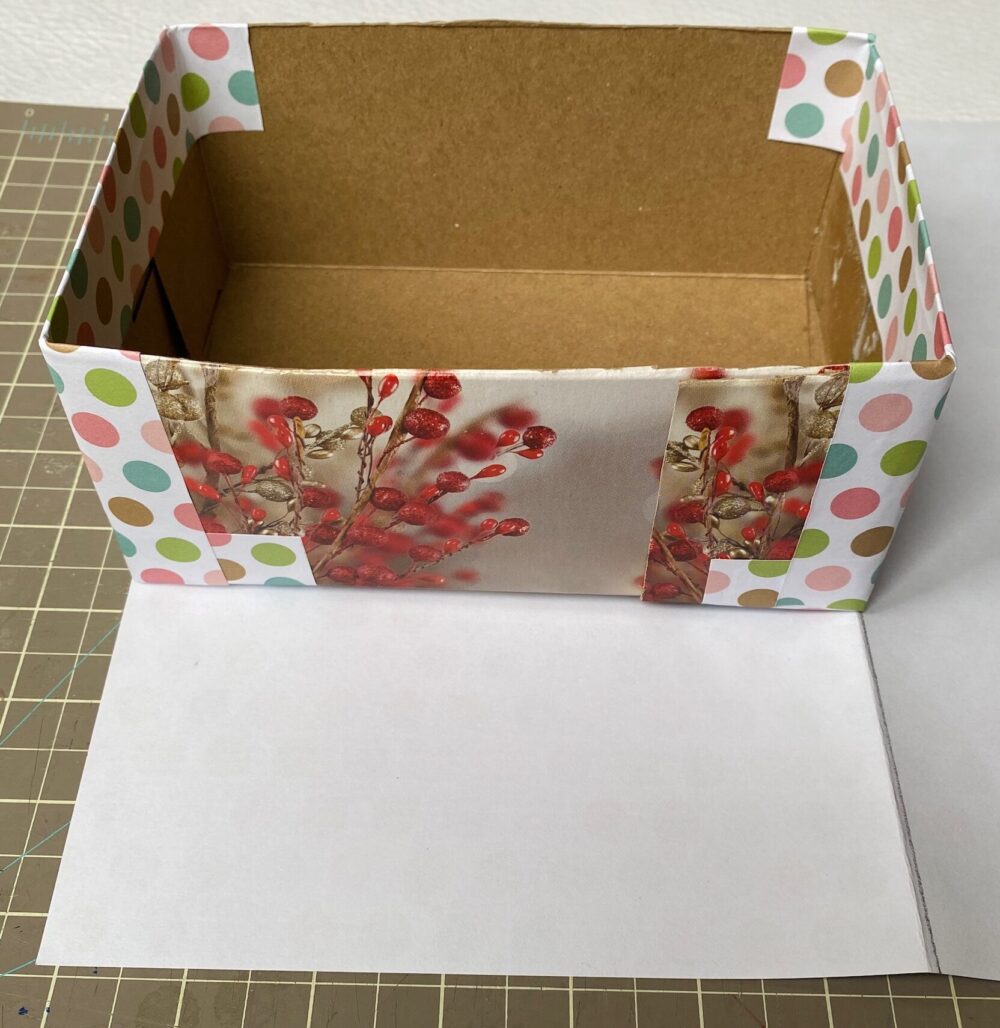
For the sides
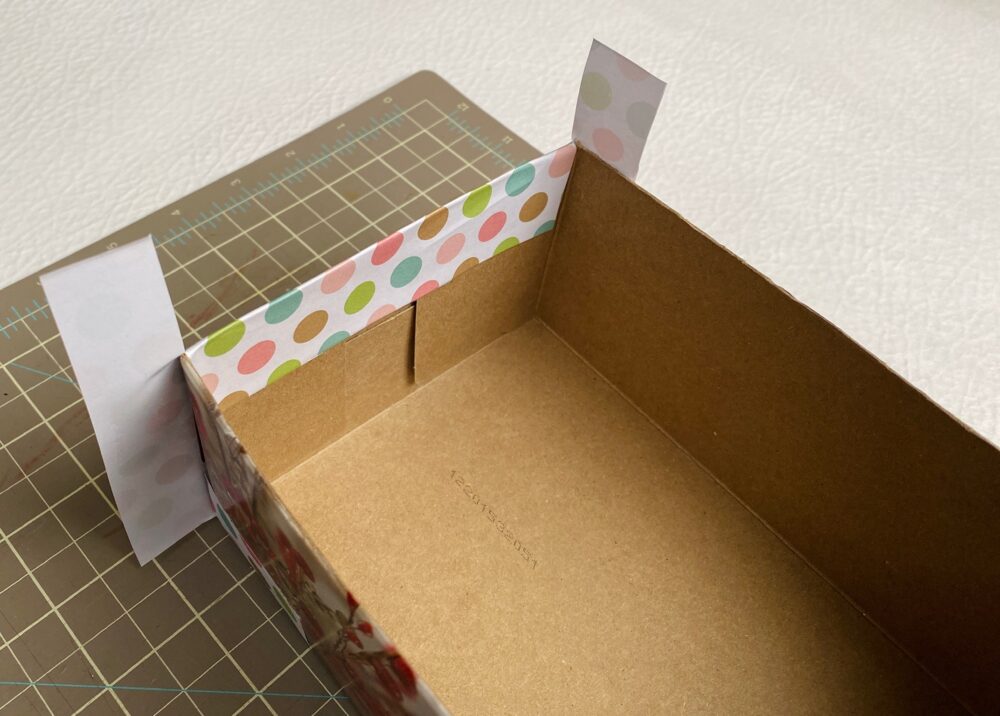
Next, decorate the outer box with your favorite paper. Since I used scrapbook paper, it wasn’t long enough to cover with one piece. So I used two pieces of paper.
Once you roughly measure and cut the paper, glue them/it on the outer box. Before wrapping around the edges, cut slits and fold for a cleaner look. (middle picture)
What you want is make sure to have some overlap for the main/front & back. See the right picture.
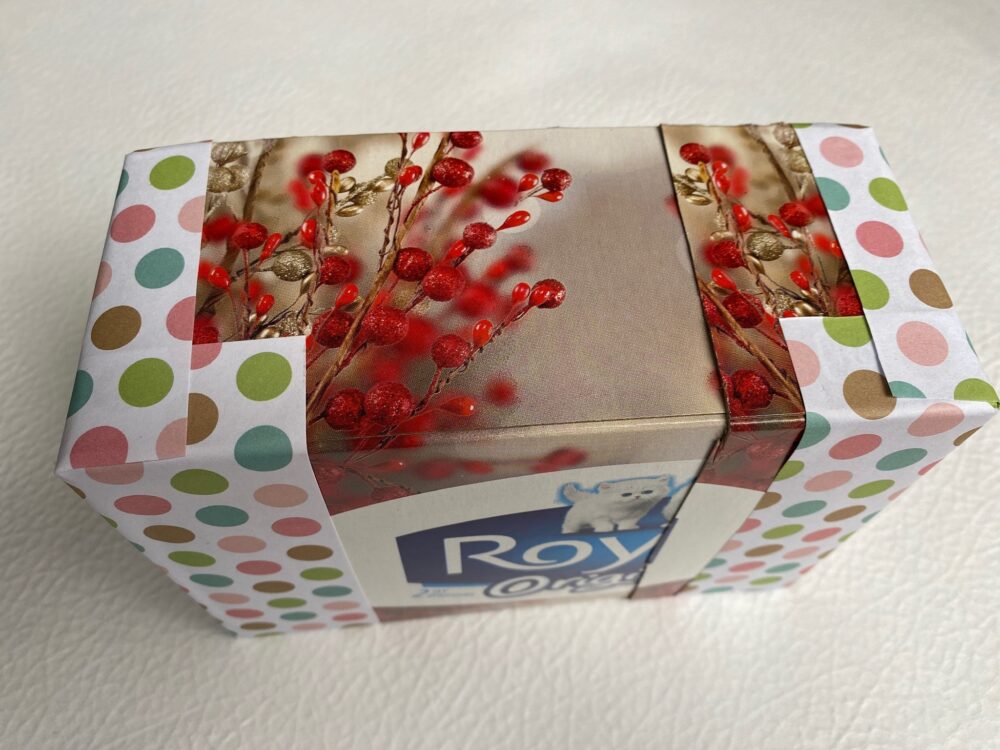
For the main/front & back
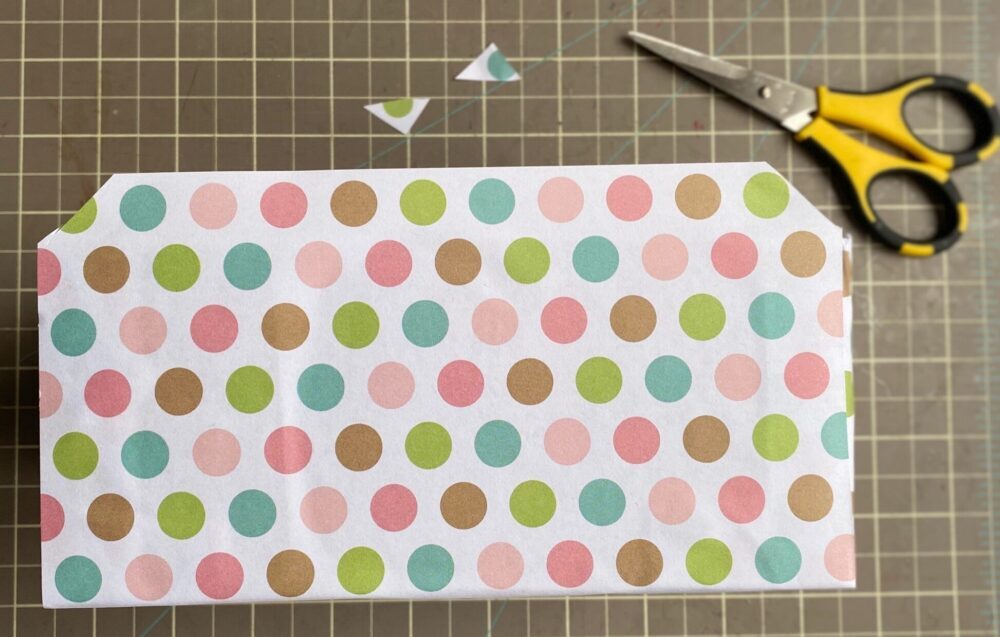
Finally, cover the main/front & back sides. To begin, place the box on the paper to cut the exact width. Once it’s done, apply the glue onto the piece of paper.
Next, place the bottom of the box and align it with the paper. Instead of putting paper to cover the sides, rotate/tilt the box for a cleaner job!
Just like the opening of an envelope, trim off the corners (see the middle picture). Then fold down the extra part to wrap around the edges.
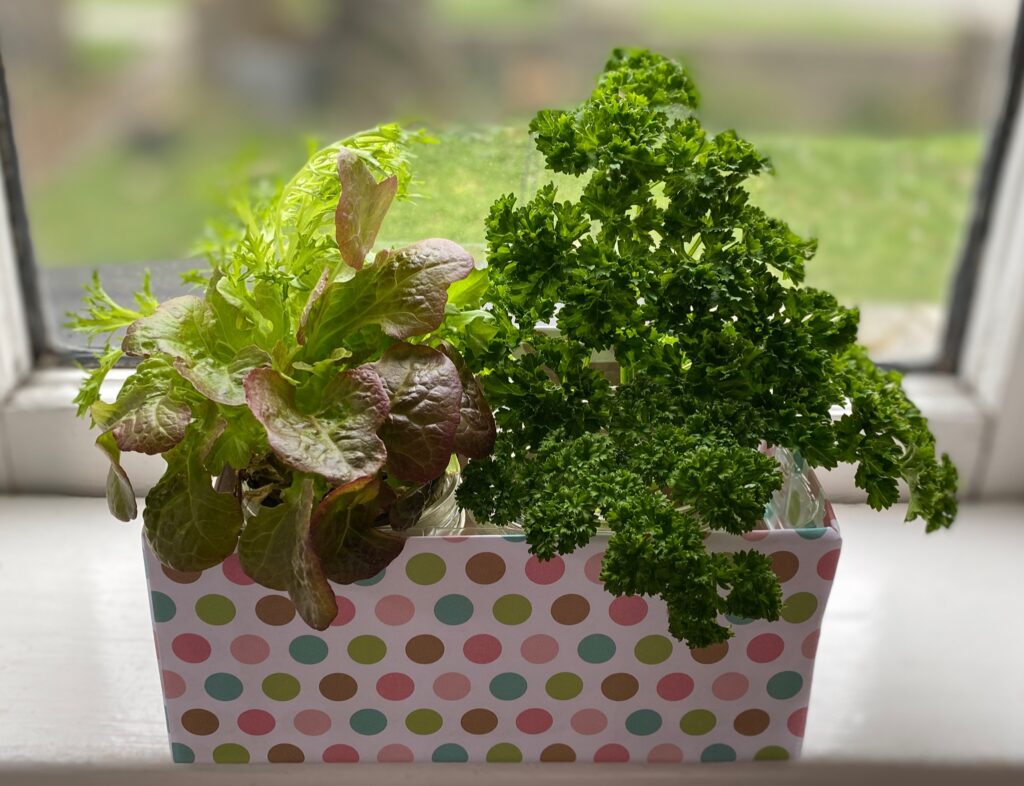
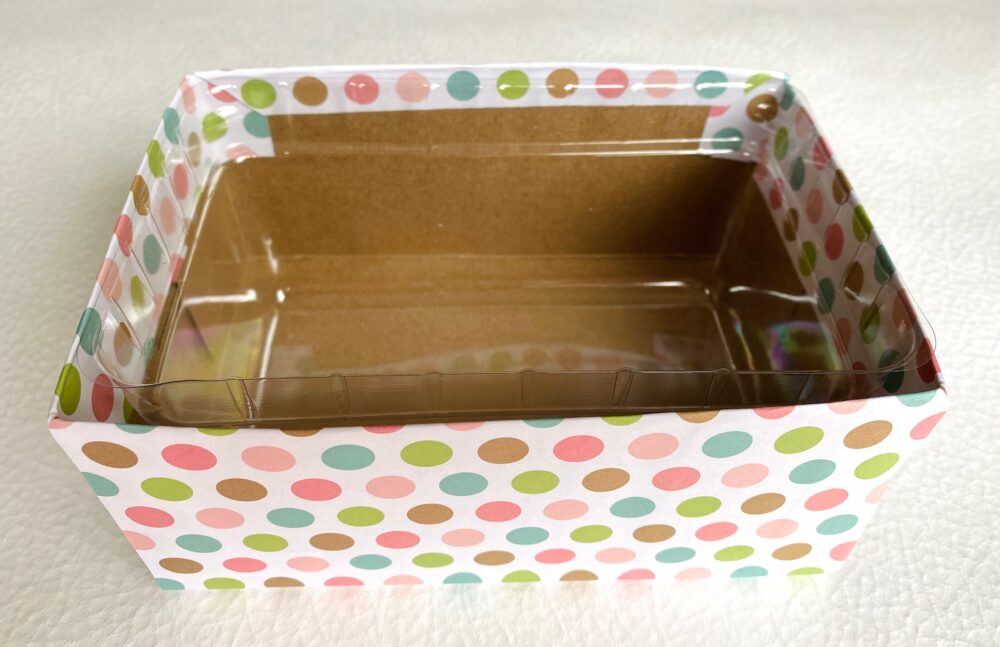
Place the plastic container inside of the repurposed planter. Guess what I got? I finally got the size of planter I wanted without spending any extra money!!

Mission Accomplished!
Don’t you love having fresh greens in your kitchen for meals? Not only did I repurpose the containers, but the thrifty mom(me) also reused the store bought lettuce (with roots) to grow.
What fascinates our family with having greens is how fast they grow. So if you have young children, place it somewhere accessible for them. I bet they’ll start munching!
* Just to let you know the greens in the picture are in a pot (also reused) that are sitting in the planter.